Circuit Bending Workshop
There are lots of ways to reuse parts from dissected singing and dancing toys. We’ve mounted mechanisms to use in electricity explorations or chain reaction machines, we’ve sewn the fur and stuffing to create mash-up toys and recently we’ve been investigating possibilities for "hacking" the circuit boards inside.
Most electronic devices have PCBs (printed circuit boards) controlling their functions. We'd like to create some low stakes ways to start exploring their parts and purposes. One idea that we’ve been interested in exploring more is ‘circuit bending’ or the act of making creative short circuits to produce unexpected tones, sounds and music.
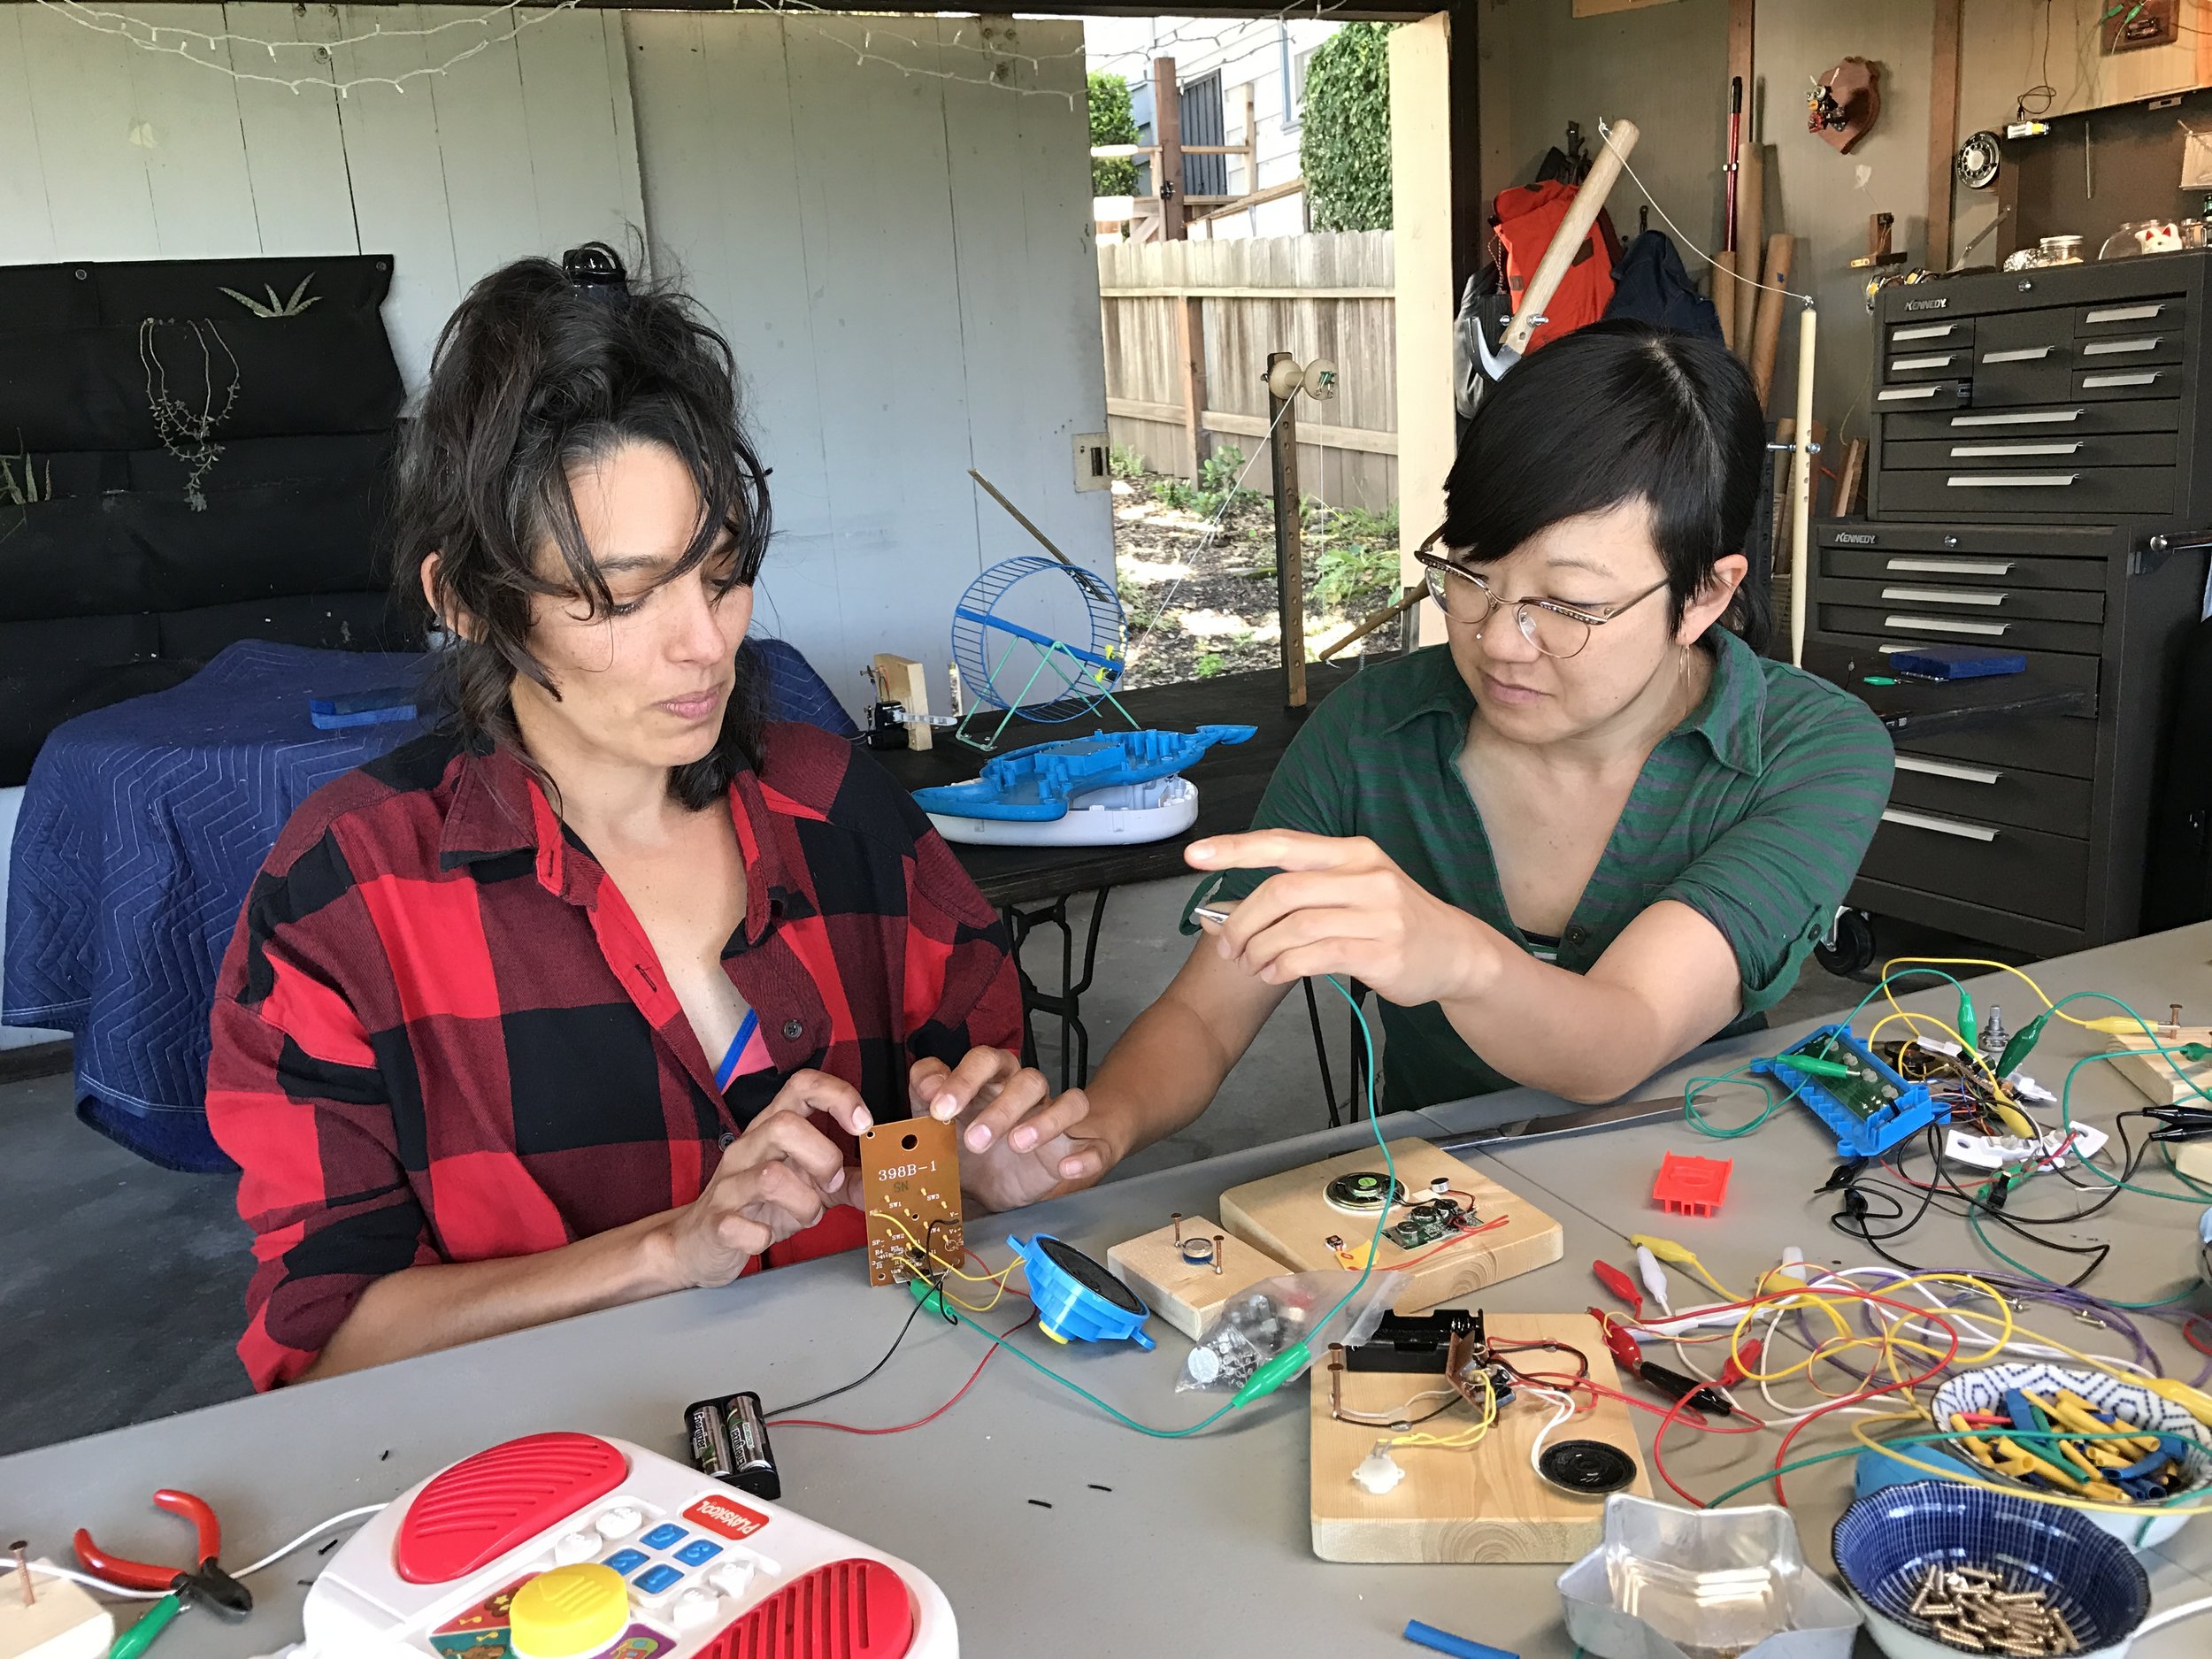
We had previously tried a few experiments, but to really dig into this topic, we invited over a couple guest tinkerers with experience in the area. Sarah Dot, an artist and educator who has been working with Grey Area and Christa Flores, who wrote a sparkfun guide to hacking toys, were game to head out to our mini workshop in El Cerrito to play around.

While the Thrift Town in the city might have closed down, there are still a treasure trove of toys available at the El Sobrante branch. For these explorations we don't need moving toys so I looked for a variety of keyboards, music makers, and speak 'n say variants.
As well, I did a little bit of preparation by mounting some speakers, resistors and sensors onto circuit boards. I also made a few boards with just nails on them thinking that they would be used to connect resistors (although they turned out to have an even cooler purpose.

For the workshop, the first step was dissecting the toys. As usual, it was awesome to see the evolution of the toys over time and how the older ones have bigger parts and usually more heavy duty switches and speakers.
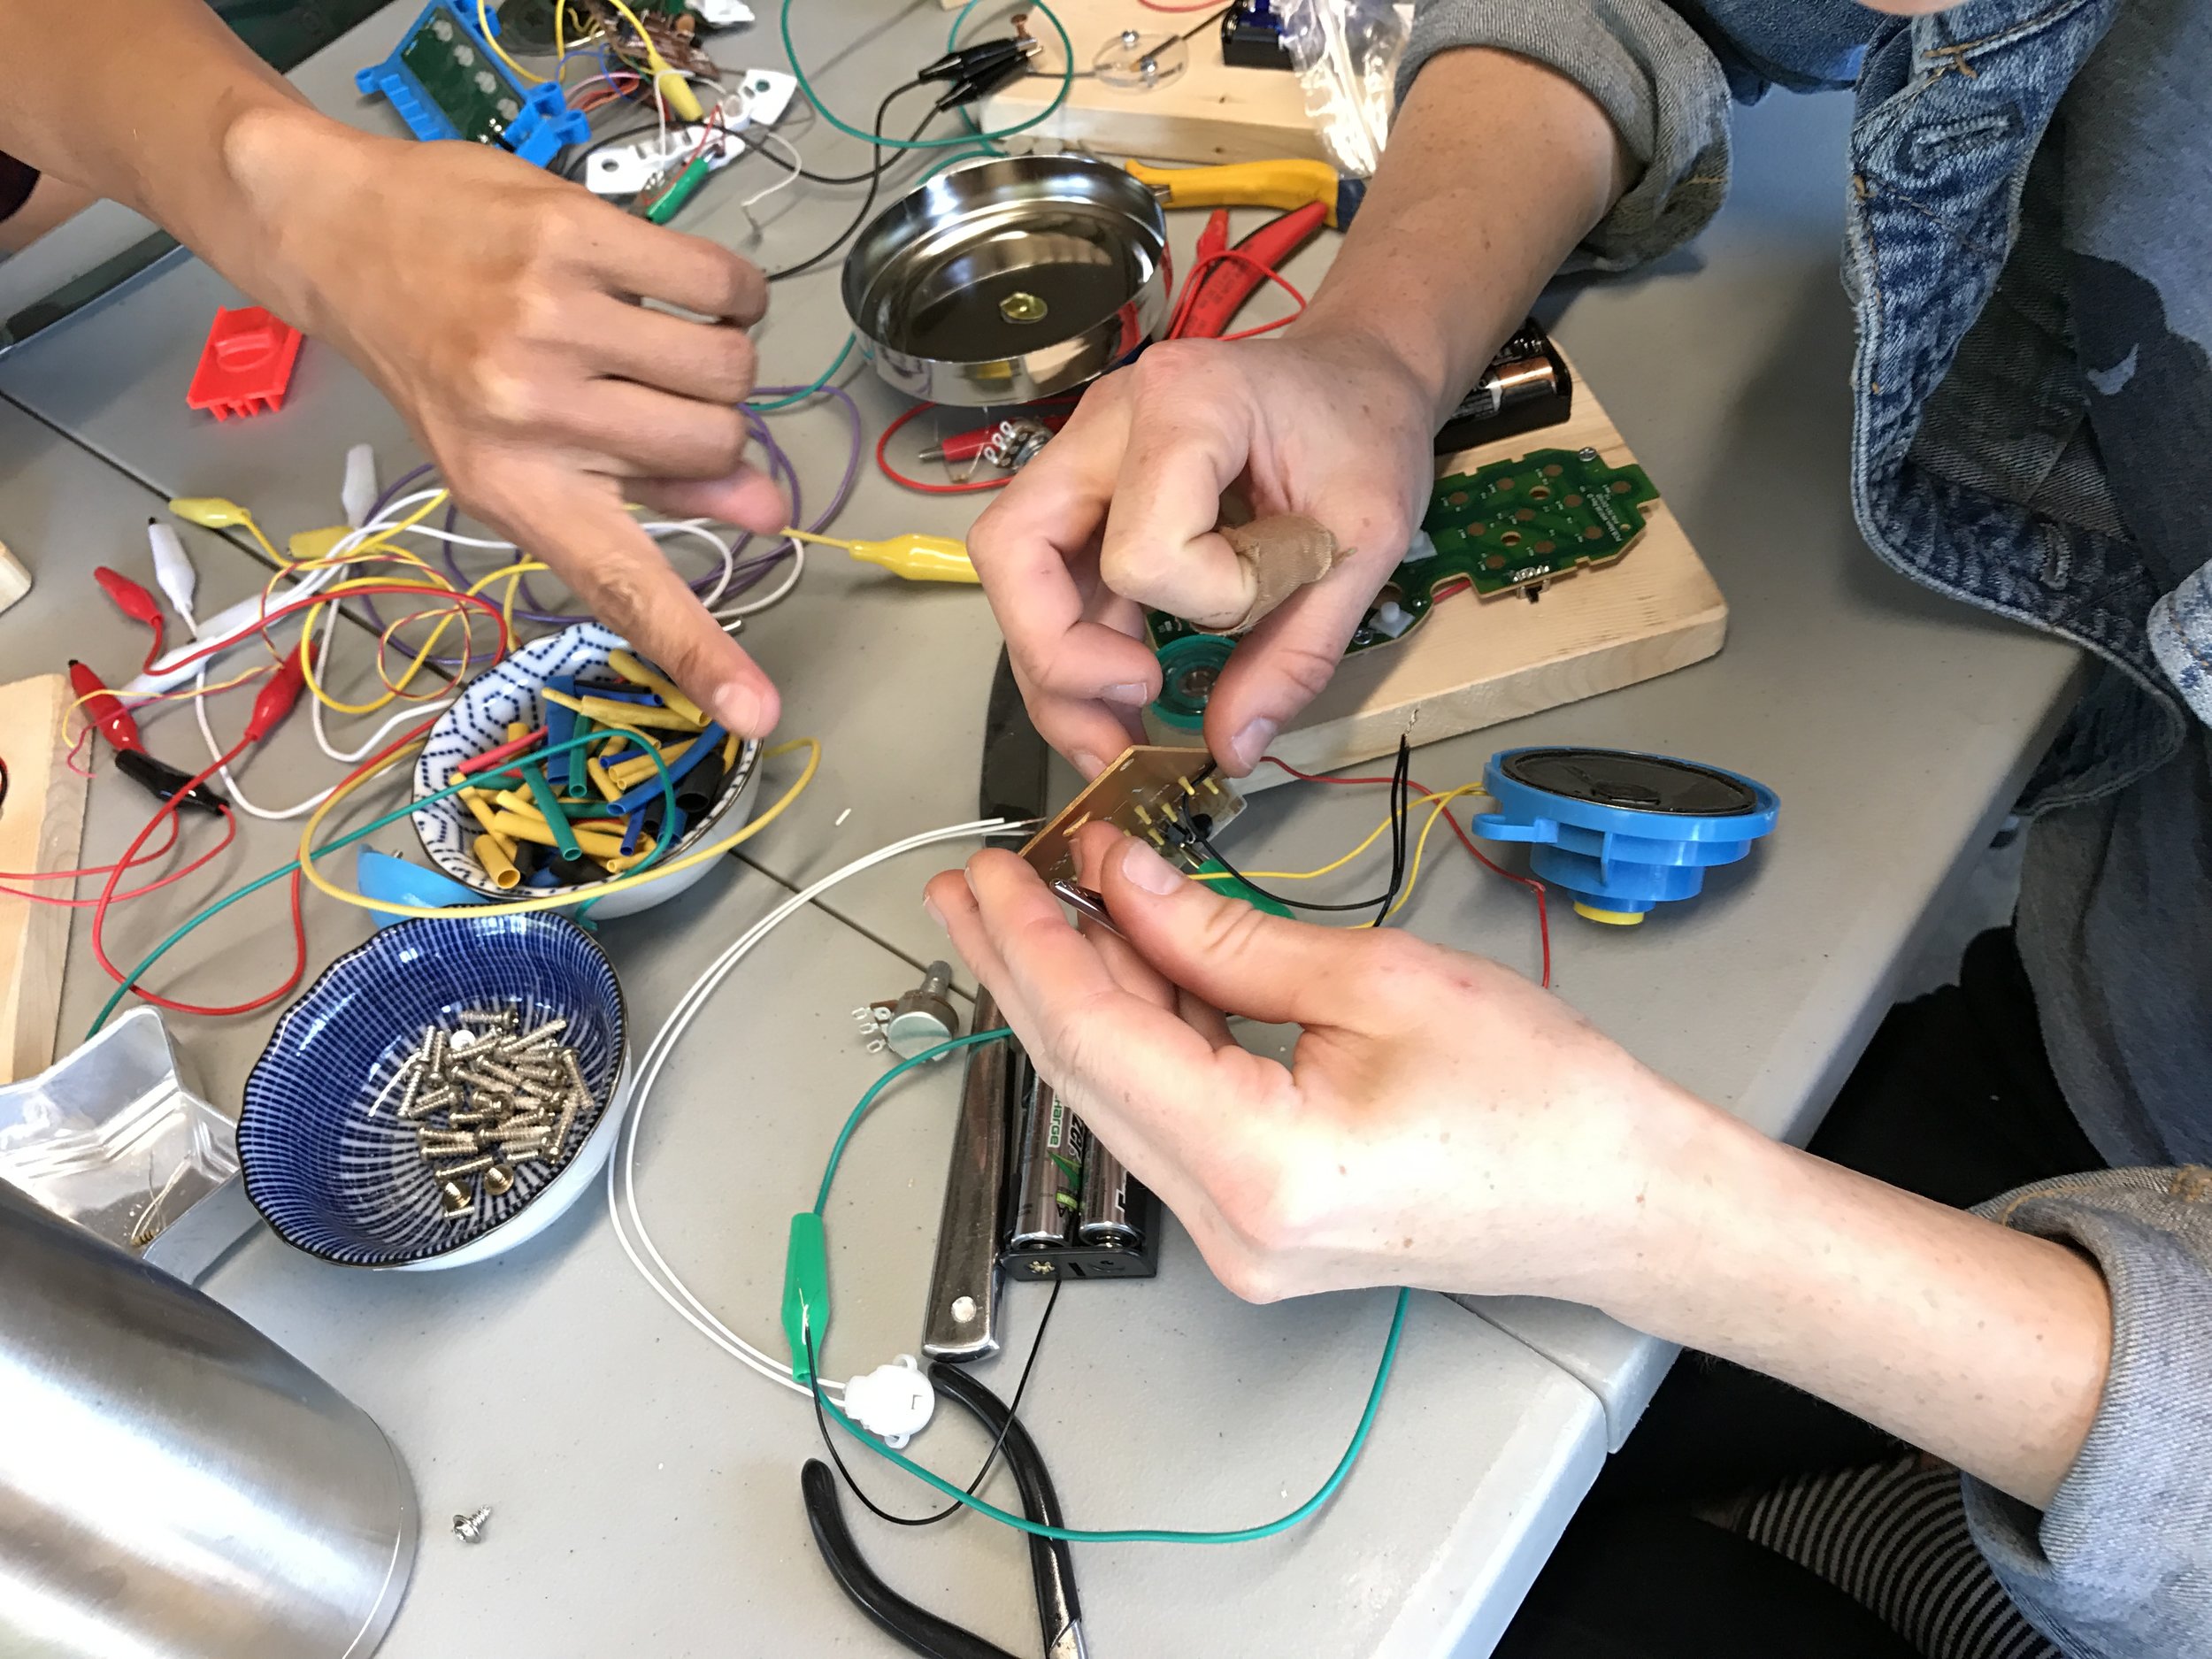
As far as we could tell from a couple of online guides, the accepted procedure for circuit bending is to start just testing a wire at different places on the PCB and noticing what happens. It was nice to do this experimentation around a shared table so that everybody could hear when something produced an interesting sound!
Pretty quickly some of us found places that seemed to speed up the song when bridged with a resistor. For a toy I had, the smaller the resistor value, the faster the song seemed to play. I took off the resistor and added to wires to make it easier to test out, and we noticed that we could change the resistance by letting the current flow through our bodies, much like the musical bench exhibit that Nicole and I built for the Tinkering Studio.
One thing that I have been interested to try for a while is connecting a regular 1/8 headphone jack to the wires from the little toy speakers so that we could amplify the sound. We had to do a little bit of experimentation with what wires went where, but it ended up worked really well. There's something really engaging and immersive when the tiny beeps and squeaks get amplified on a stronger speaker.
Some of the toys had larger metallic pads that we could touch to not only change the speed, but also tweak the pitch of the notes. I think that it would be fun to extend these contacts as well, making some 'instruments' that could be played collaboratively.
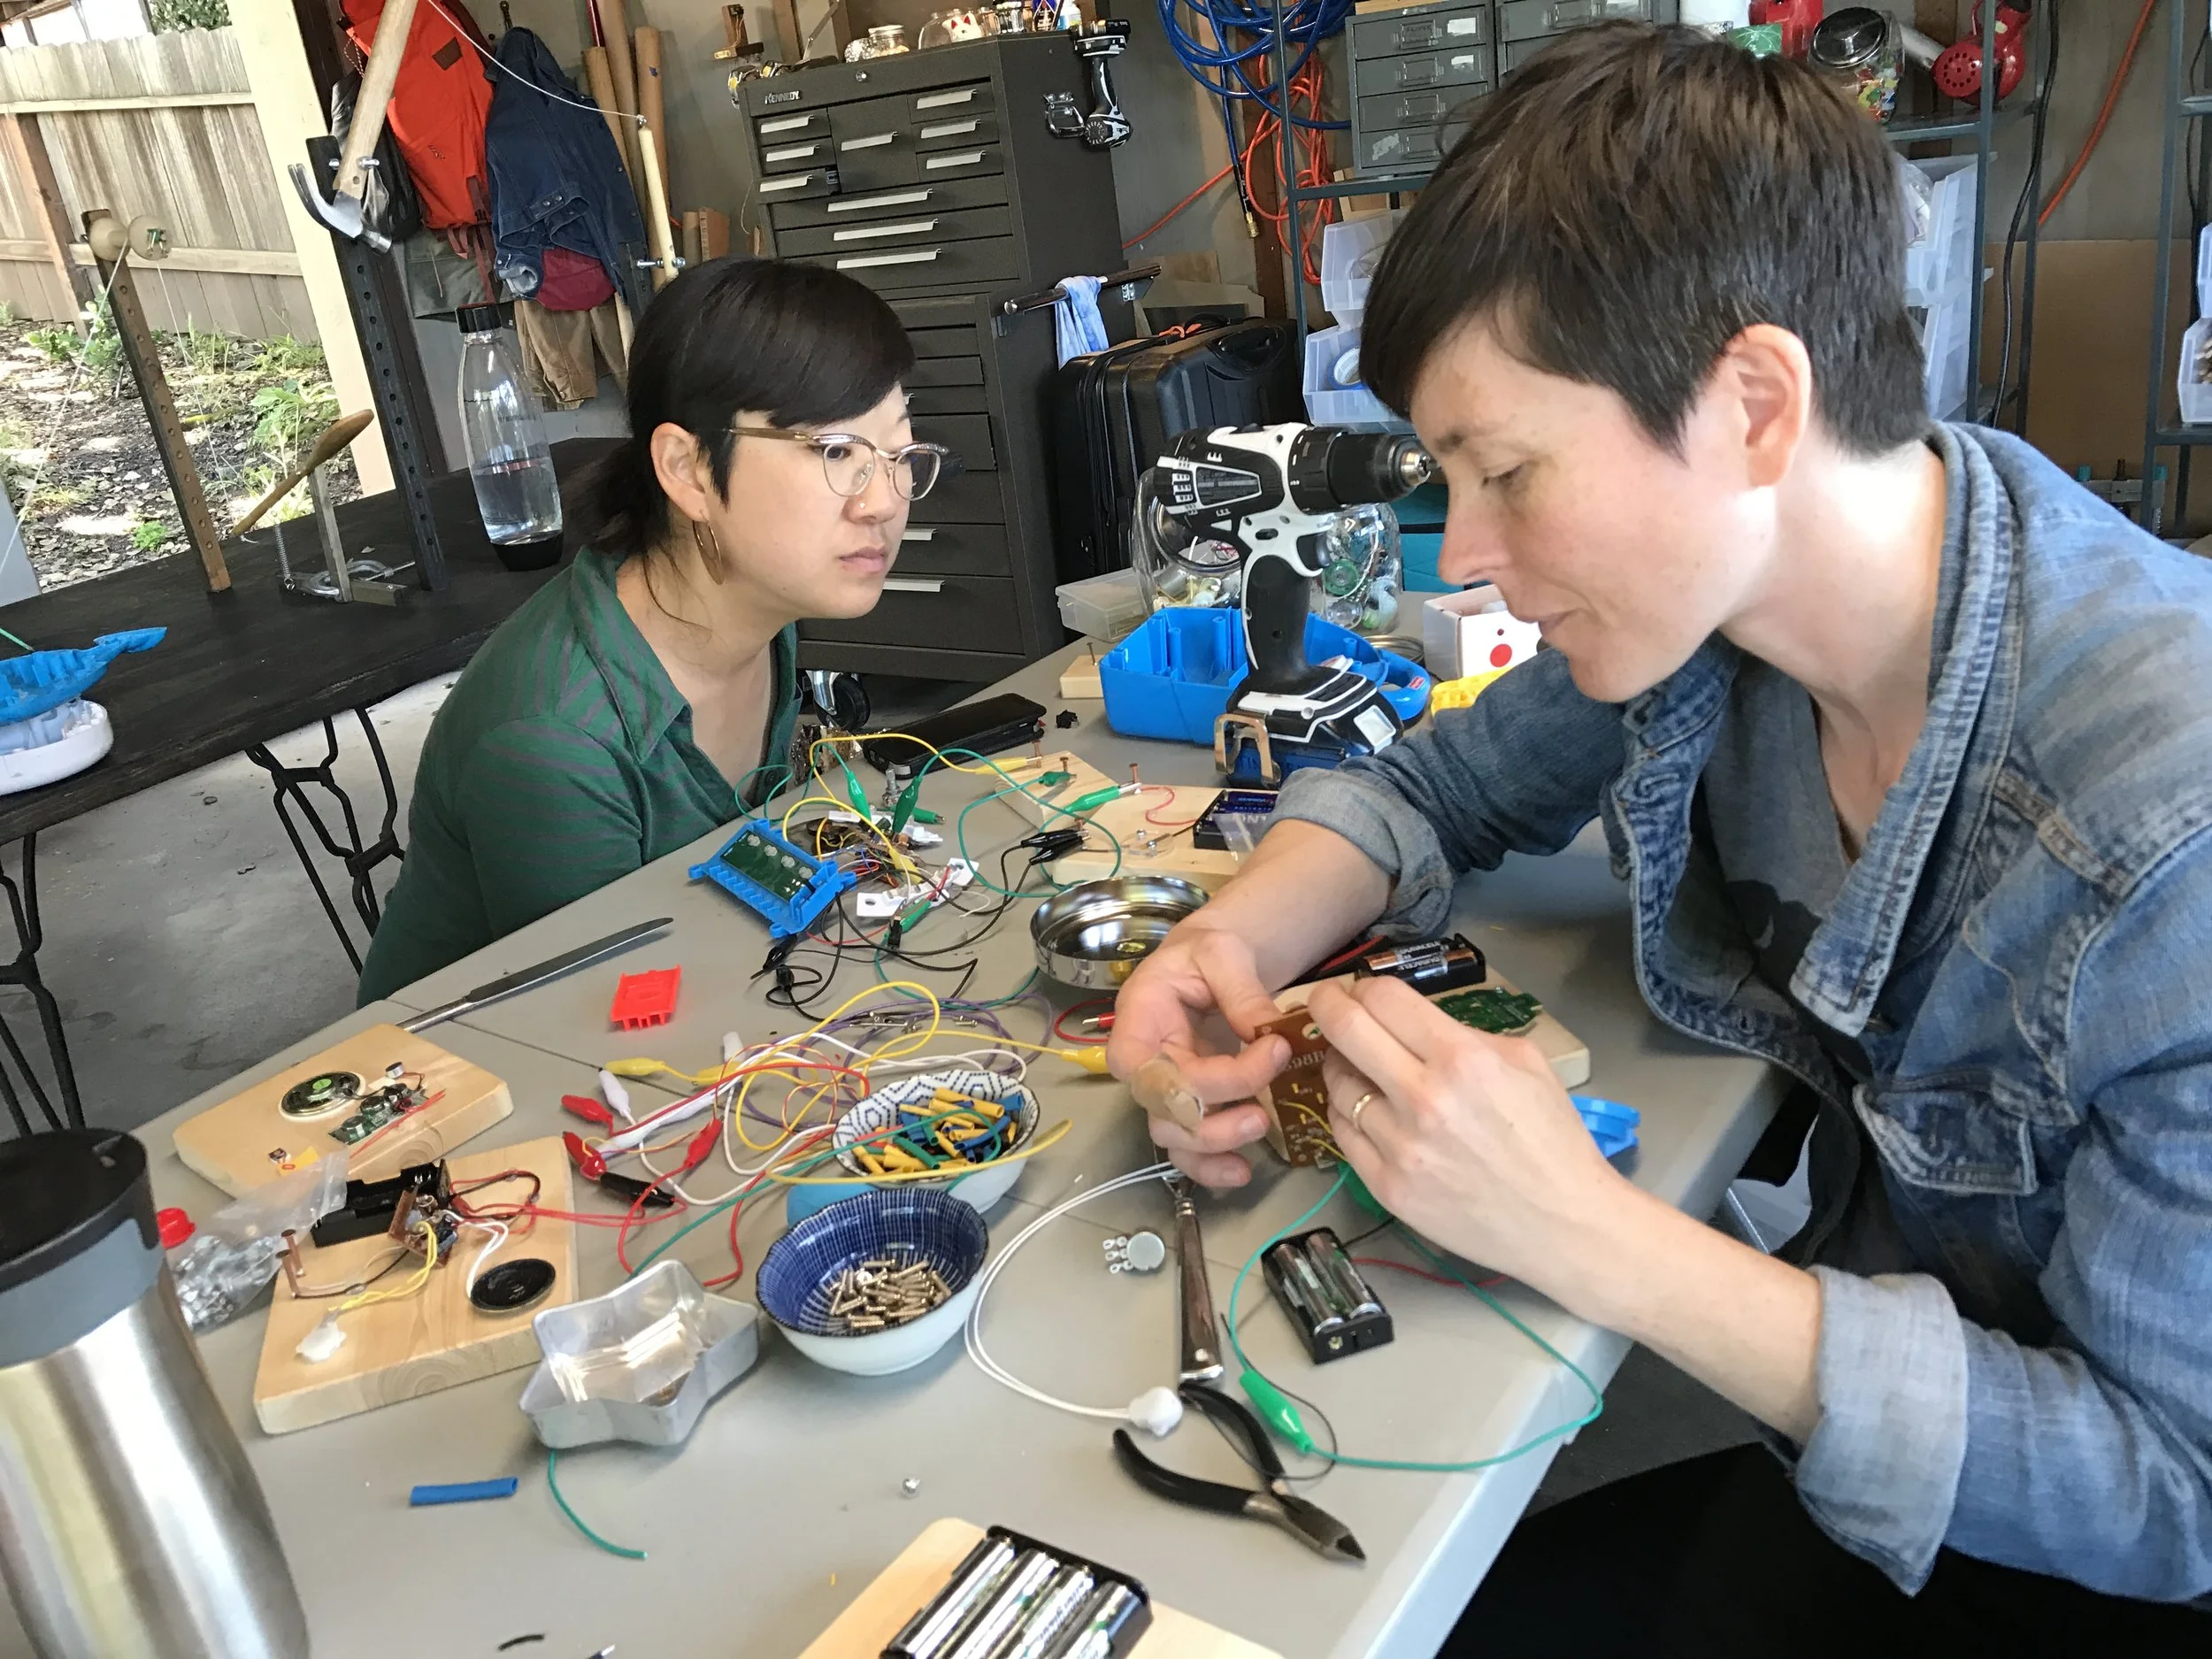
It was great to spend the afternoon experimenting with Sarah and Christa. There was a lot of laughter, shouts of surprise, and unanswered questions. We're still wondering if all toys can be 'bent' or if there's some difference between ones with digital tones and voice recordings. As well, we're still collecting a good set of resistors and potentiometers to create a wide range of sound values. And finally, just as the alligator clips and copper nails lower the threshold for general circuit explorations, we'd like to develop a set of tools, circuit boards, touch pads, and components that can allow people to jump right in and start playing with the idea of making electronic music through creative short circuits!