Crafting With Code Experiments
During our month long tinkering residency at Chabot Space and Science Center, we tried several initial experiments with combining coding and craft. We prototyped different ways of making art with physical and digital tools and started to explore some of the aspects of “computational tinkering”. To us, computational tinkering can be thought of as a way to make programming and using digital tools more playful, accessible and collaborative. Some of the ways that this might happen is through combining physical and digital processes, mashing up different ways of working with tools and learning from artists and tinkerers already playing in that arena.
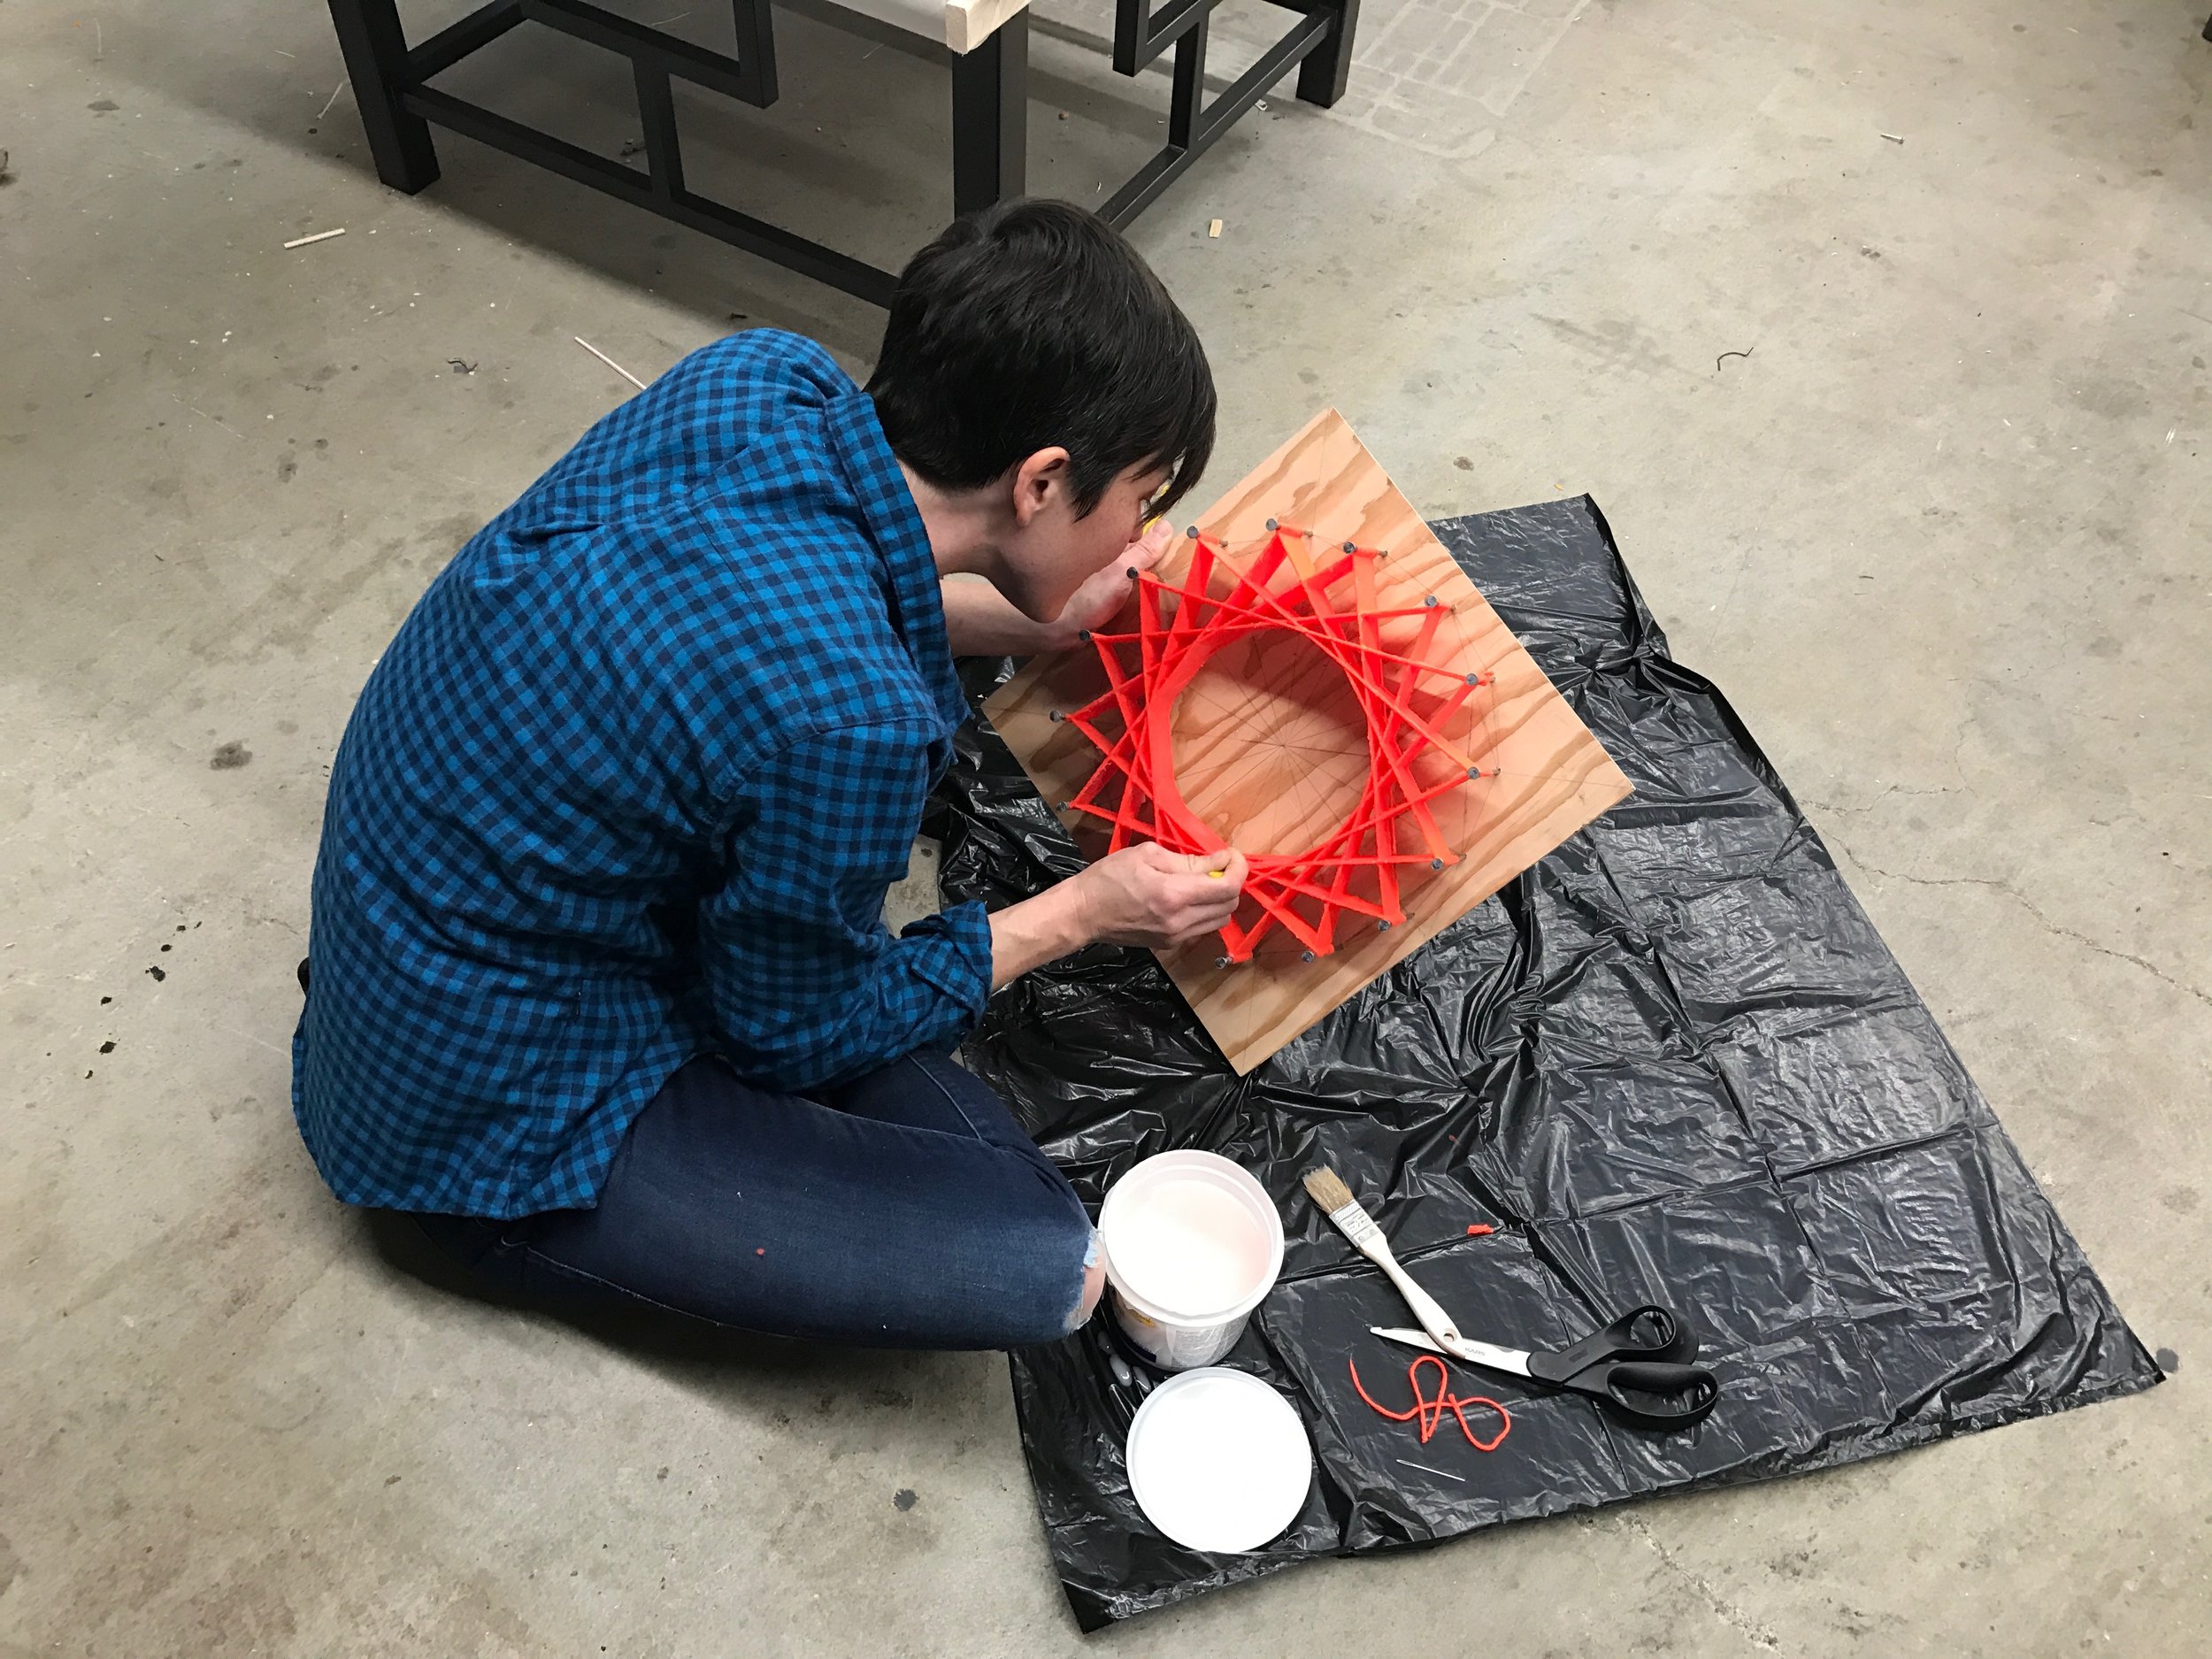
Our investigations started with using beetleblocks to create geometric designs. Beetleblocks is a block based programming language that allows you to export the results of the code as files that can be 3D print or vinyl cut. For an analog version of this concept, we experimented with using string art to construct similar shapes.
There’s a lot of systematic thinking that goes into creating these physical patterns. Depending on the number of pegs or nails and how many you skip, you can arrive at many different outcomes. We experimented a bit with overlapping patterns and changing colors to highlight the various shapes.
We also tried to recreate specific string art patterns with beetleblocks. This took some math, measuring, and estimation to try to figure out how to make the bug move in the exact same way. It really gets at the heart of computational thinking to take a physical motion like moving around the pins and give the computer instructions on how to accomplish the same motion.
And the string art experiments also gave us the chance to try out a couple different crafty materials and techniques. Nicole coated the string with wallpaper paste to make it a rigid shape that felt more similar to a 3D print. And Sam tested covering the entire square with transparent resin to make a beautiful tile!
For the next experiment with computational tinkering, we hoped to build on our prototypes with art machines at the first friday event. We got inspired by a project by Josh Burker, Eric Nauman and Brian Silverman who created instructions on 3D printing parts to make an arduino turtle. We took there guide as a model, but wanted to make a more scrappy homemade version of the drawing machine.
To take this to the extreme, since we didn't have jumper cables we had the brilliant and not totally advisable idea of using pipe cleaners with stripped ends to connect the arduino to the motor driver. It worked (sort of) but we still ending up changing to more traditional jumper cables the next day. Another micro-innovation was making a pen holder by attaching a clothespin to a servo motor with a zip tie.
After completing the first design, we ran the calibration program and although it looked nothing like the intended four squares, we were really happy with the pattern.
We experimented a bit by changing the variables to make the design bigger, smaller, and more random.
As we were sharing the idea with Morgan, one of the exhibit builders at Chabot, he pointed out the reason that our drawings produced unexpected results. Since the pen holder was all the way up front (and not in between the wheels) the pattern looked very different from the base model. This was a great learning moment for me about why the turtle has it’s specific design which wouldn’t have happened if I simply followed the designs.
Morgan gave me a challenge of trying to make the original square pattern with my turtle. It took a while, but through a combination of trial and error, iteration, math, logic and computational thinking I roughly approximated the test pattern. Through this process I felt that I gained some appreciation for how computational tinkering might work with a real physical example.
I like the idea of irregular or twisted turtles as a way to really highlight the individual tinkering process. While they might not be produce as precise of drawings as a 3D printed model, I think the idea opens up possibilities for personally meaningful designs.
Although the latter part of our residency focused more on environmental design (stay tuned for the next blog post for a descriptio of those experiments) we did get the chance to try out a third take on “crafting with code” with guest artist Natalie Freed.
Natalie came by our little loading dock/workshop to share experiments with paste paper. She used processing to create various lasercut tools that we used to create beautiful patterns by scraping off a thick layer of paint mixed with wallpaper paste. This traditional technique was used to create the inside cover of old books.
The combination of a precise digital tool with the imperfections of moving the piece around by hand resulted in some surprising and interesting creations.
I worked on coding the shape of a tools using beetleblocks and we made it using a process we’re calling “2D” 3D printing for flat quick designs. It didn't work as well as Natalie's scrapers, but I quite like the idea of using a 3D printer to make a tool instead of a throwaway sculpture or trinket.
It was super inspiring to work with Natalie and learn from her about ways to bring computation into art projects as a means not an end. Over the next few months we’ll plan to continue to experiment with these and other computational tinkering ideas and share them with you all right here!


