Experiments in Digital Fabrication
Over the last couple of weeks we’ve been refining the design of motion board prototypes with students and teachers at Lodestar Charter School. While working on the parts, I got the chance to play around a bit with designing 3D printed elements in tinkercad.

The biggest challenge for the boards so far has been making the wheels press fit onto the DAGU motor hubs. It needs to be easy for tinkerers to continuously attach and reattach the laser cut shapes as they test out different configurations, but if the connection is too loose, the wheels will fall right off the bots.


The goal was to design a 3D printed part that could be screwed on the hub and allow for a larger plus-shaped connection point. I haven’t had too much experience with creating 3D models but I had previously explored Tinkercad circuit assemblies and thought that was a good place to start. It was really helpful that the interface already included models of the DAGU gear motors that could be integrated into the designs.


To get the part to fit on the hub, I had to scale up the model to 110% for the Prusa 3D printer and slicer I was using at Ace Monster Toys makerspace. I moved from rapid prototyping to printing twelve hubs so that I could have enough to make six bots in the updated style.
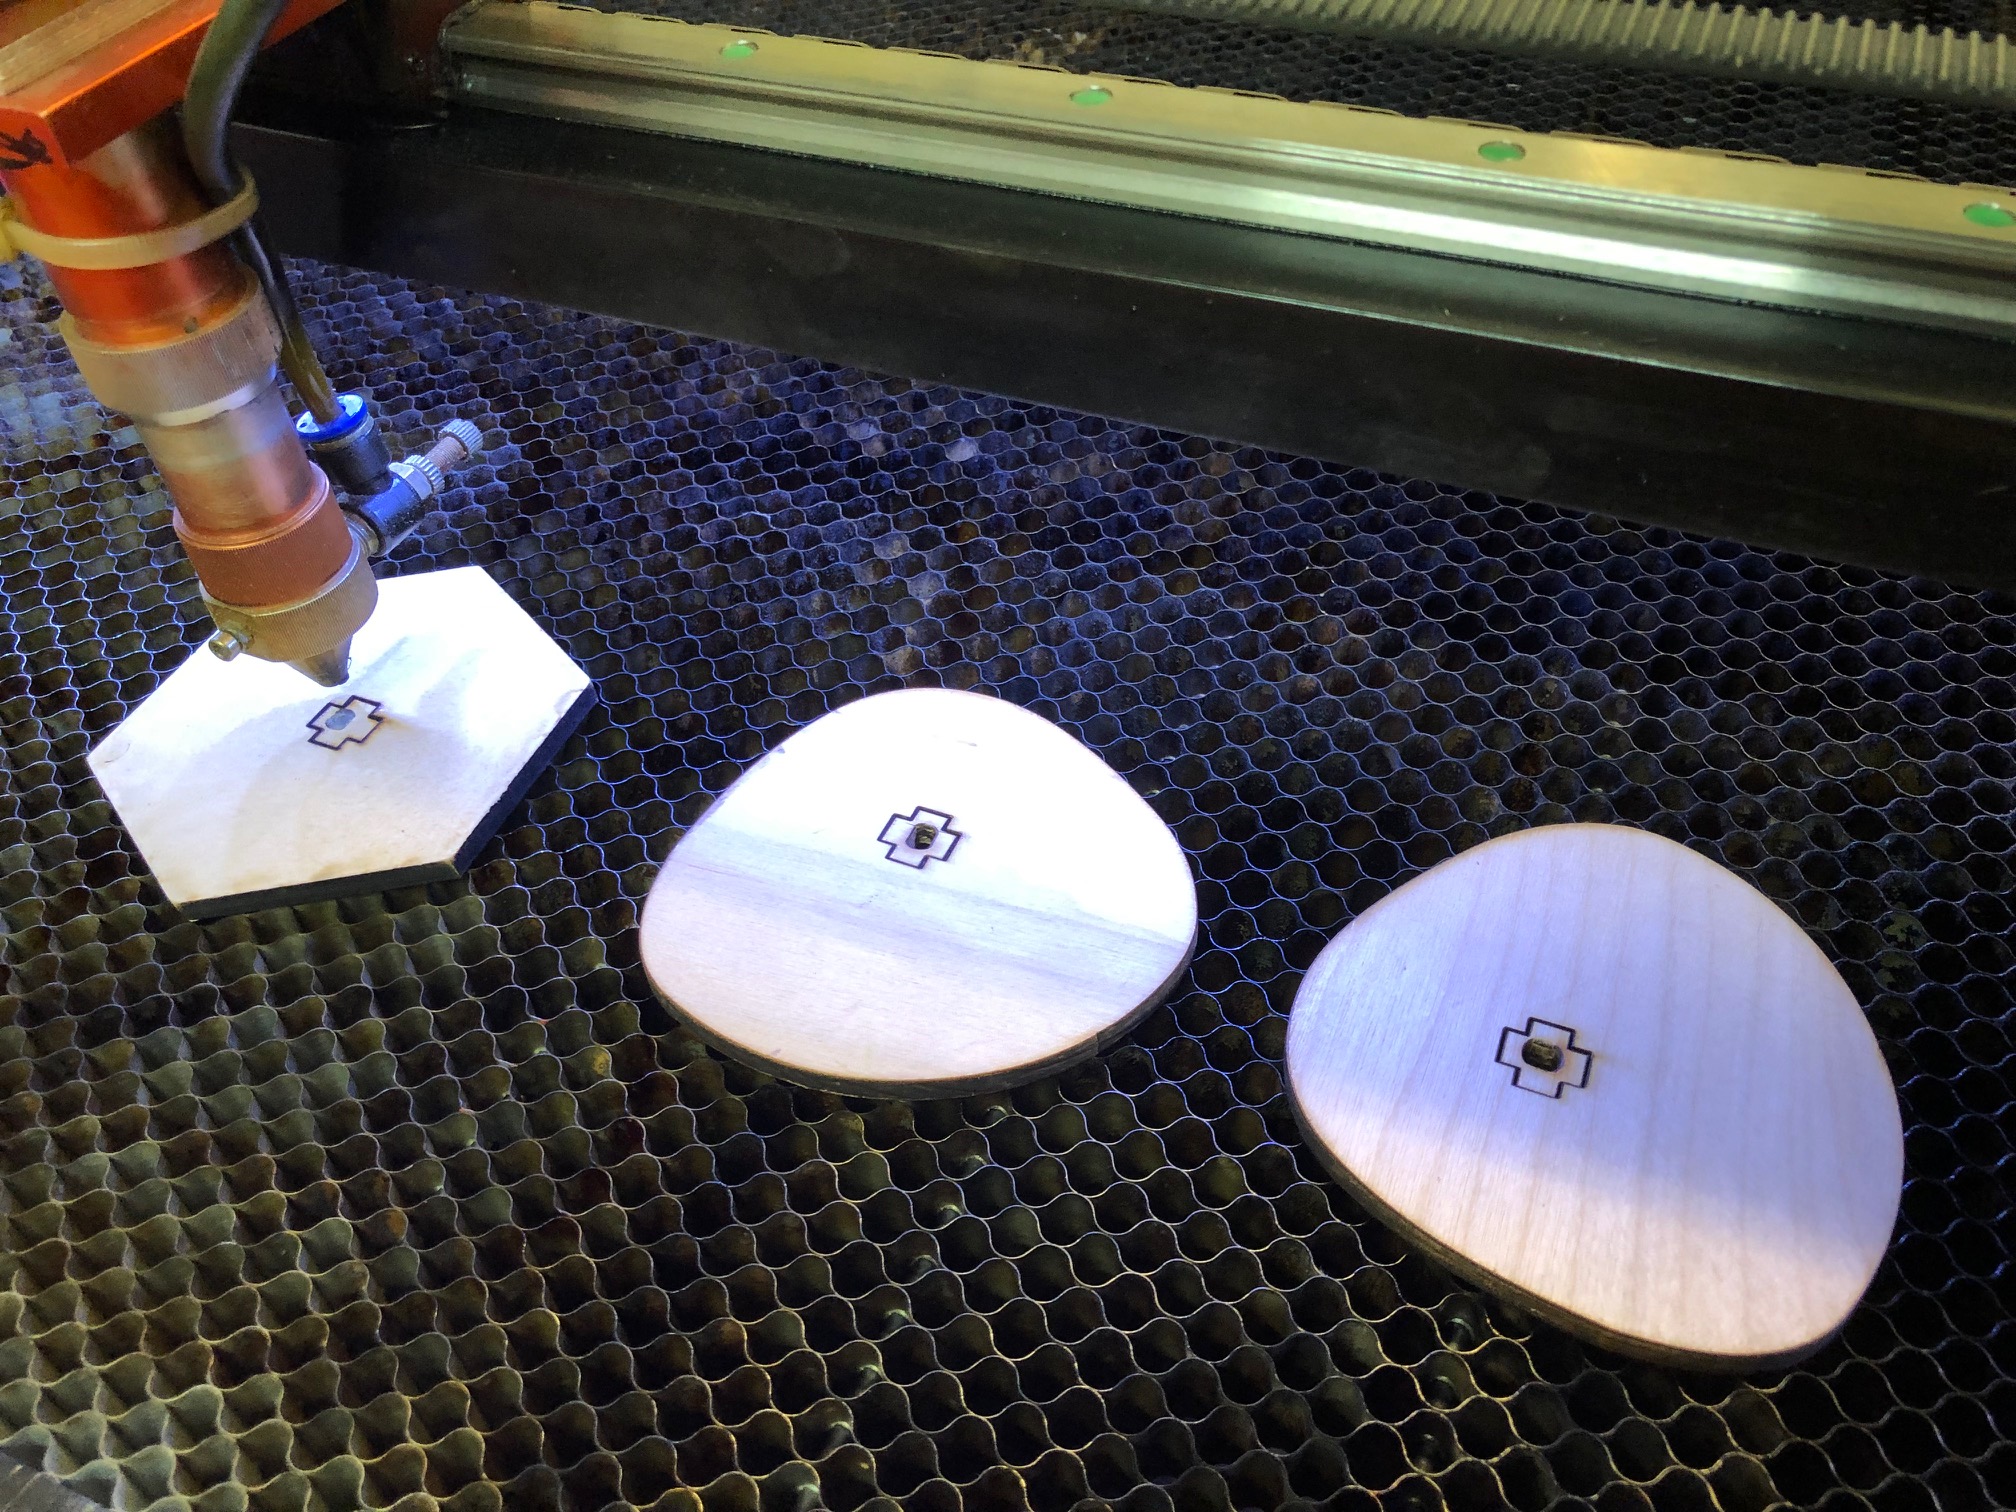

Next, I went back and cut plus-shaped holes over the little ovals on the wheel shapes using the Ace Monster Toys laser cutter. The positions weren’t exactly calibrated for these remixed pieces but I’m glad I could re-purpose the previous version of the design.

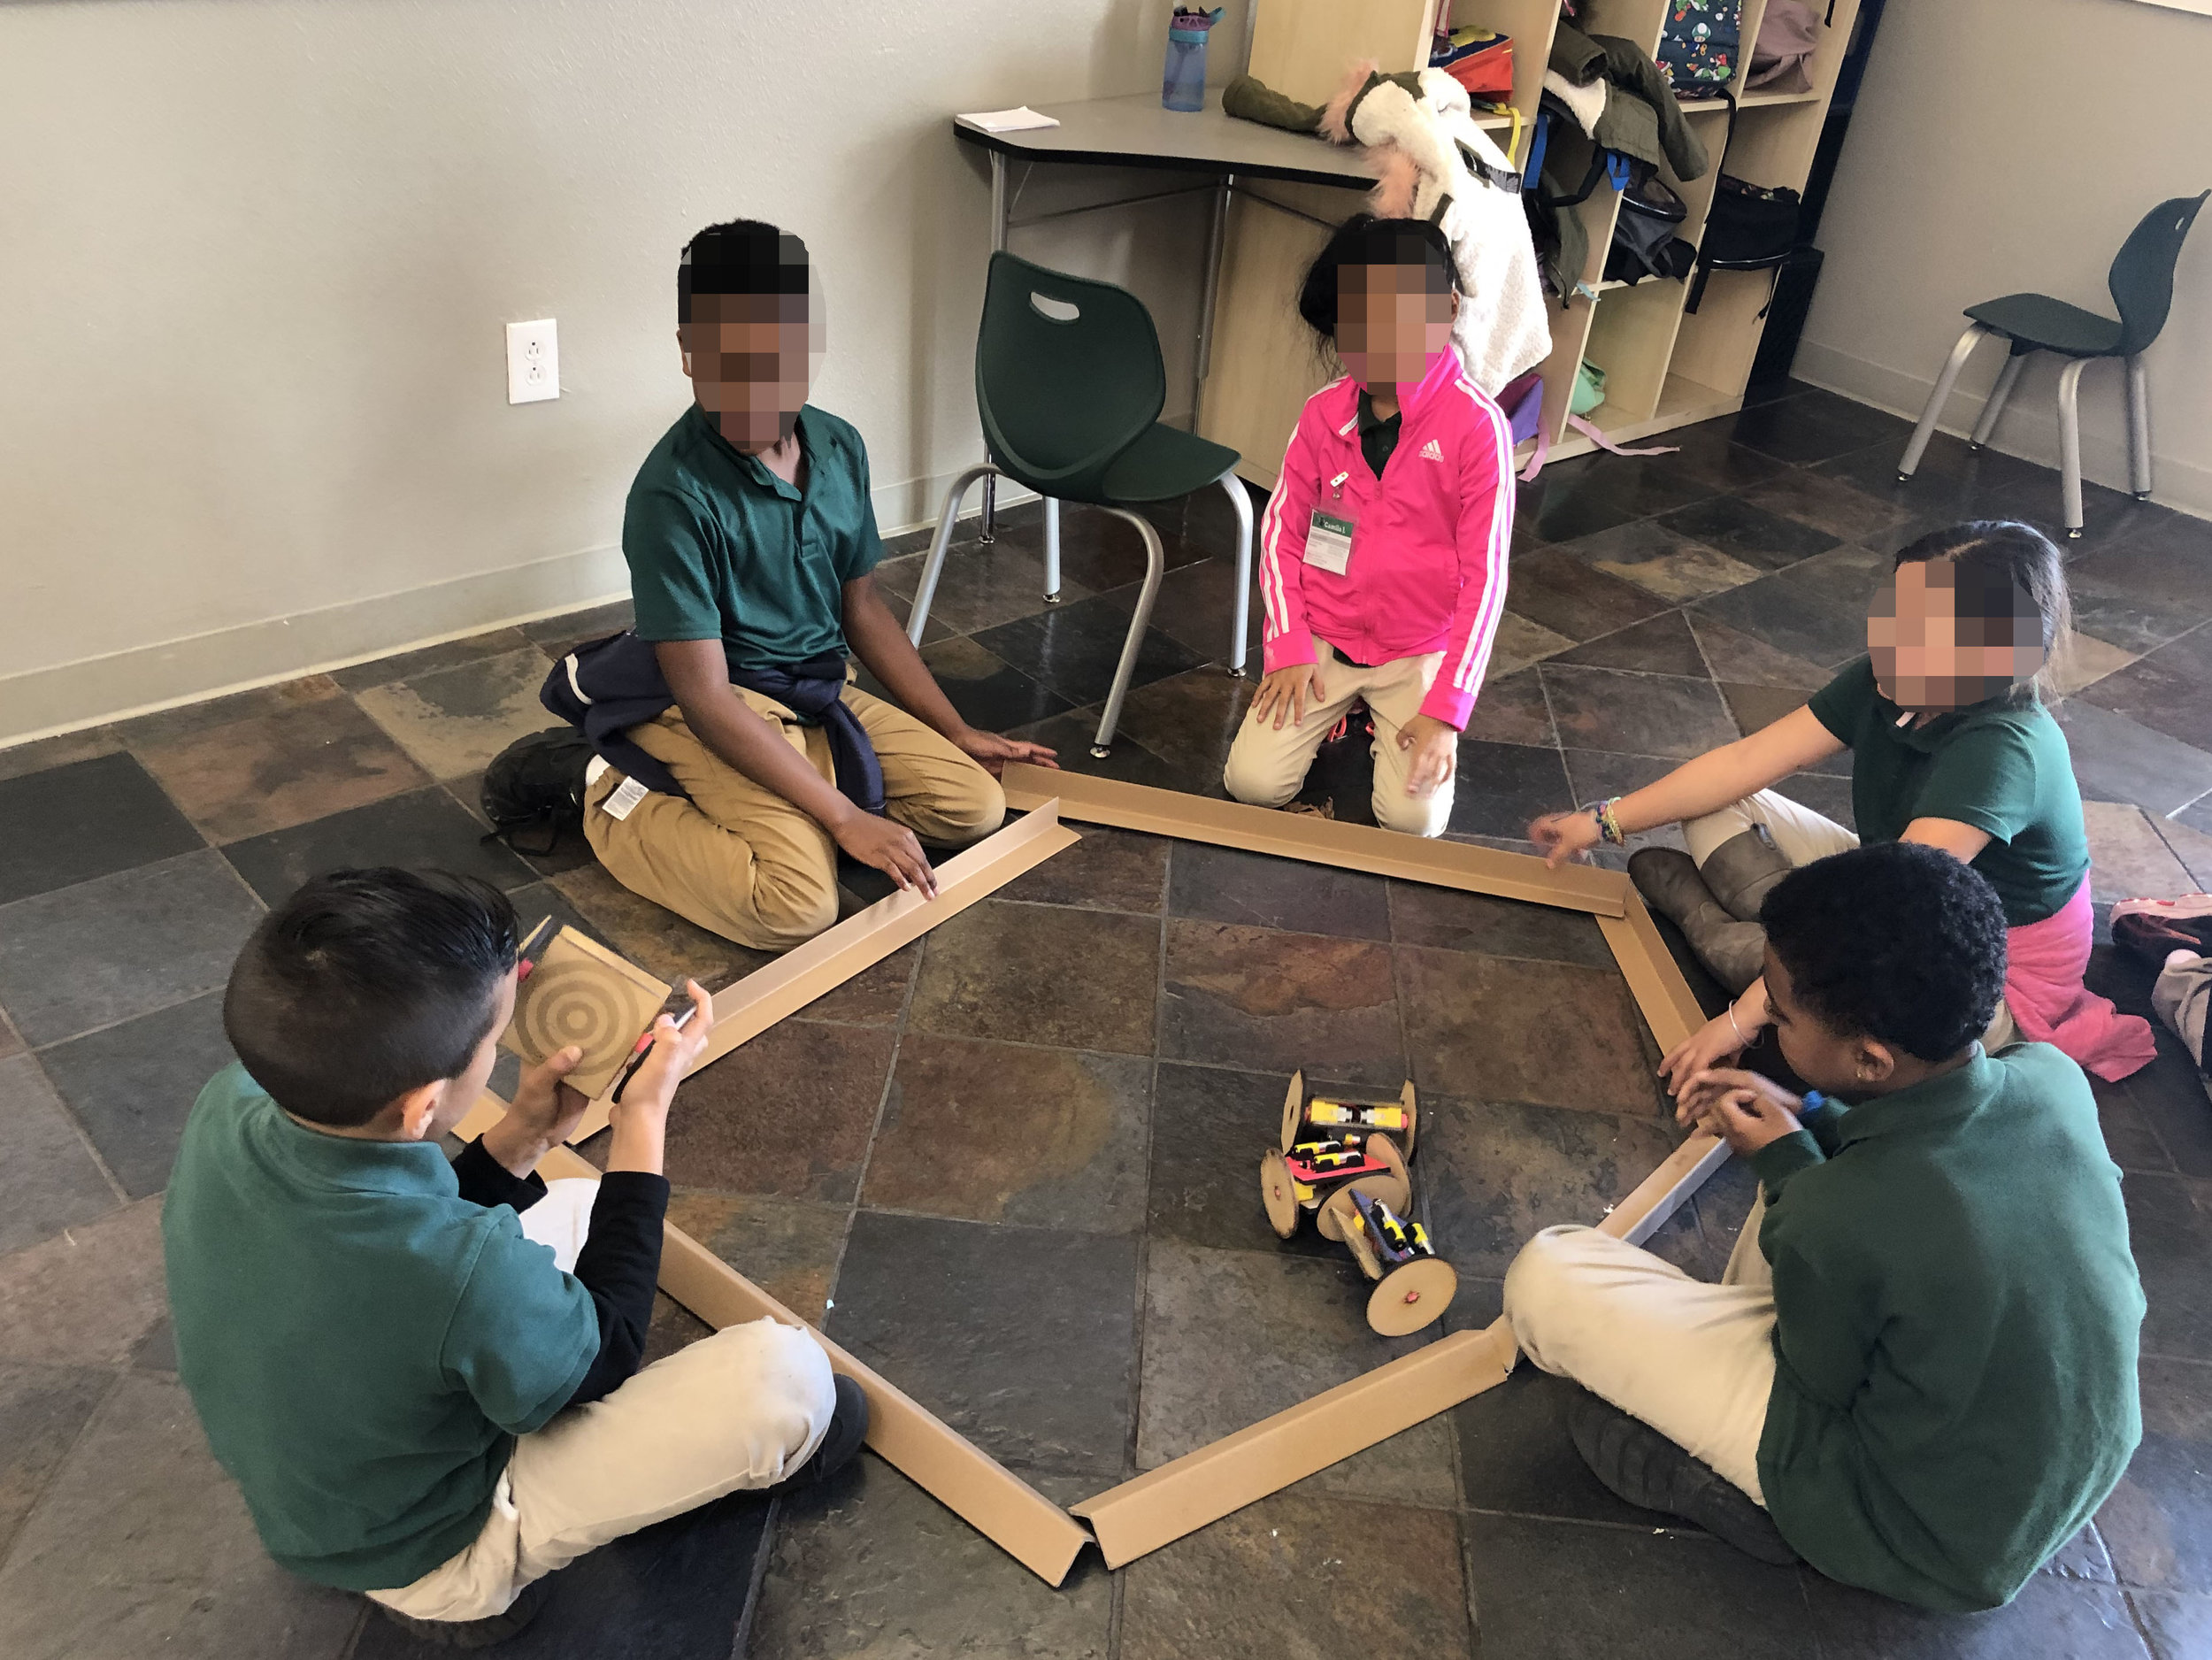
The very next day, we tested the new design with K-3rd grade students at Lodestar. They still found it a bit tricky to get the parts on and off but I think we’re close to a final model.


After prototyping session, we still have a few technical details to address like using screws to connect the top and bottom layers instead of hot glue and a figuring out how to support or hide the battery holders. Additionally we’d like to design an easy way to attach practical or aesthetic elements to the bodies.

Over the next couple of weeks we’ll finish the designs, make a final version for Lodestar school and share an Instructable for this project so that more teachers and educators can experiment with this kit of parts.
Prototyping time and R&D with Lodestar Charter School students was made possible through the generous support of Cognizant “Making the Future” grant.