Micro:bit Computational Characters
This week we’ve started the second round of online tinkering workshops with our friends at Cabaret Mechanical Theater. In this workshop, titled Computational Contraptions, we’re exploring the intersection between the digital and physical world, especially connected to automata and other kinetic sculptures.
We we’ve been looking for ways to introduce the basic functions of the micro:bit using the onboard inputs and outputs in playful and creative projects. I’ve seen some people make digital pets with additions like feet and hair and during our workshop in Kuwait earlier this year we added googley eyes to the art machines to give them a bit of personality.


But we wanted to go a little future to connect with the artists that we’re highlighting in the CMT workshop. Sarah suggested taking some inspiration from Peter Markey’s style of blocky characters for this intro activity. We found that the geometric style worked really well to turn the Micro:bit into a fun character.

The materials that we used for this project included paper, sharpies, 20 gauge galvinized steel wire and masking tape in addition to the Micro:bit board. I also used some scrap cardboard and magazines for collaged clothes, hats and hair for the characters.


For the first step, I cut a piece of wire about 6-8 in long. Then I threaded the wire through the little hole on the right side of the board next to the B button and looped it around the GND (ground) hole a couple of times.
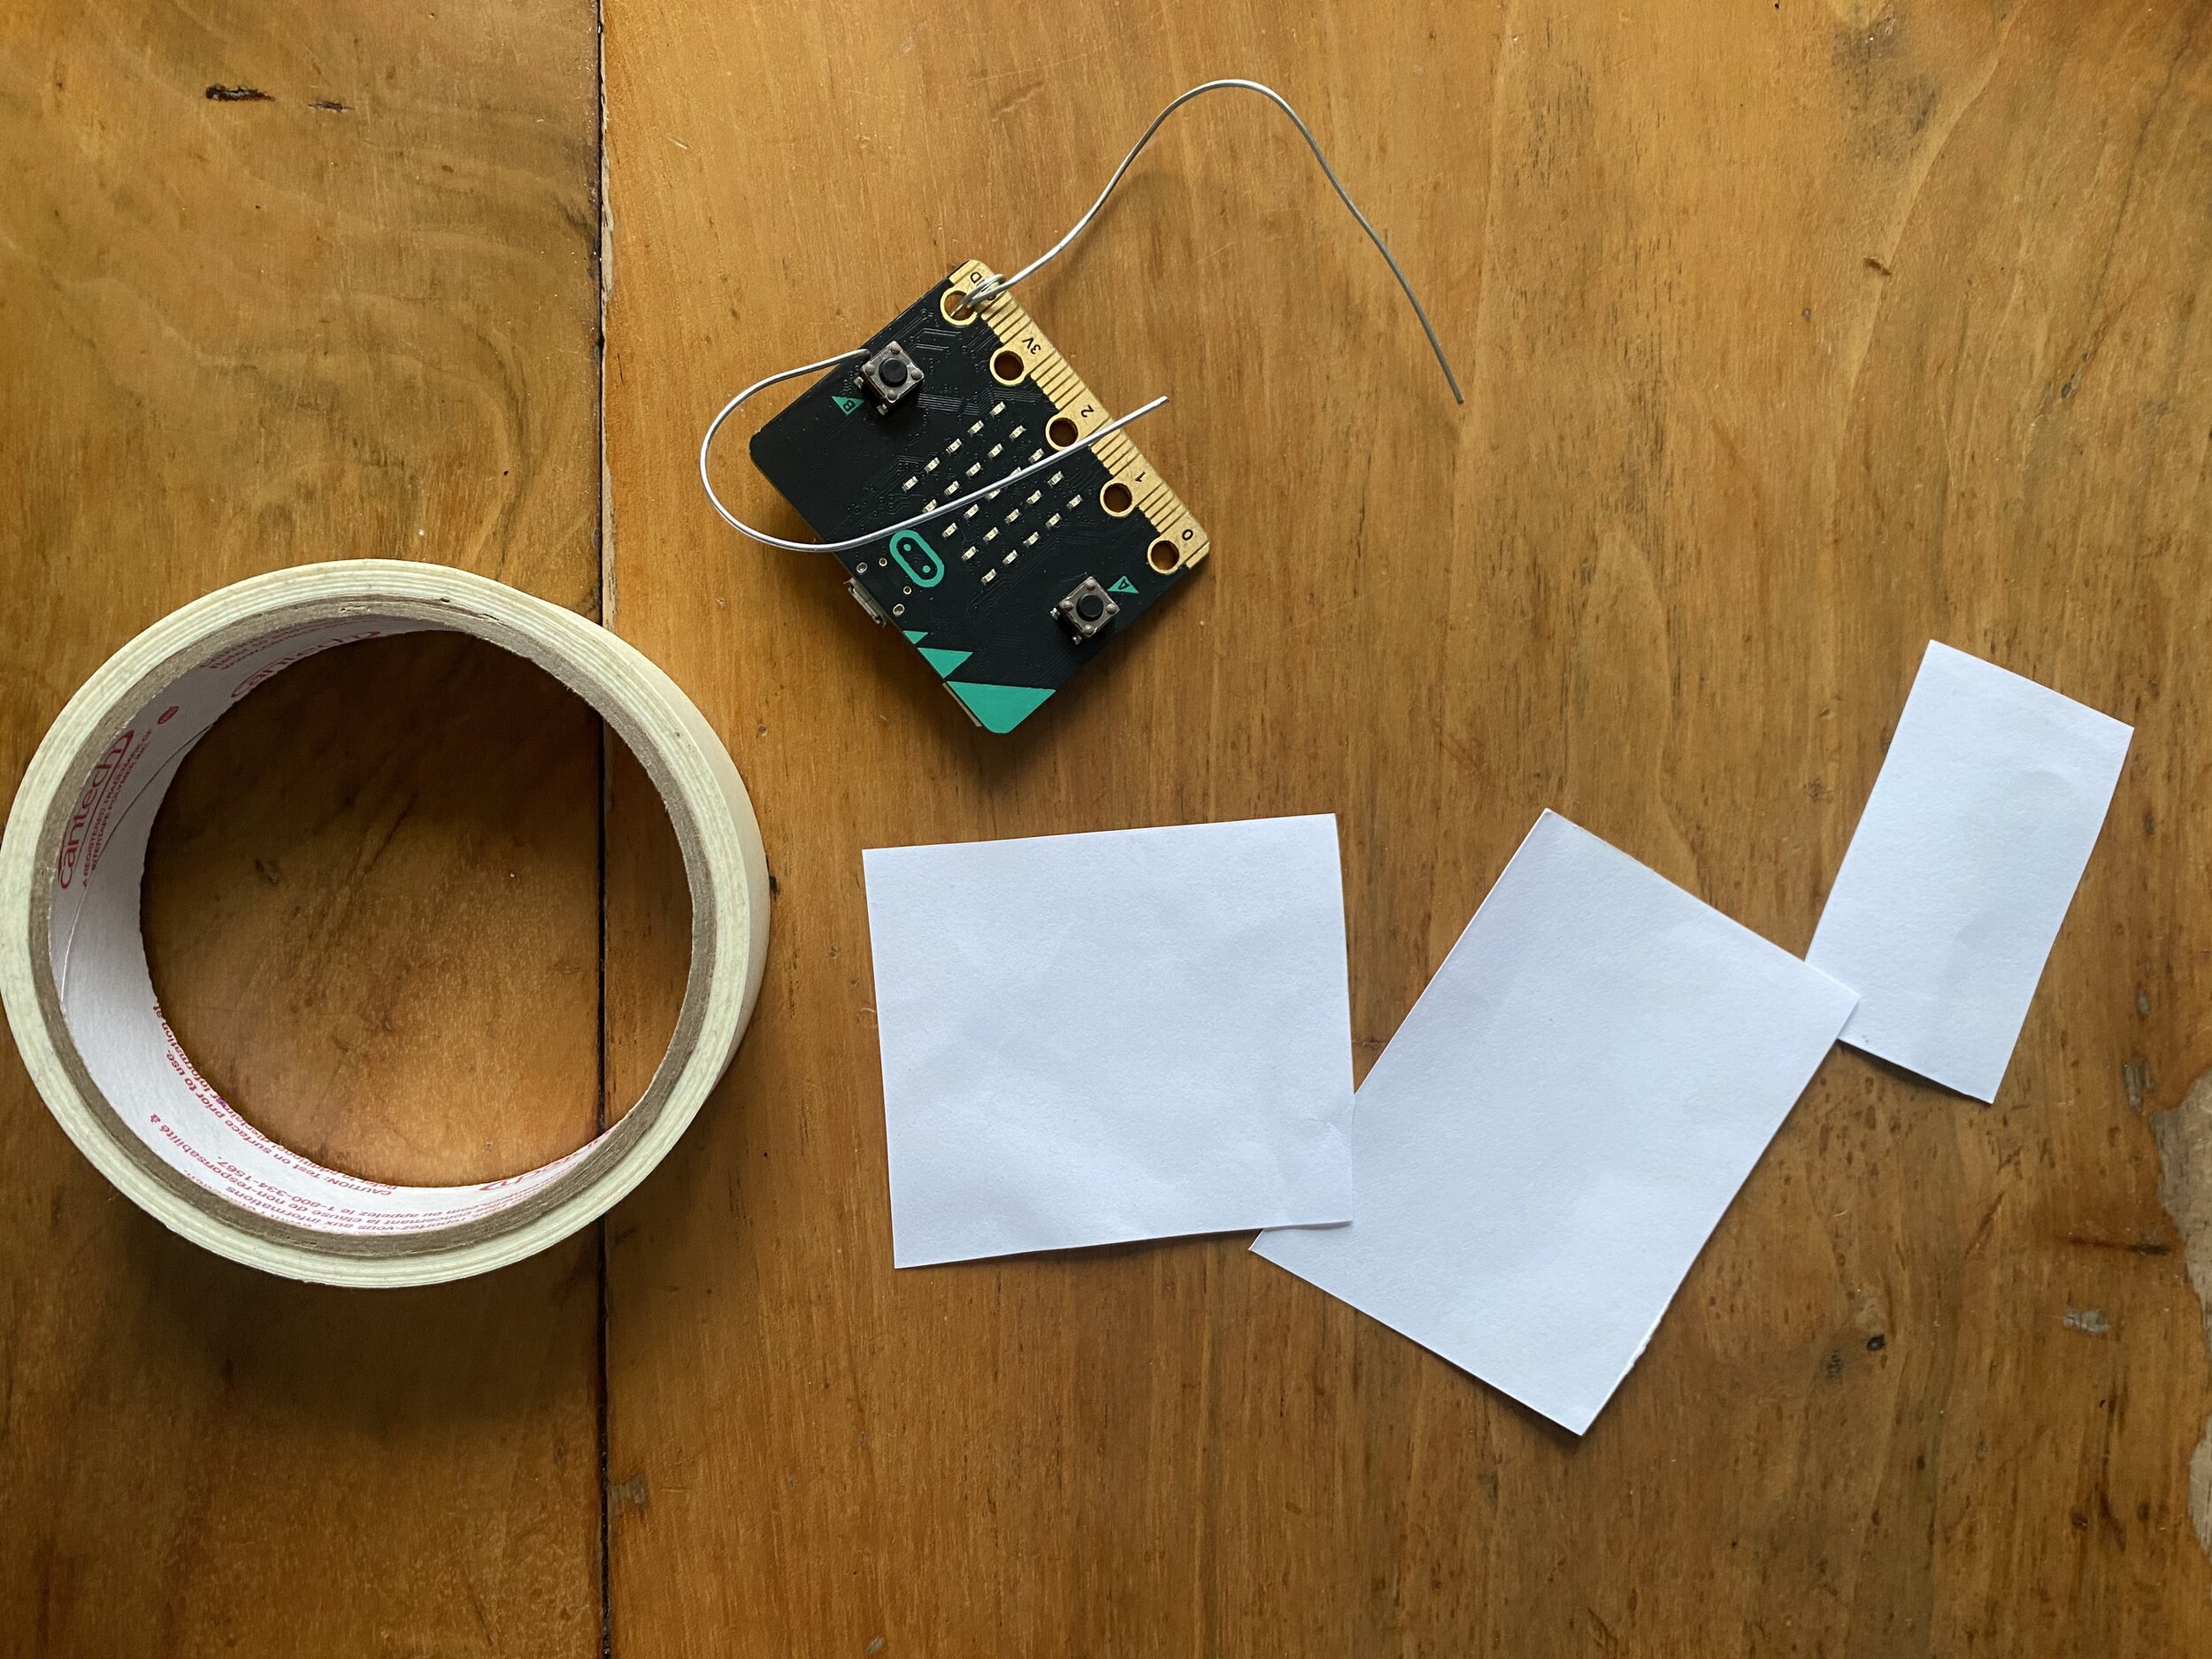
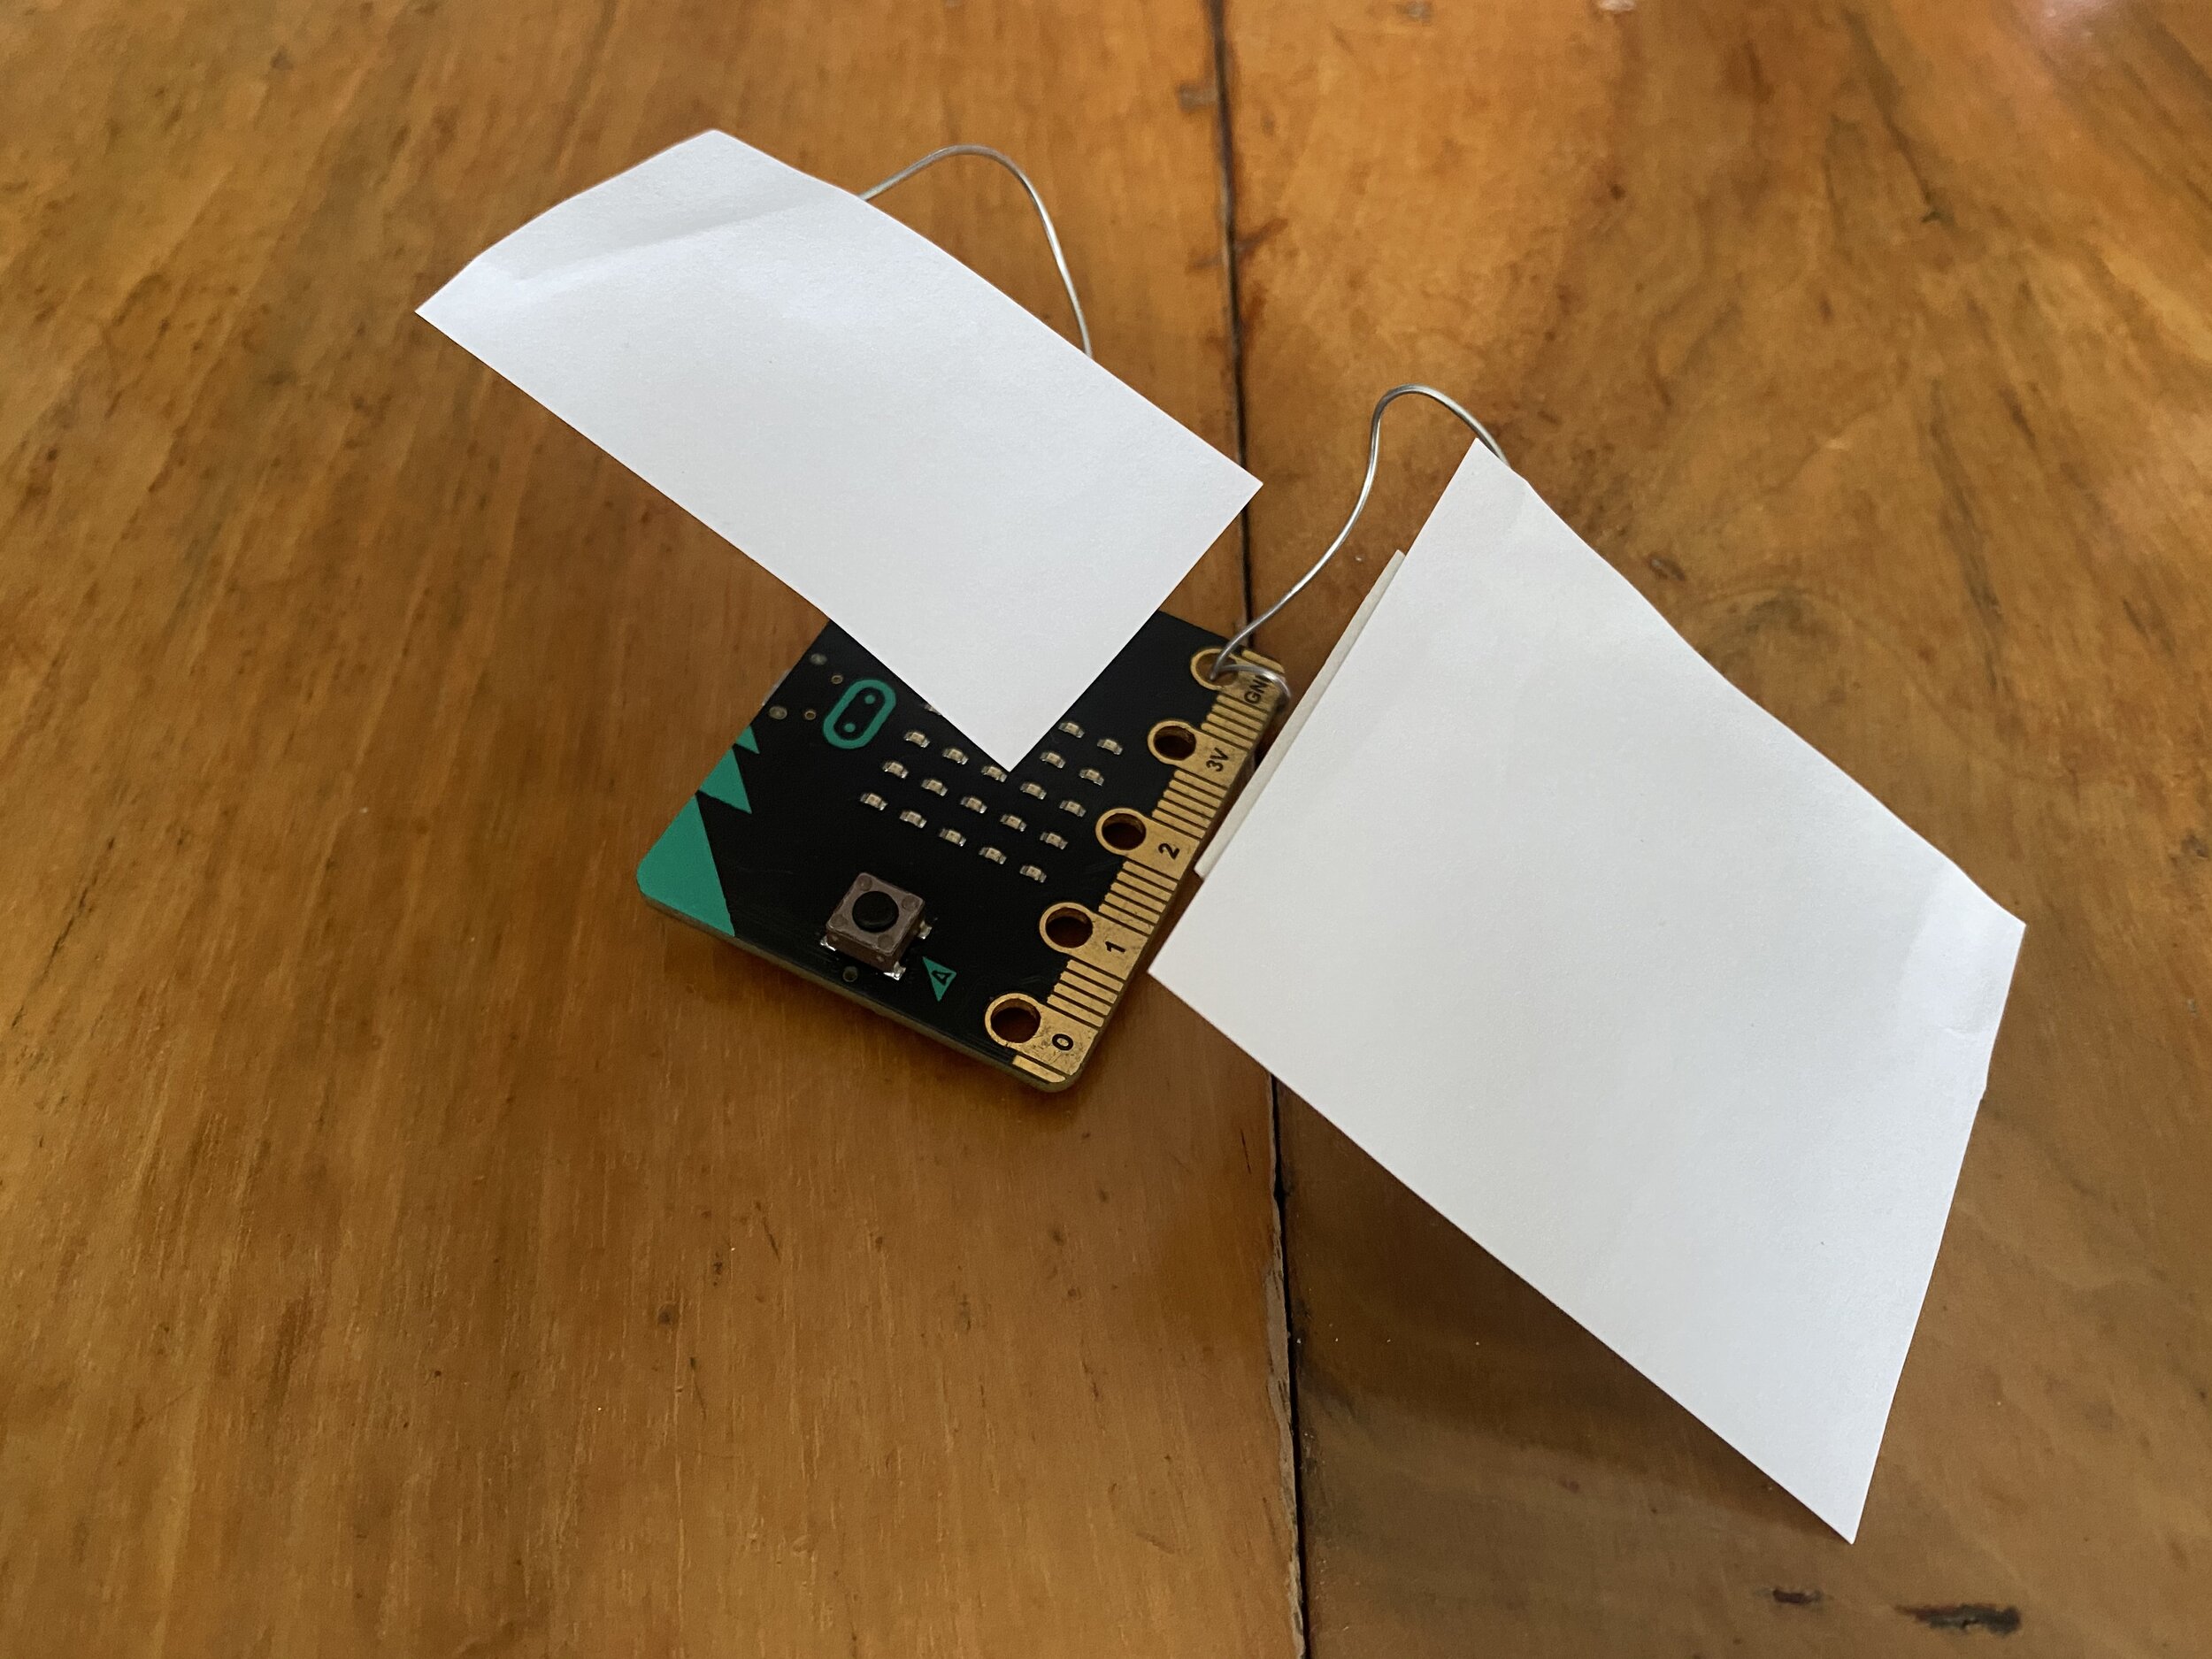
Then I cut a little piece of white printer paper to fit in the horizontal space between the two buttons for the face as well as a larger piece for the body. These can be little rectangles if you want to follow the style of Peter Markey but they can also be all types of different shapes depending on what kind of creature or character you want to make.

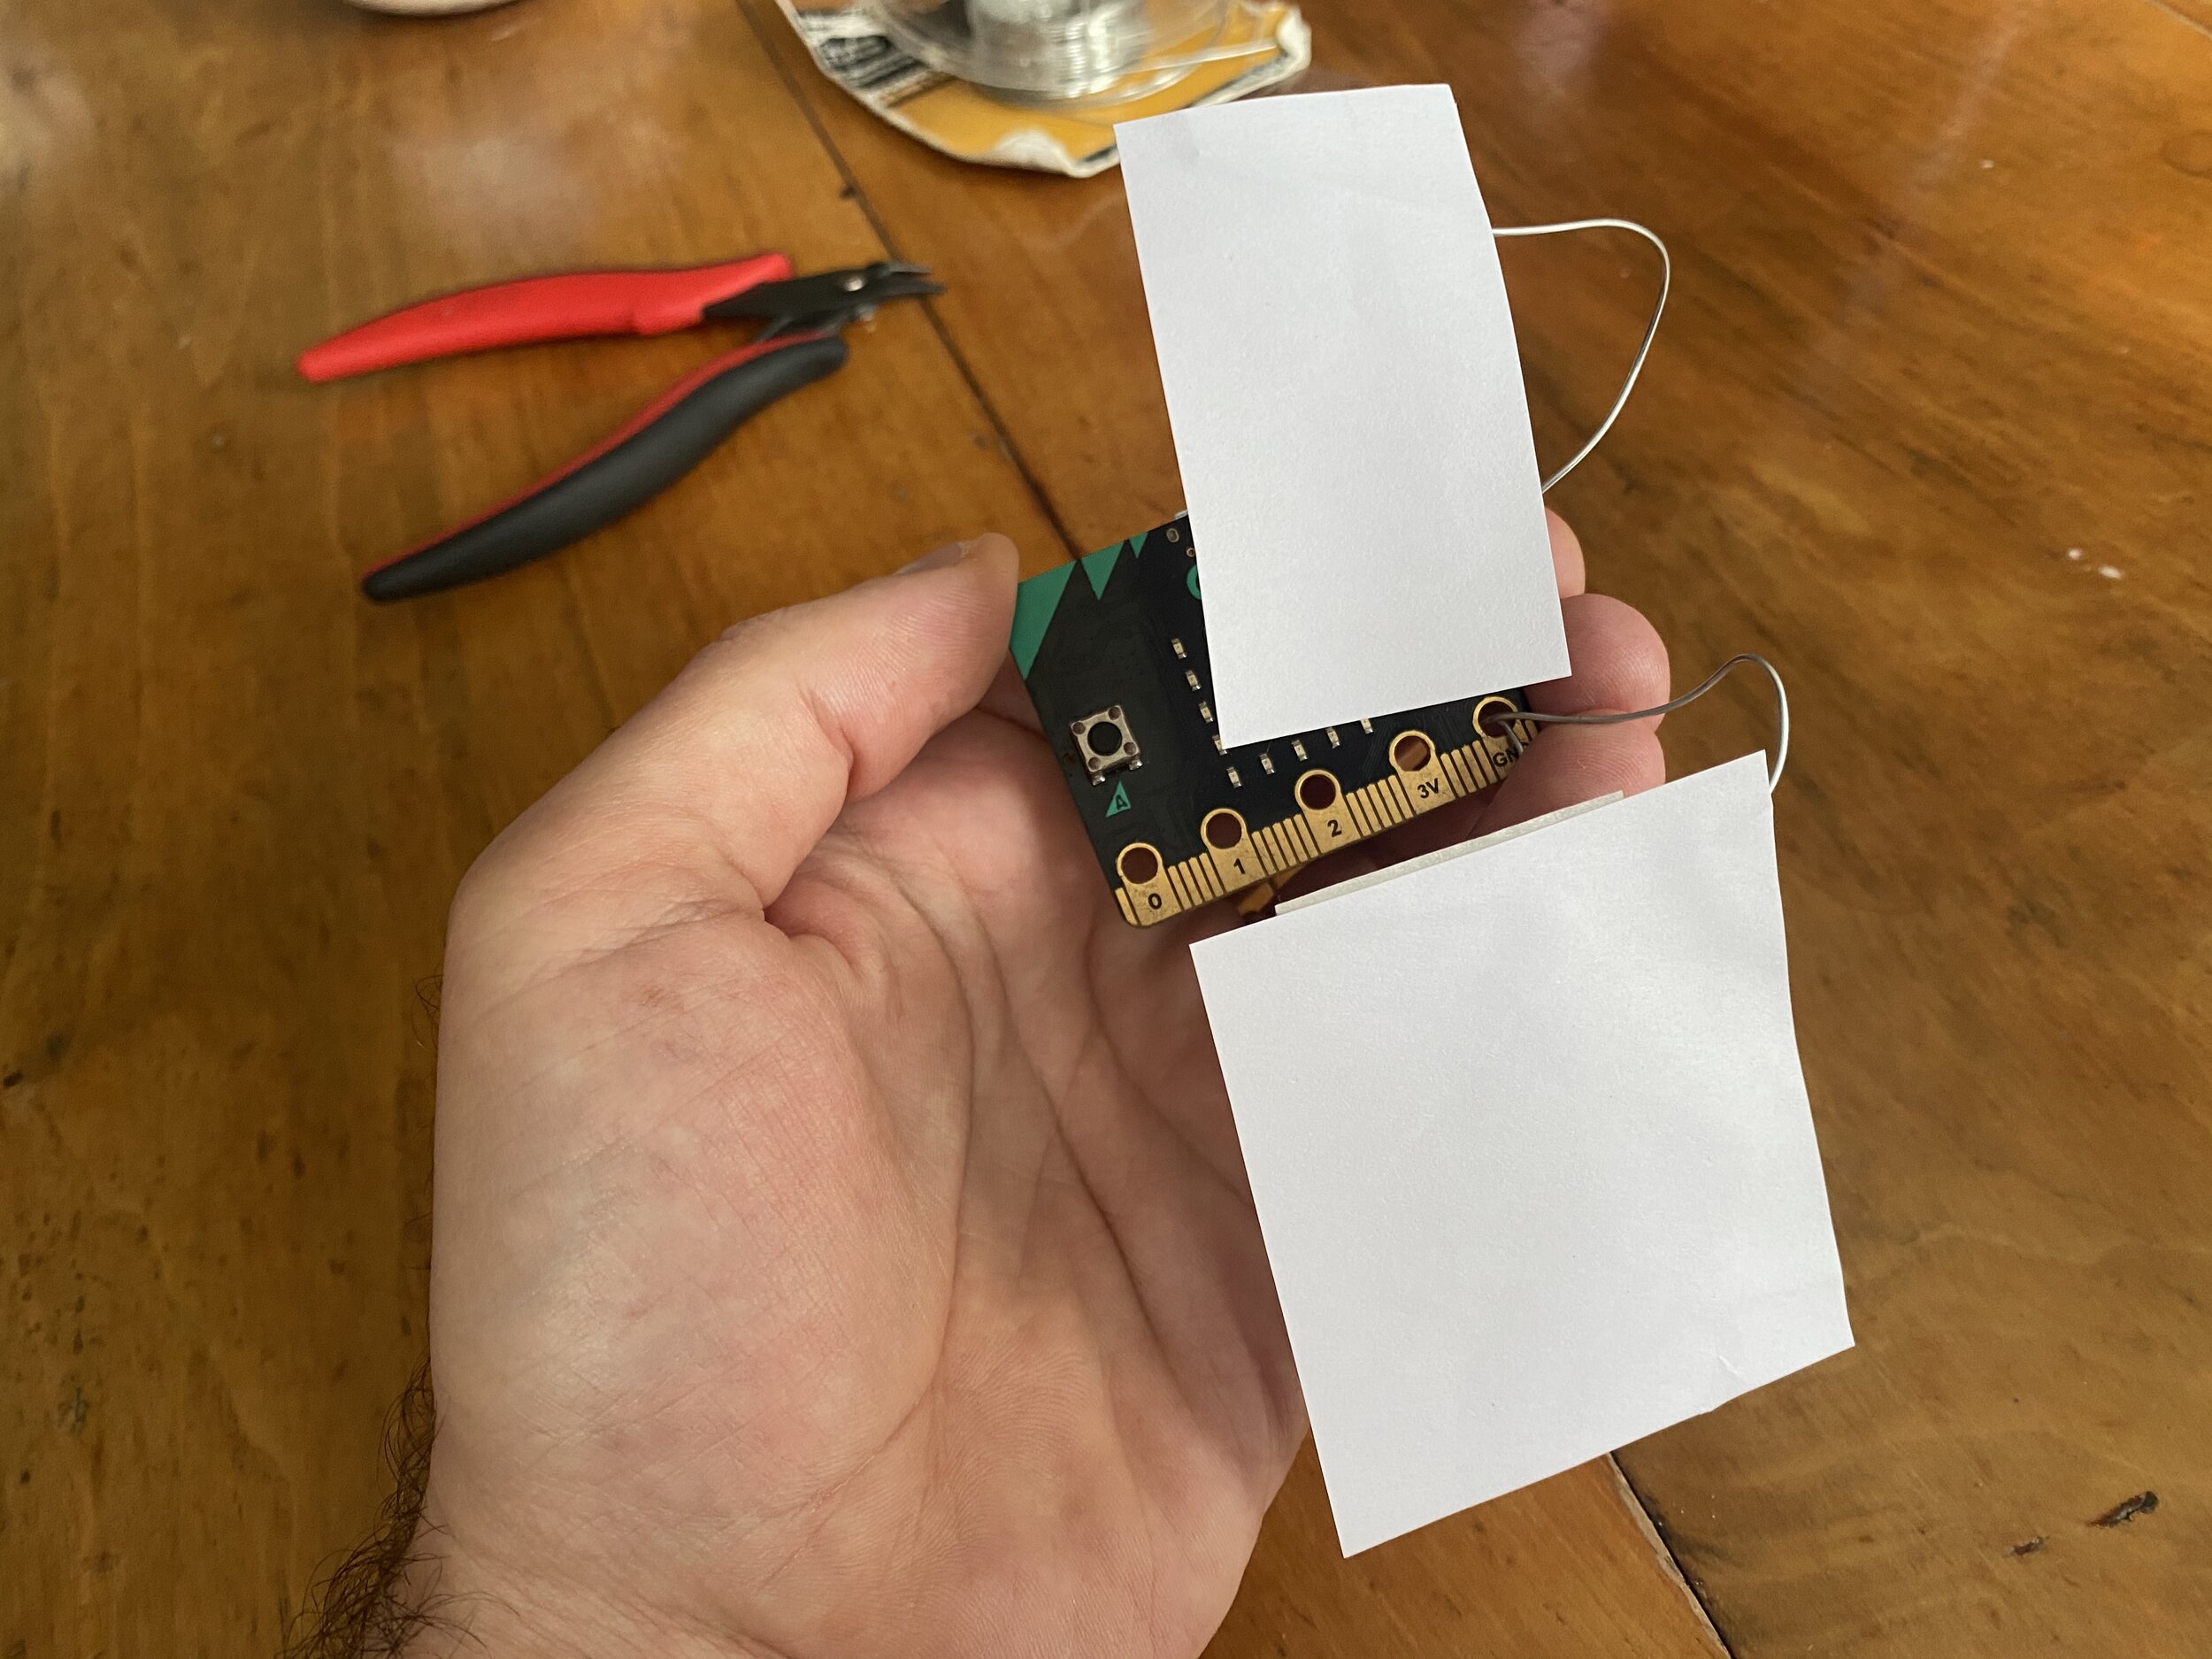
For the first experiments, I drew a face with sharpies, attached it to the wire using masking tape and then arranged it so that the LED screen of the Micro:bit became the mouth of the character. You might need to bend the wire a bit so that the paper sits flush against the board.
Some of the things that you can try out from coding the project on MakeCode include adding a looping mouth animation, use the buttons and experiment with the sensor inputs of the boards. I’m excited to see what workshop participants do with this project and how simple physical materials can extend the computational experience and connect the exploration to artists’ work.