Solar Garden Light Dissection and Remix
As part of an ongoing collaboration with the ETH Zurich Plant Science Lab to investigate projects that involve plant-like robots that are powered by the sun, respond to environmental inputs and have engaging aesthetic qualities. I got intrigued about the possibilities for dissecting and remixing solar garden lights on a suggestion from Keith Braafladt and I wanted to share some of the steps for the activity.
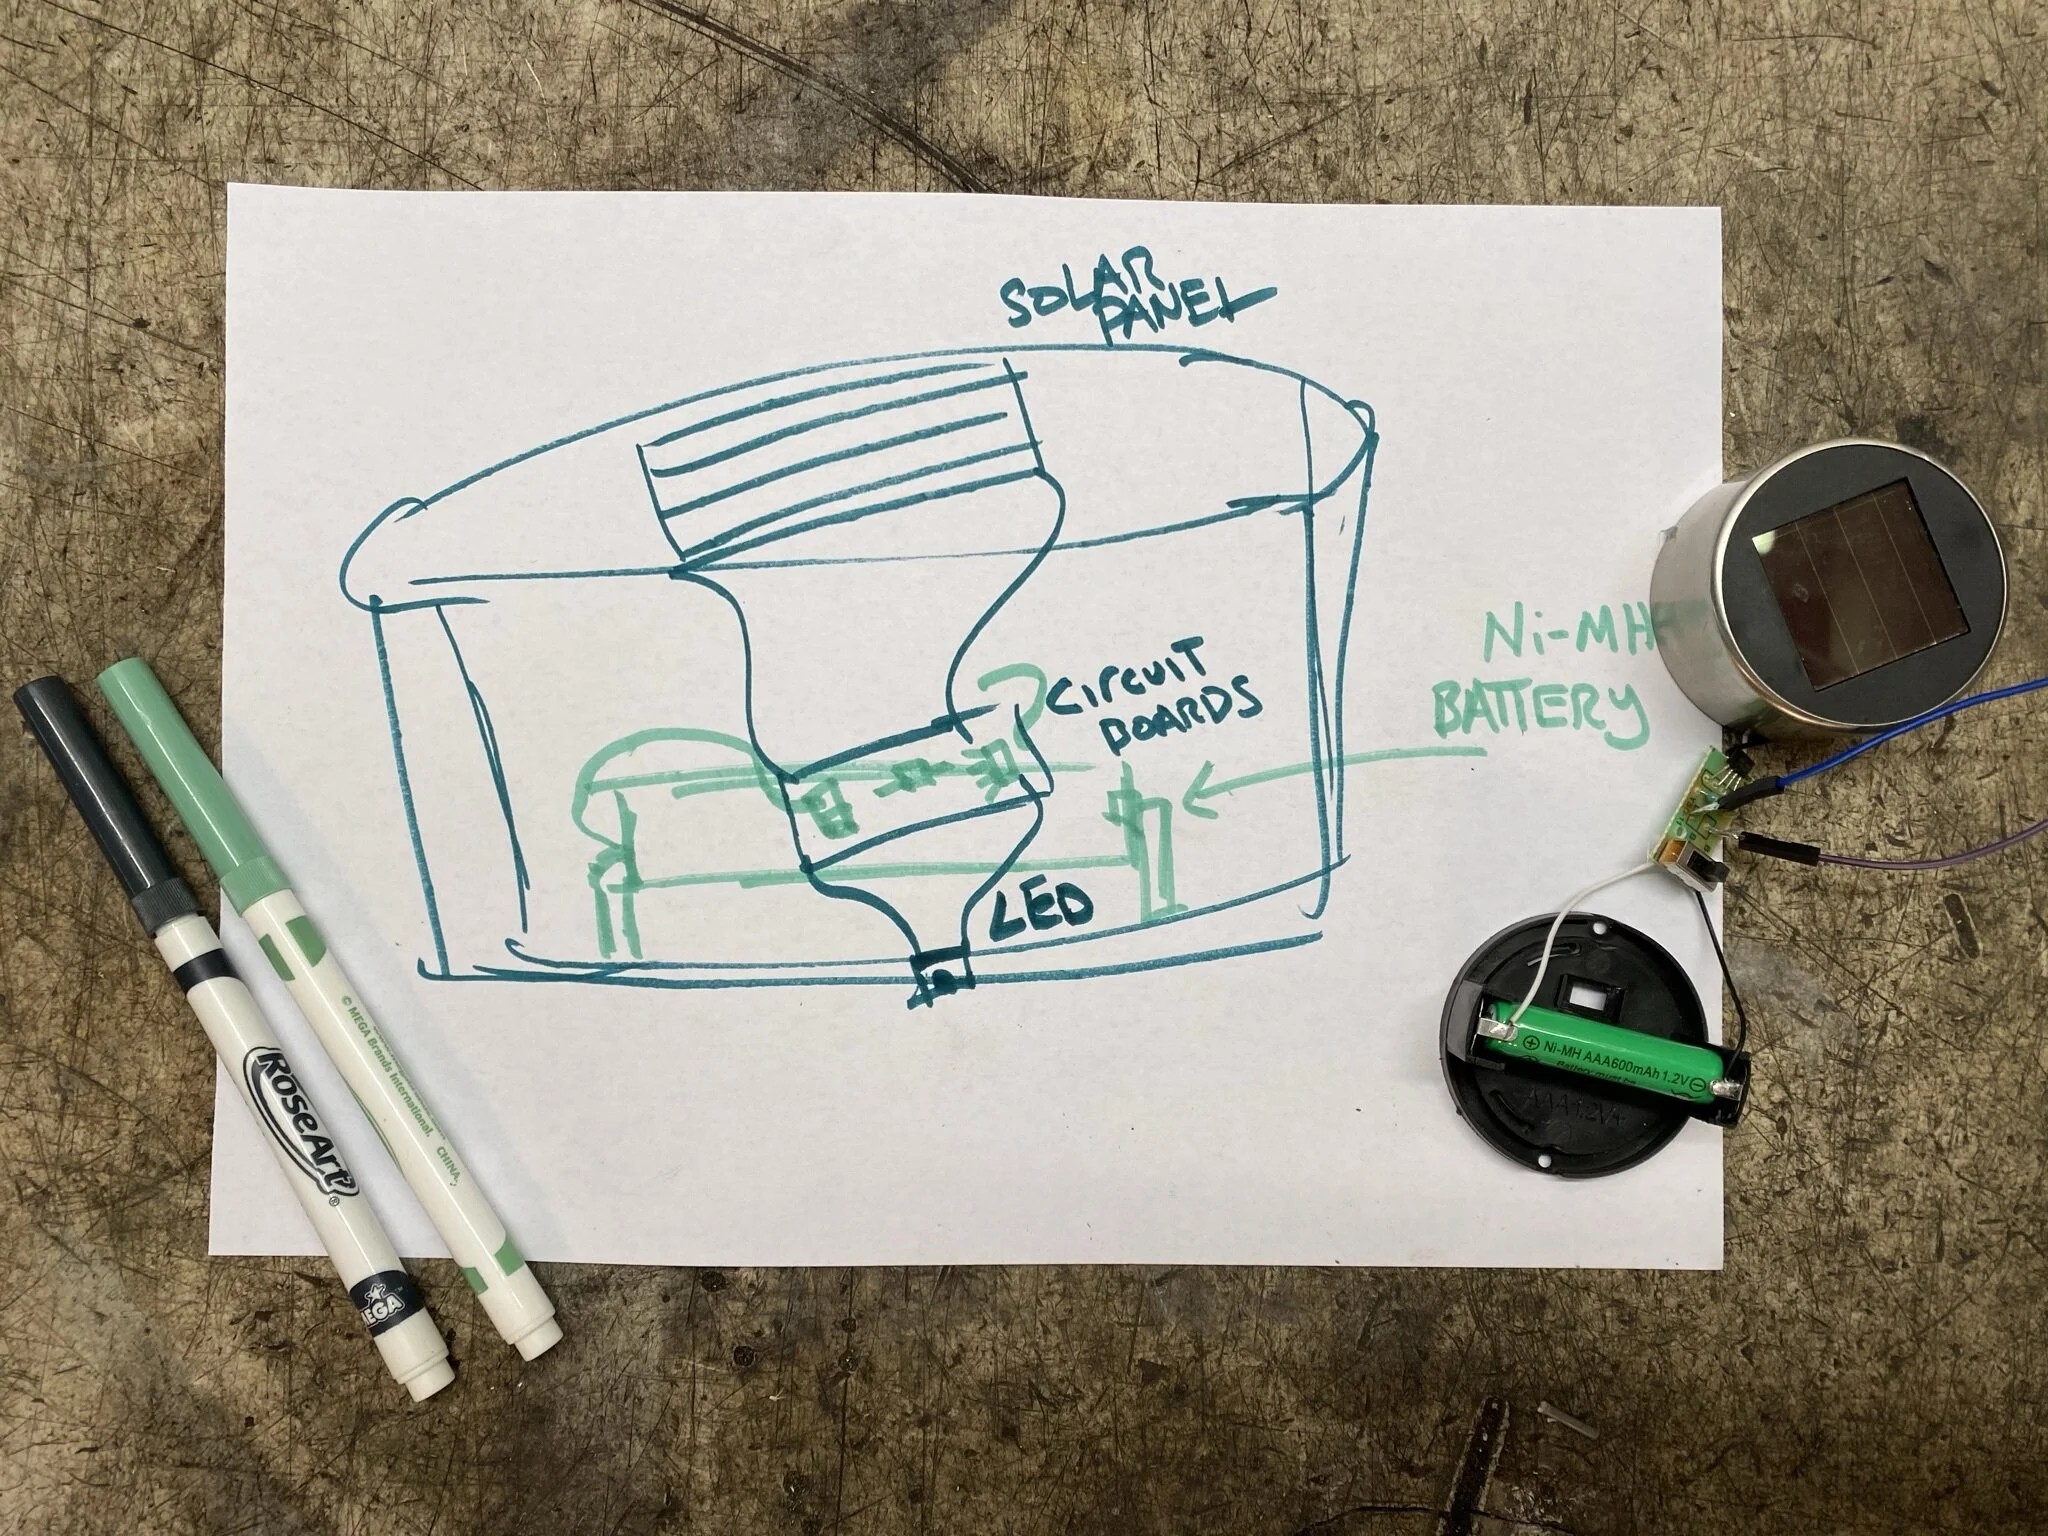
This project built on the Toy Dissection guide from the Tinkering Studio and with a group of students I would start in the same way. Using an adapted Project Zero thinking routine, learners can draw and imagine what they think might be inside the garden light and then use a small screwdriver to dissect and confirm or challenge their guesses.


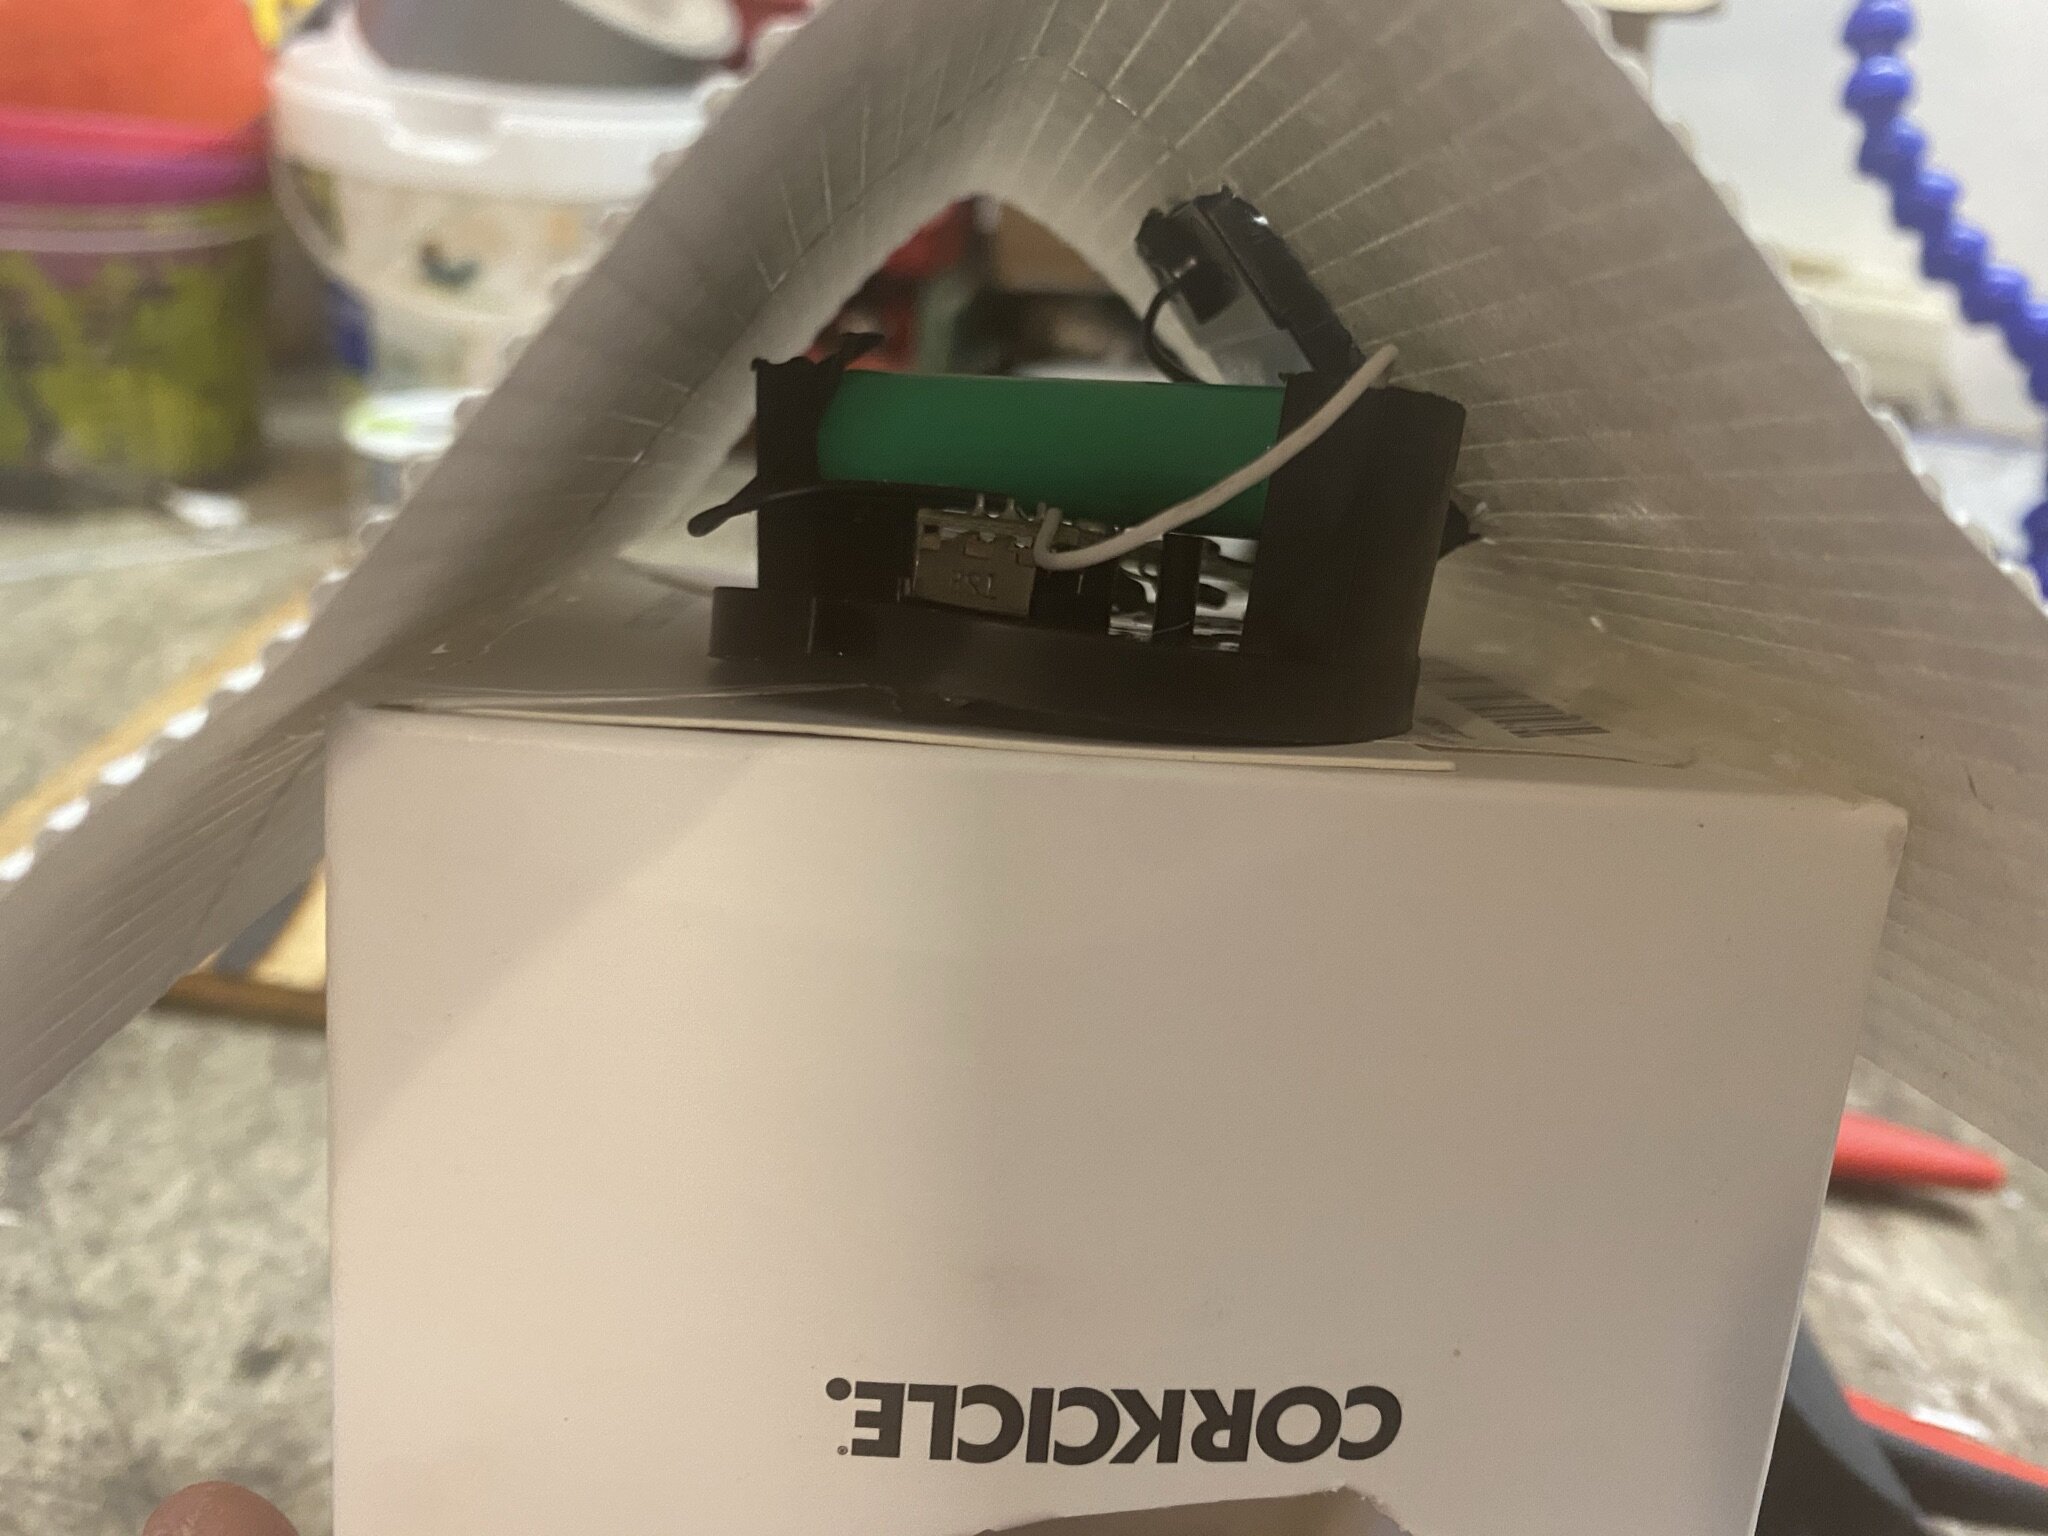
When I dissected my first garden light , I was surprised to find that their was a rechargeable AAA battery inside. I hadn’t fully realized that for many solar powered devices (especially those that need to work in the dark) there has to be a way to store and release the electricity.
It was also cool to discover that there’s not a separate light sensor but that the solar panel does double duty as a charging cell and a light detector.
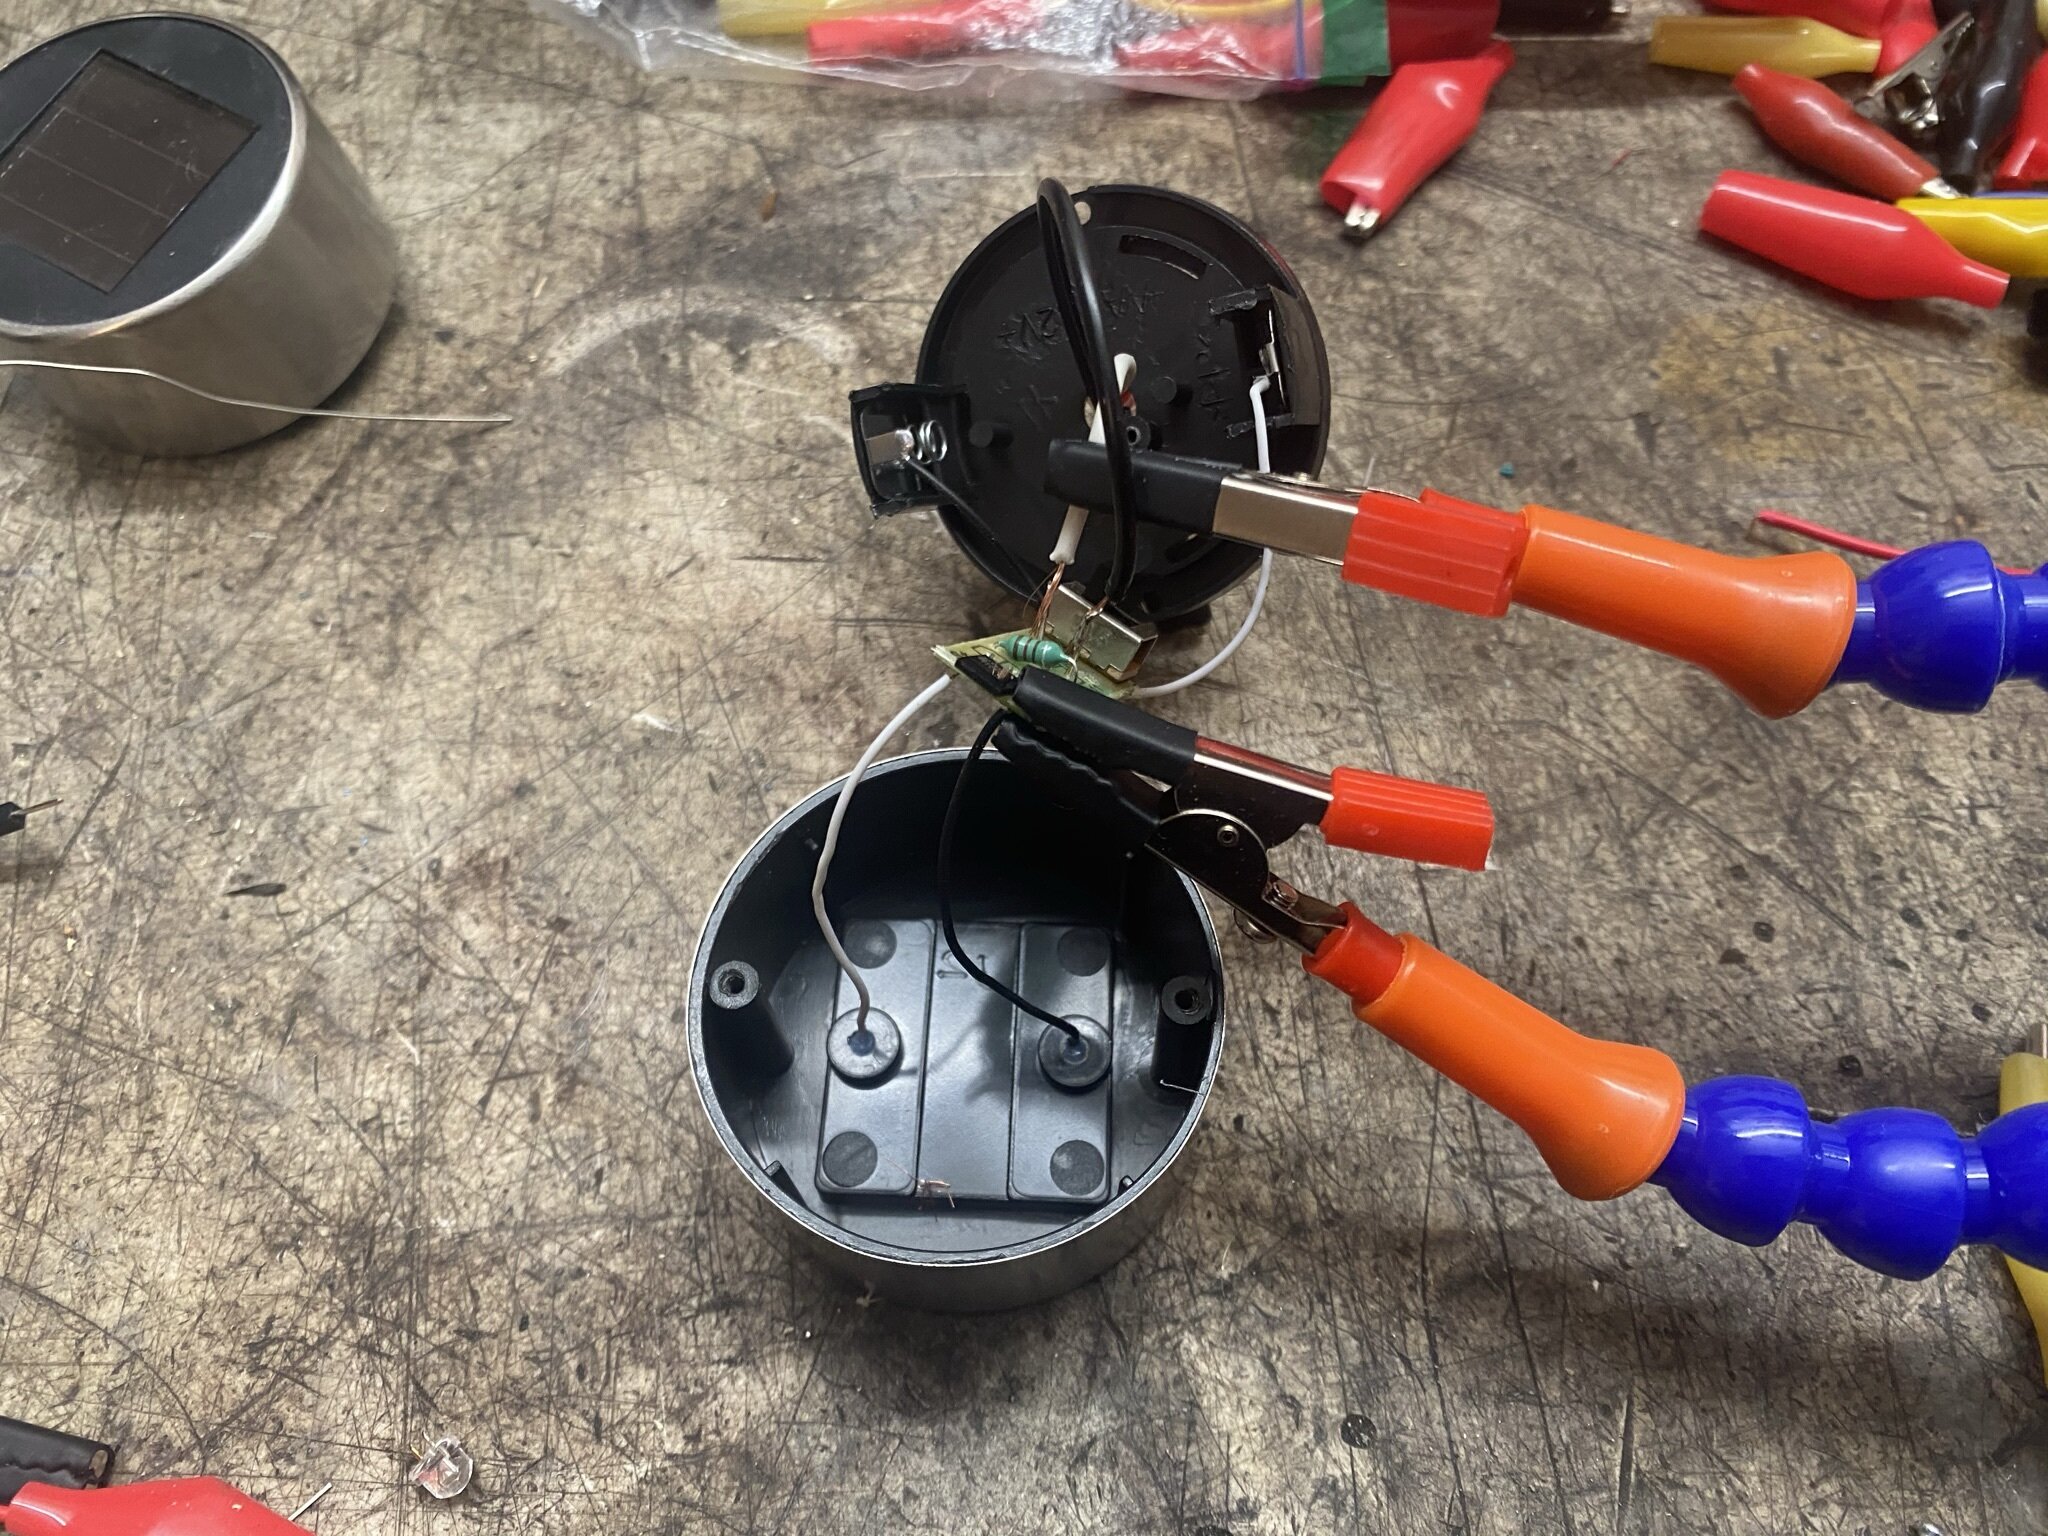
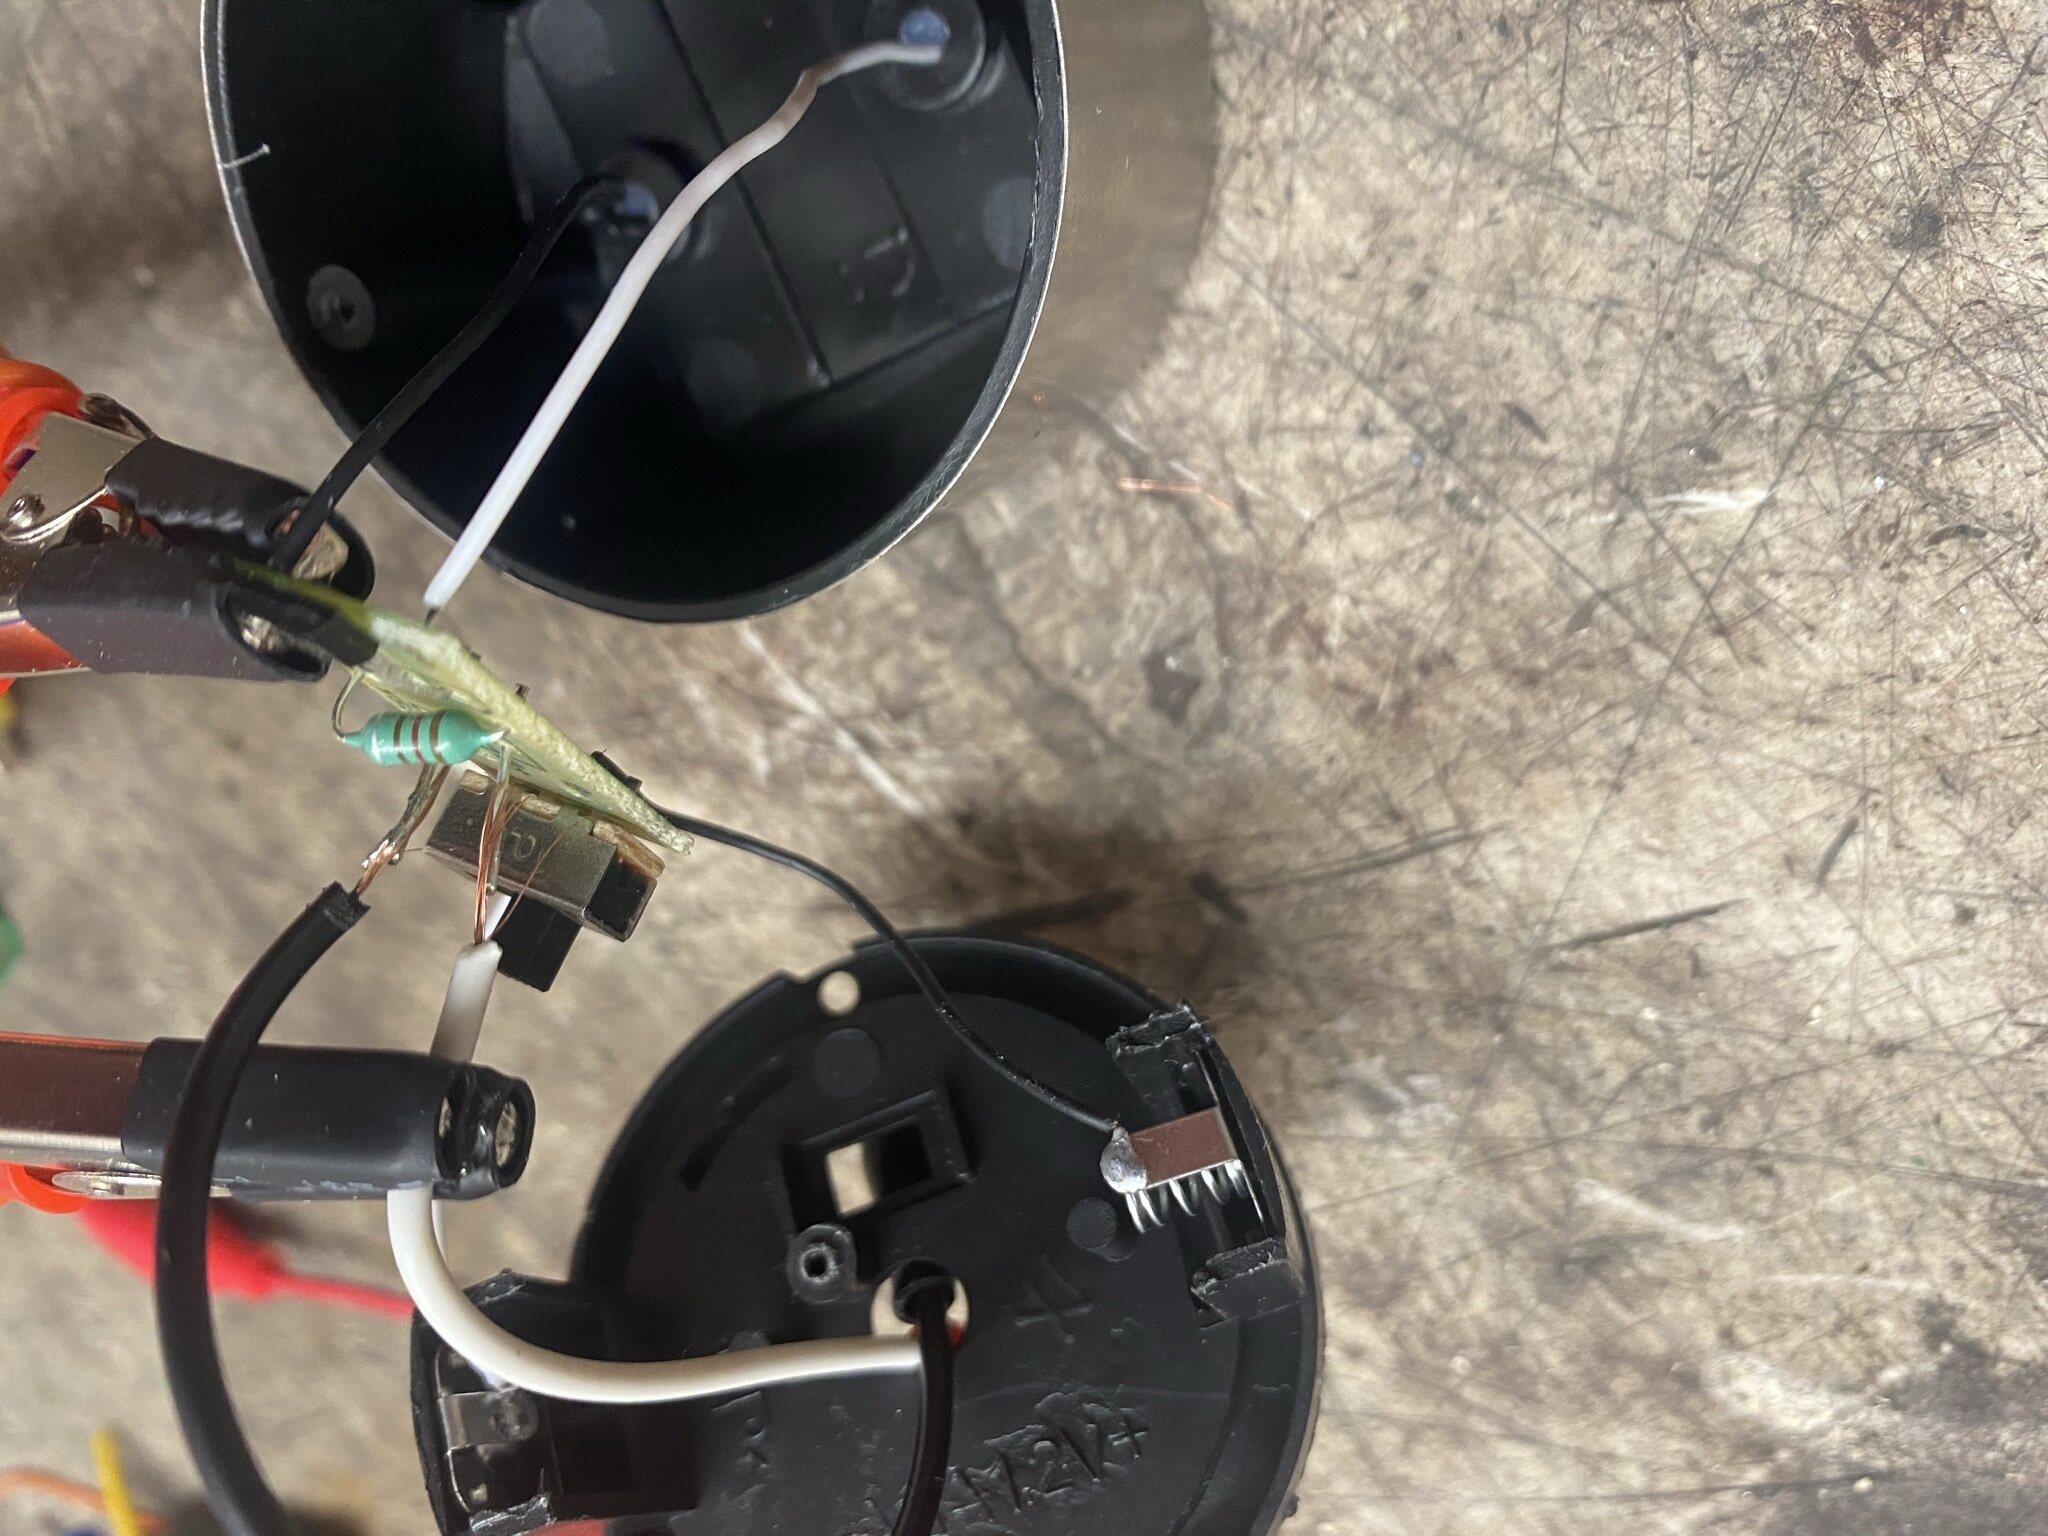
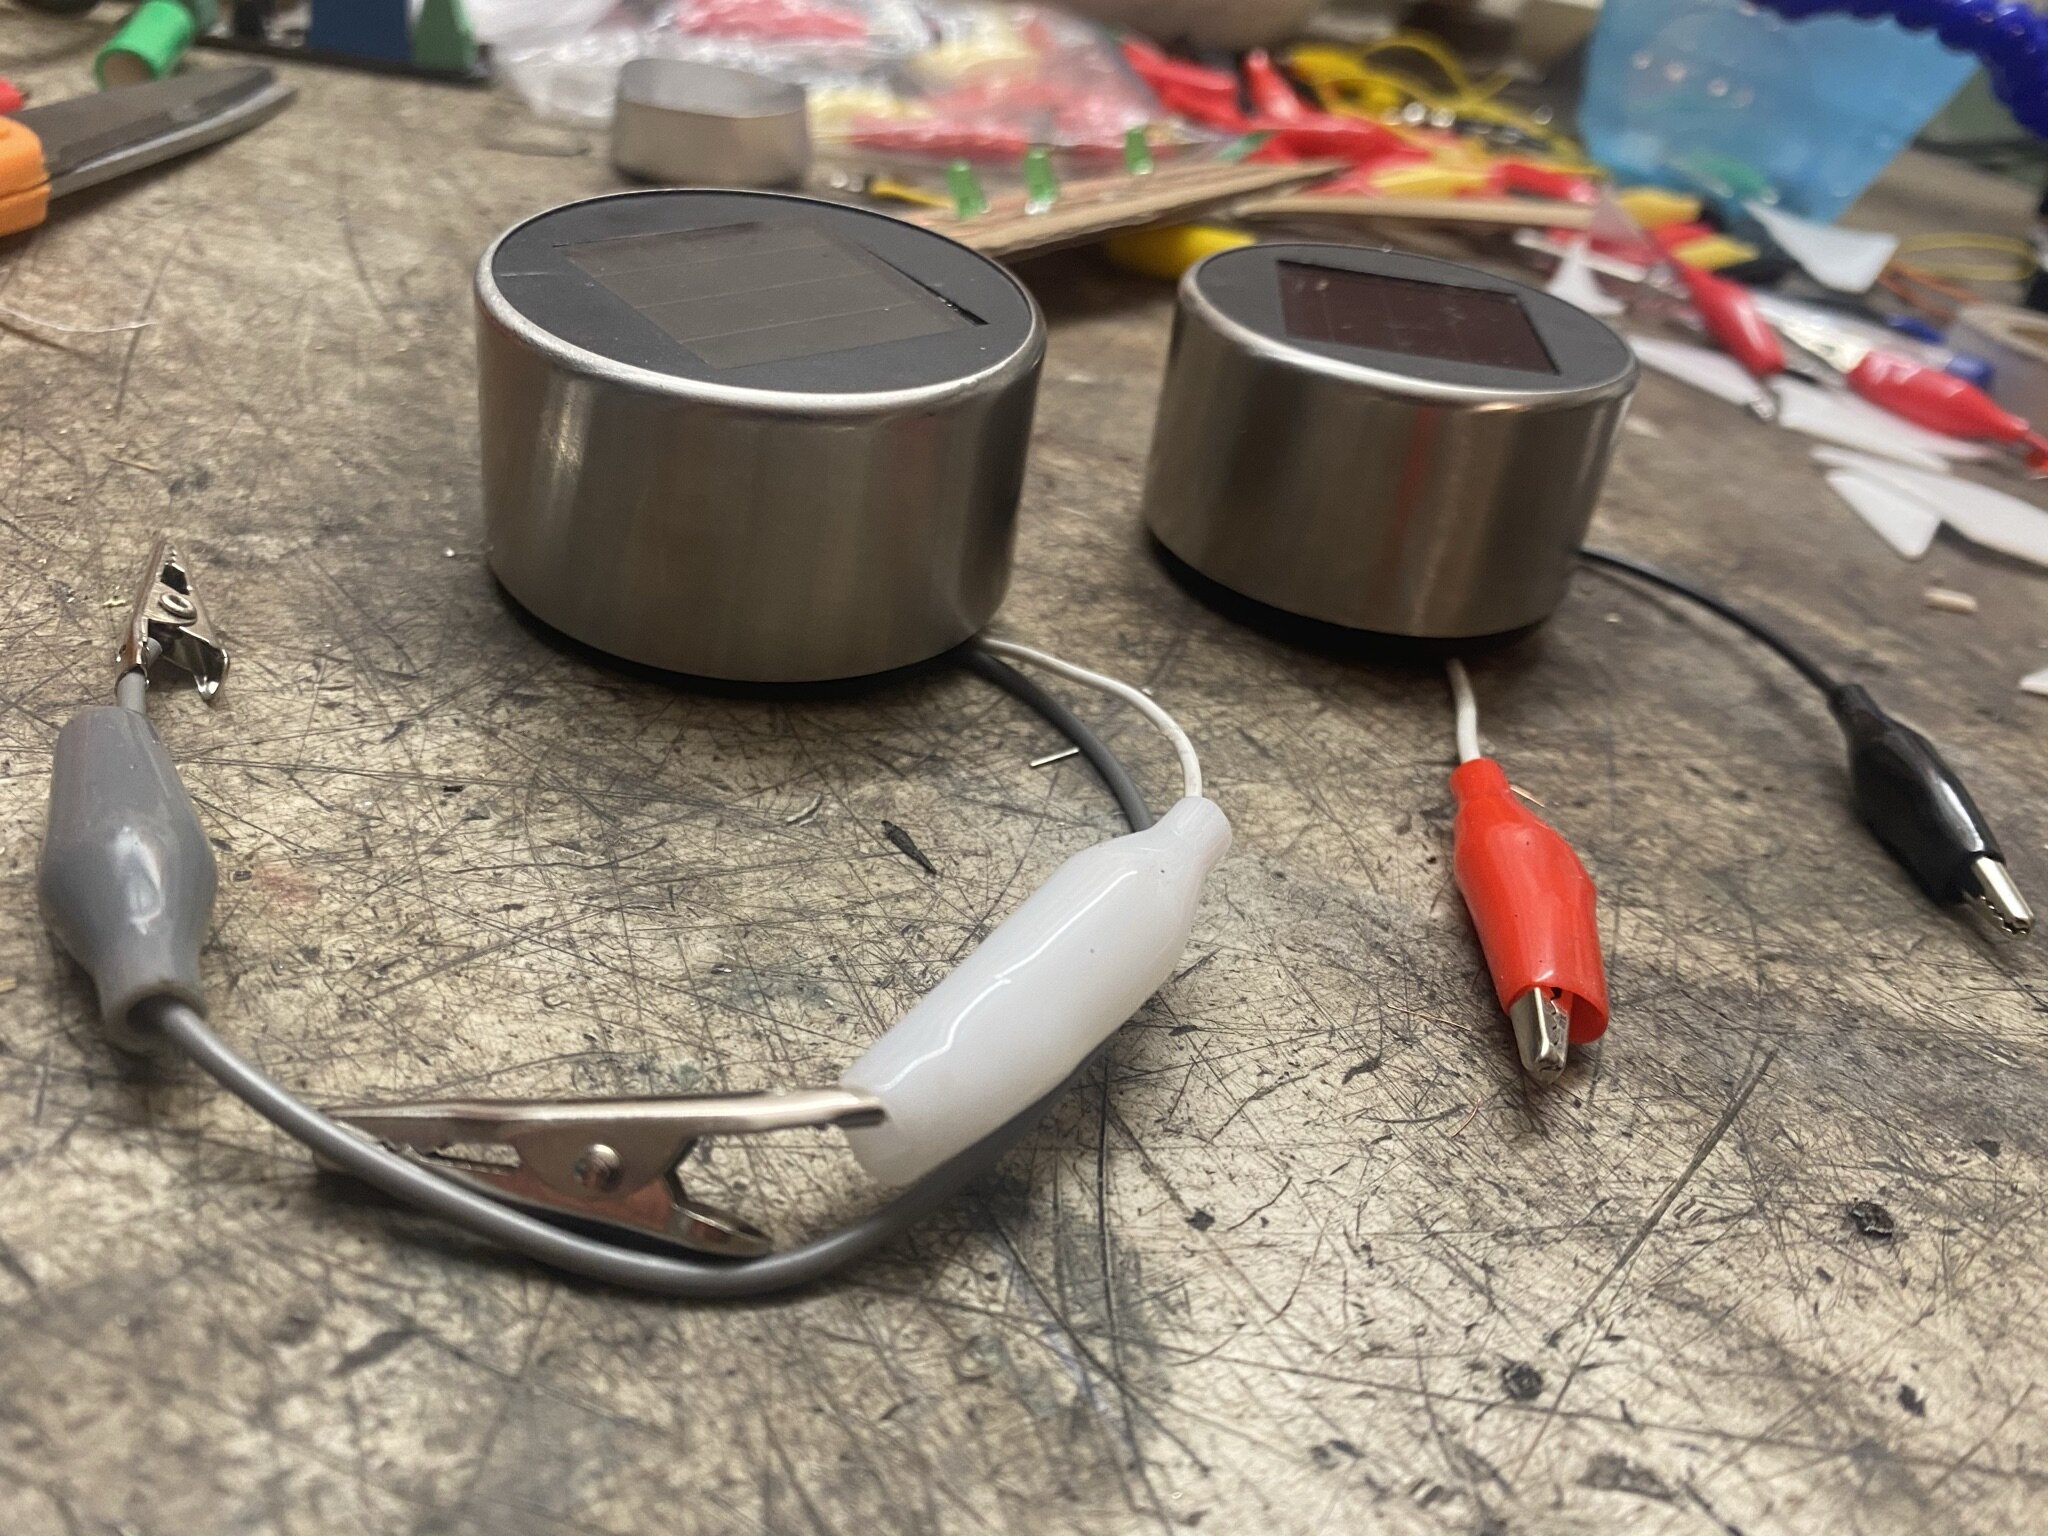
The nest step for me was to clip off the white LED on the bottom of the circuit board and solder on two alligator clip leads so that I could test different components with the garden light assembly.

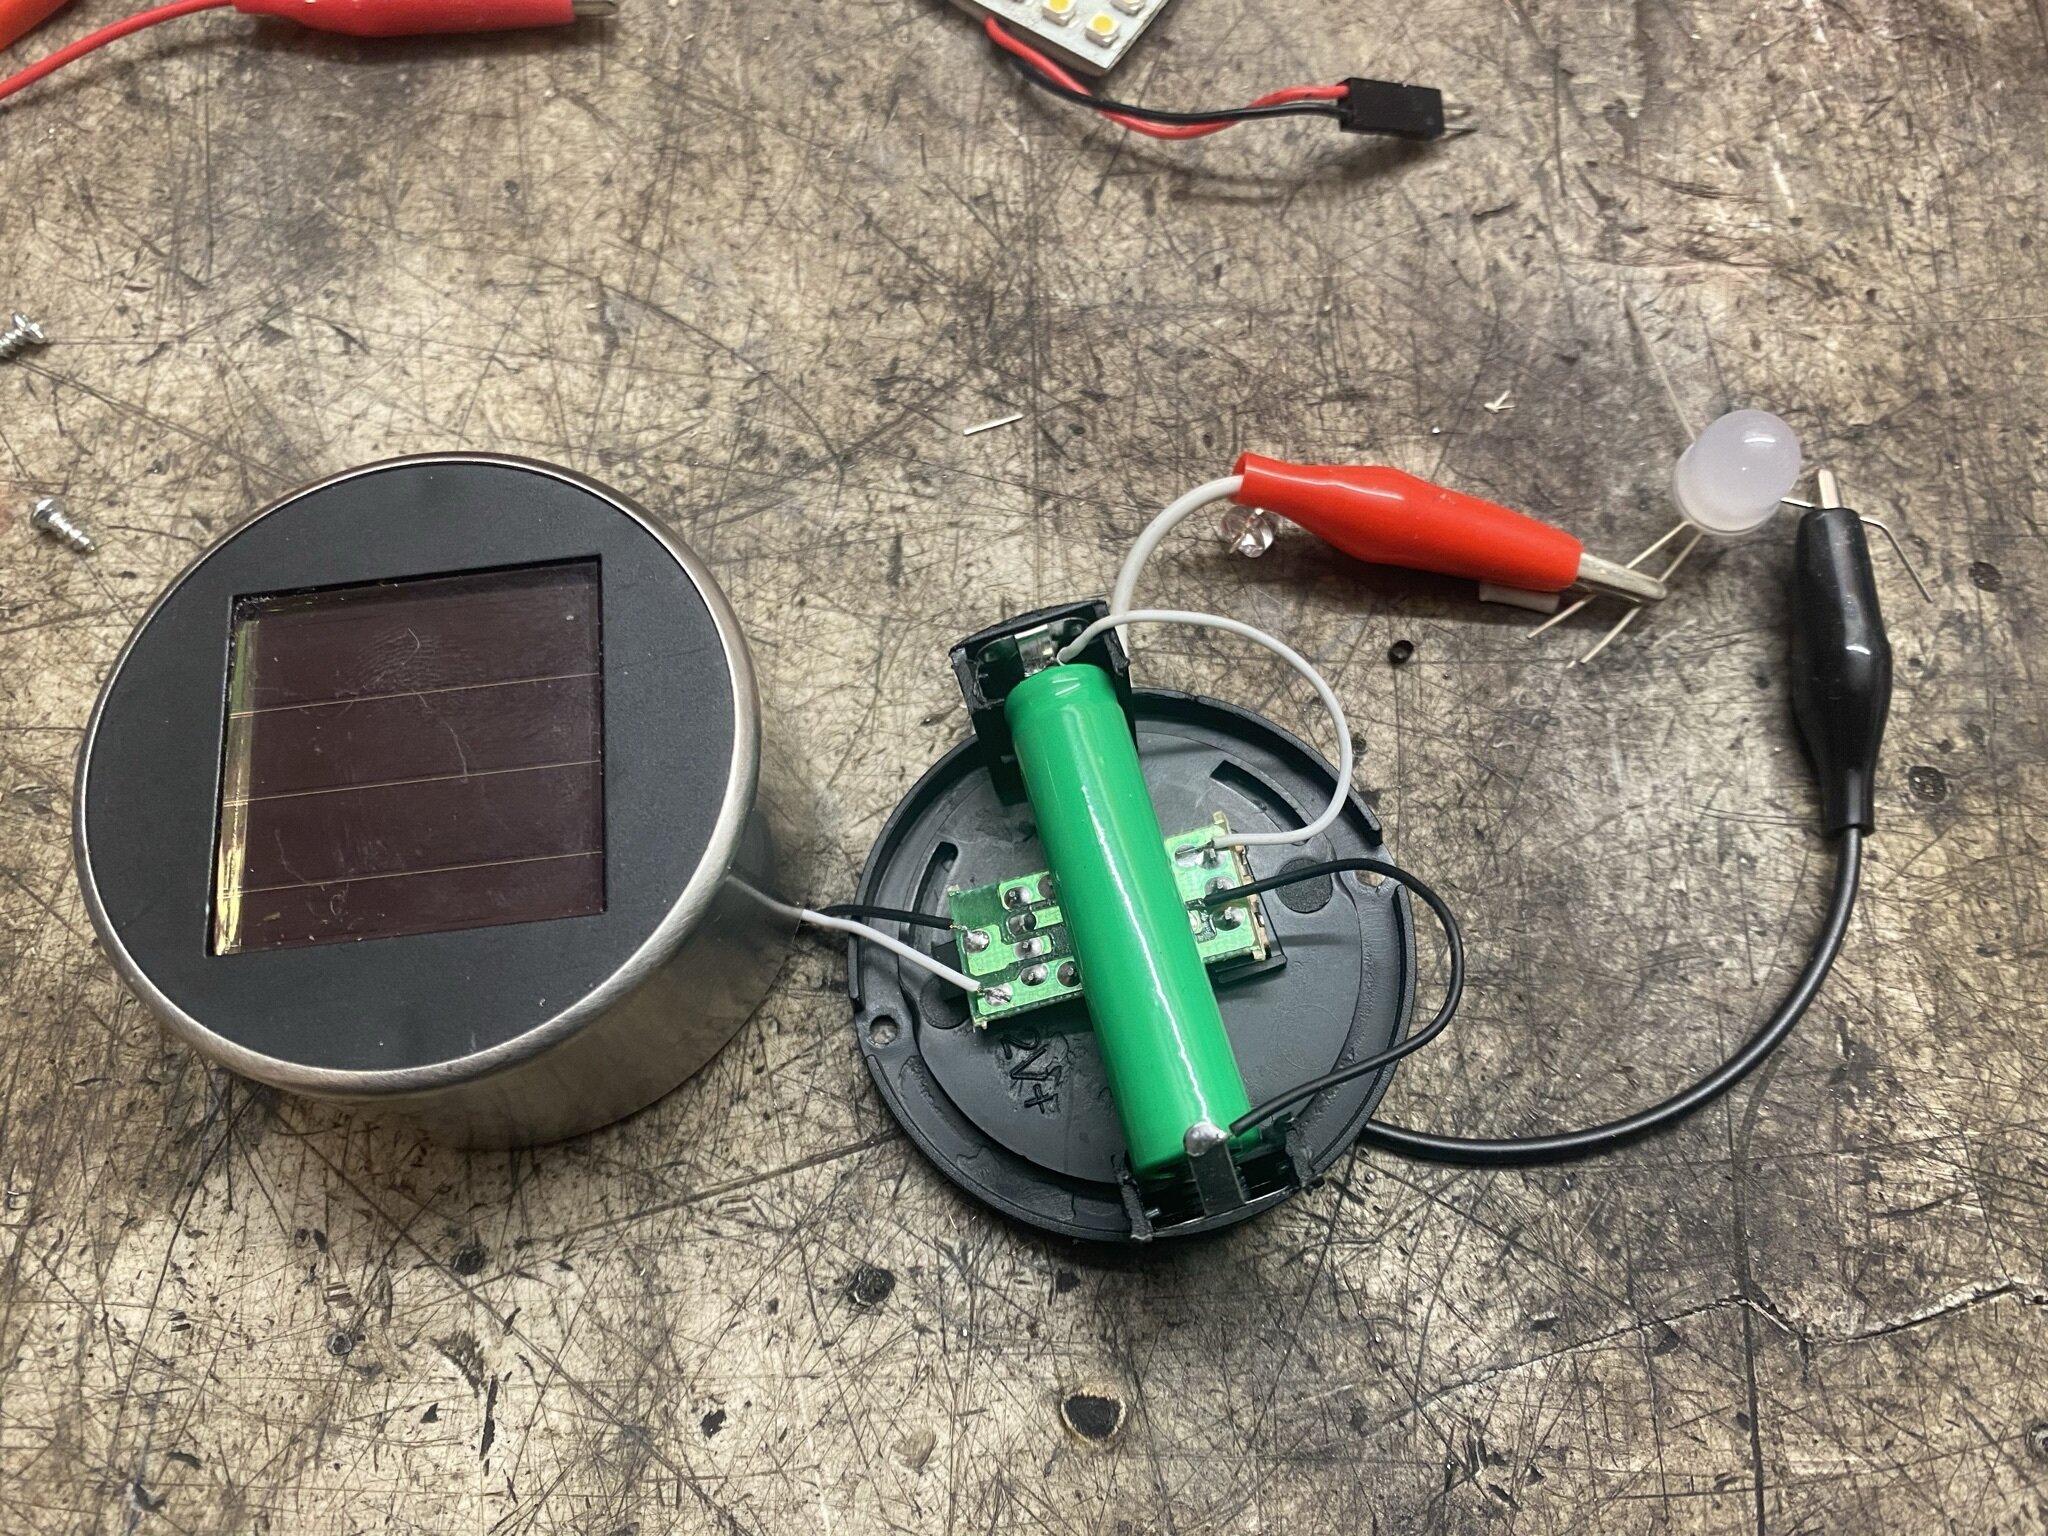
I connected to a single 10mm gumdrop LED, a little paper circuit strip with many lights in parallel and the legs of an RGB LED. All of these worked exactly the same as the little white light where they turned on when the solar panel was covered (or it was dark) and turned off in the light. One surprising thing that I haven’t yet understood is that when I attached a tiny pager motor, it didn’t work in the same way and just kept spinning no matter whether it was light or dark.

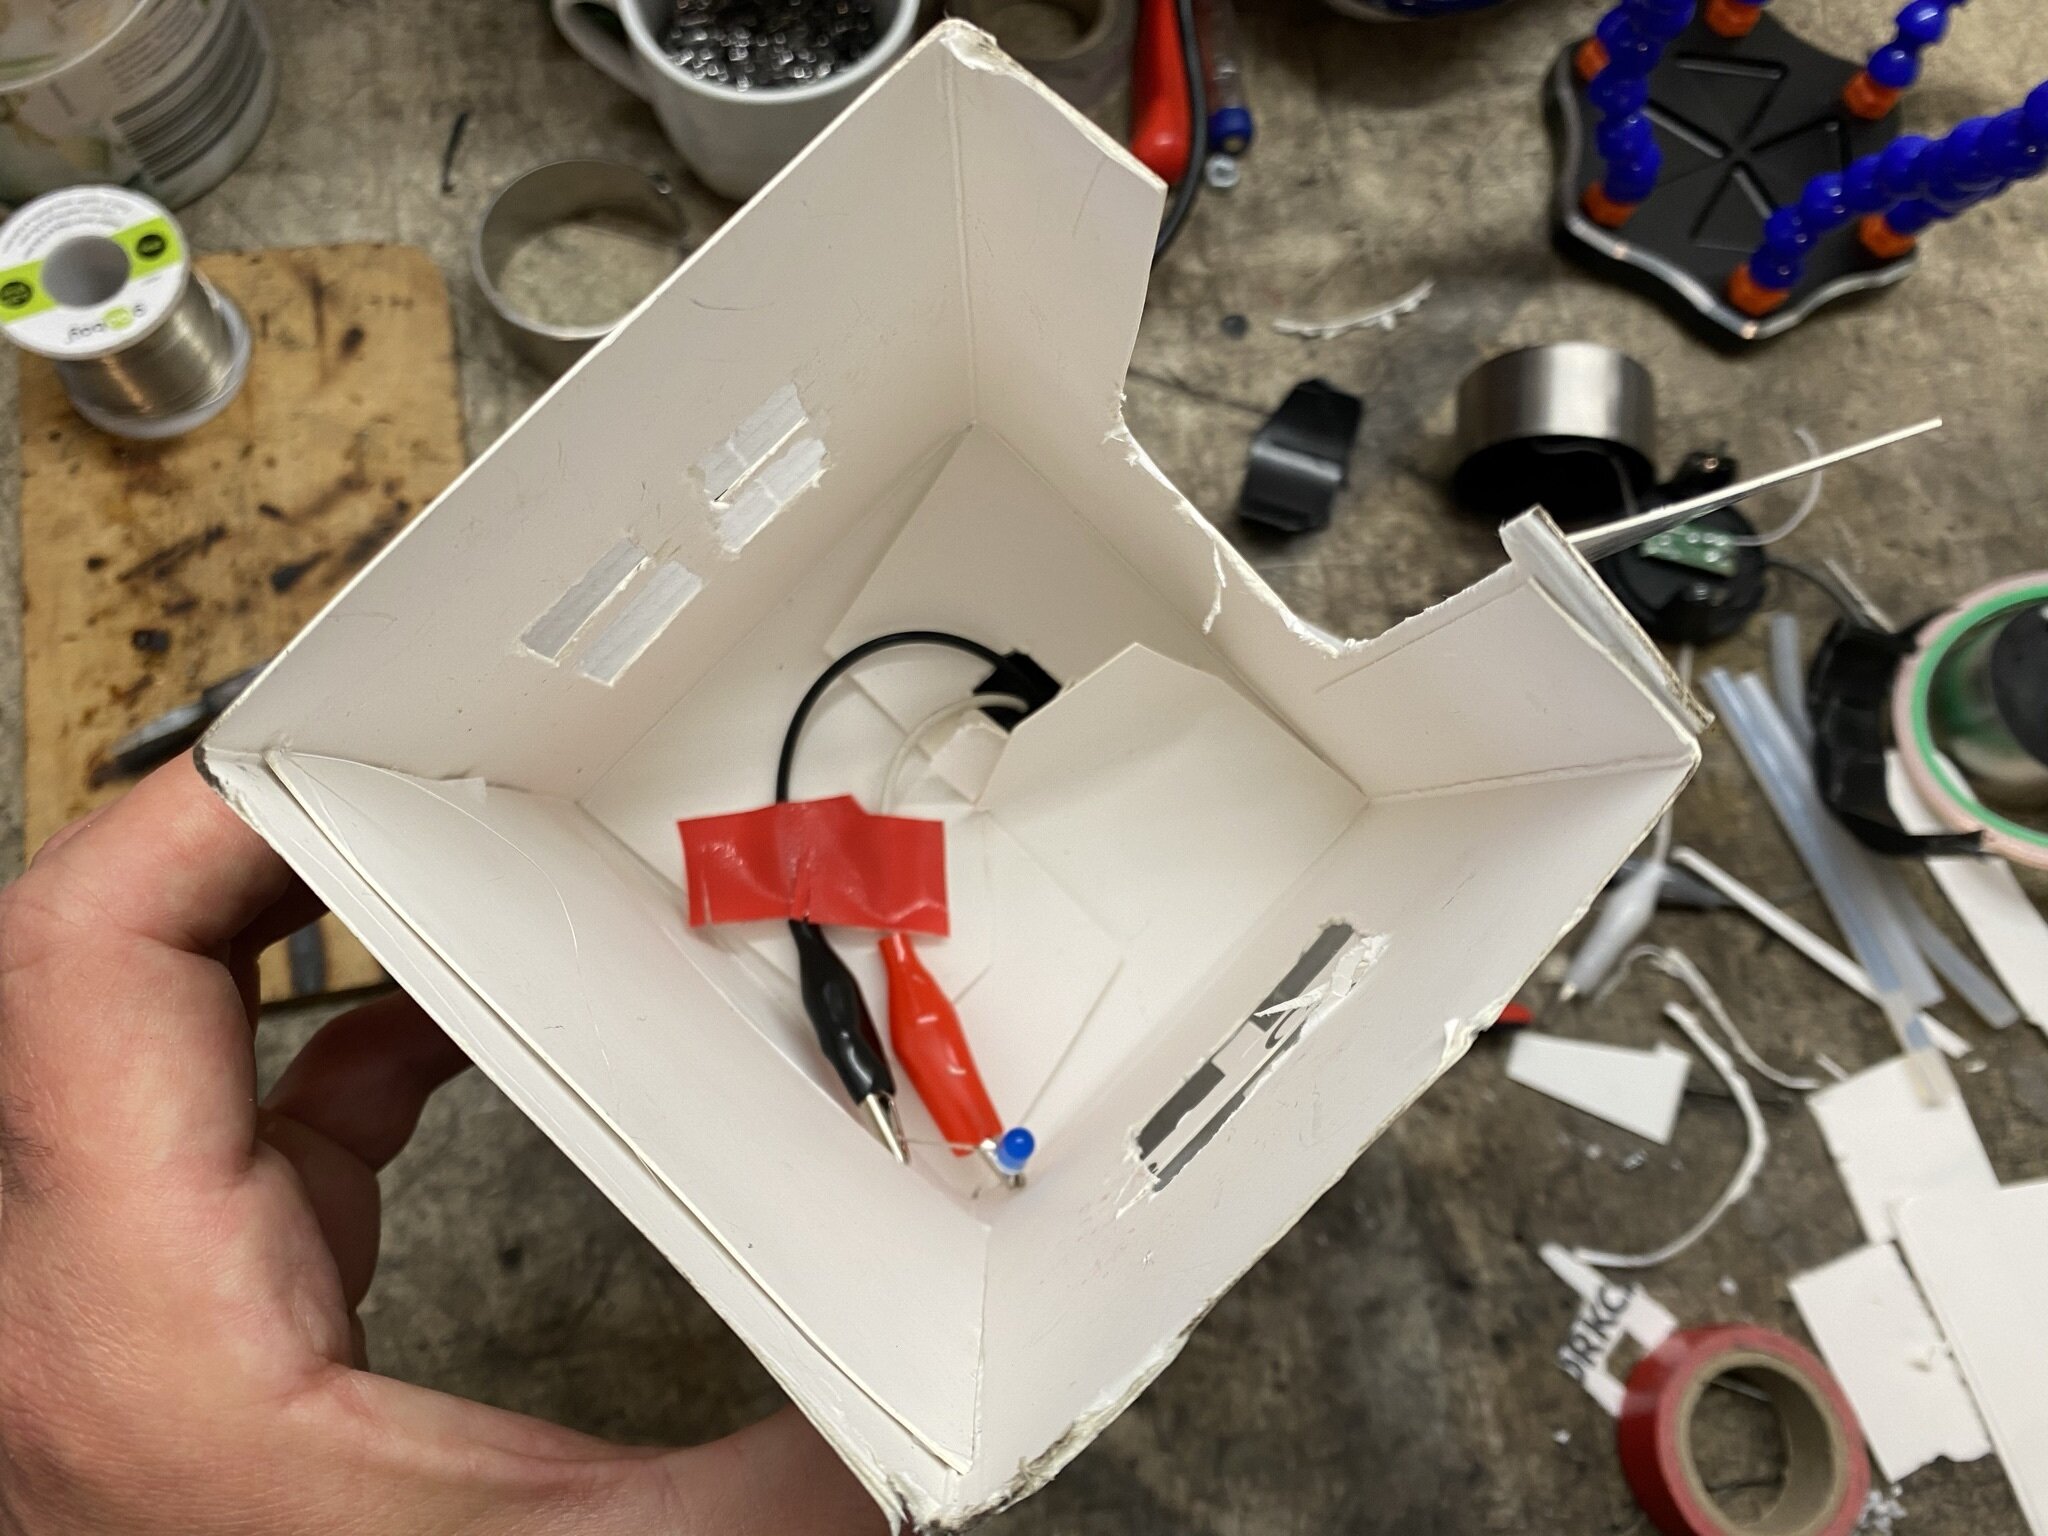
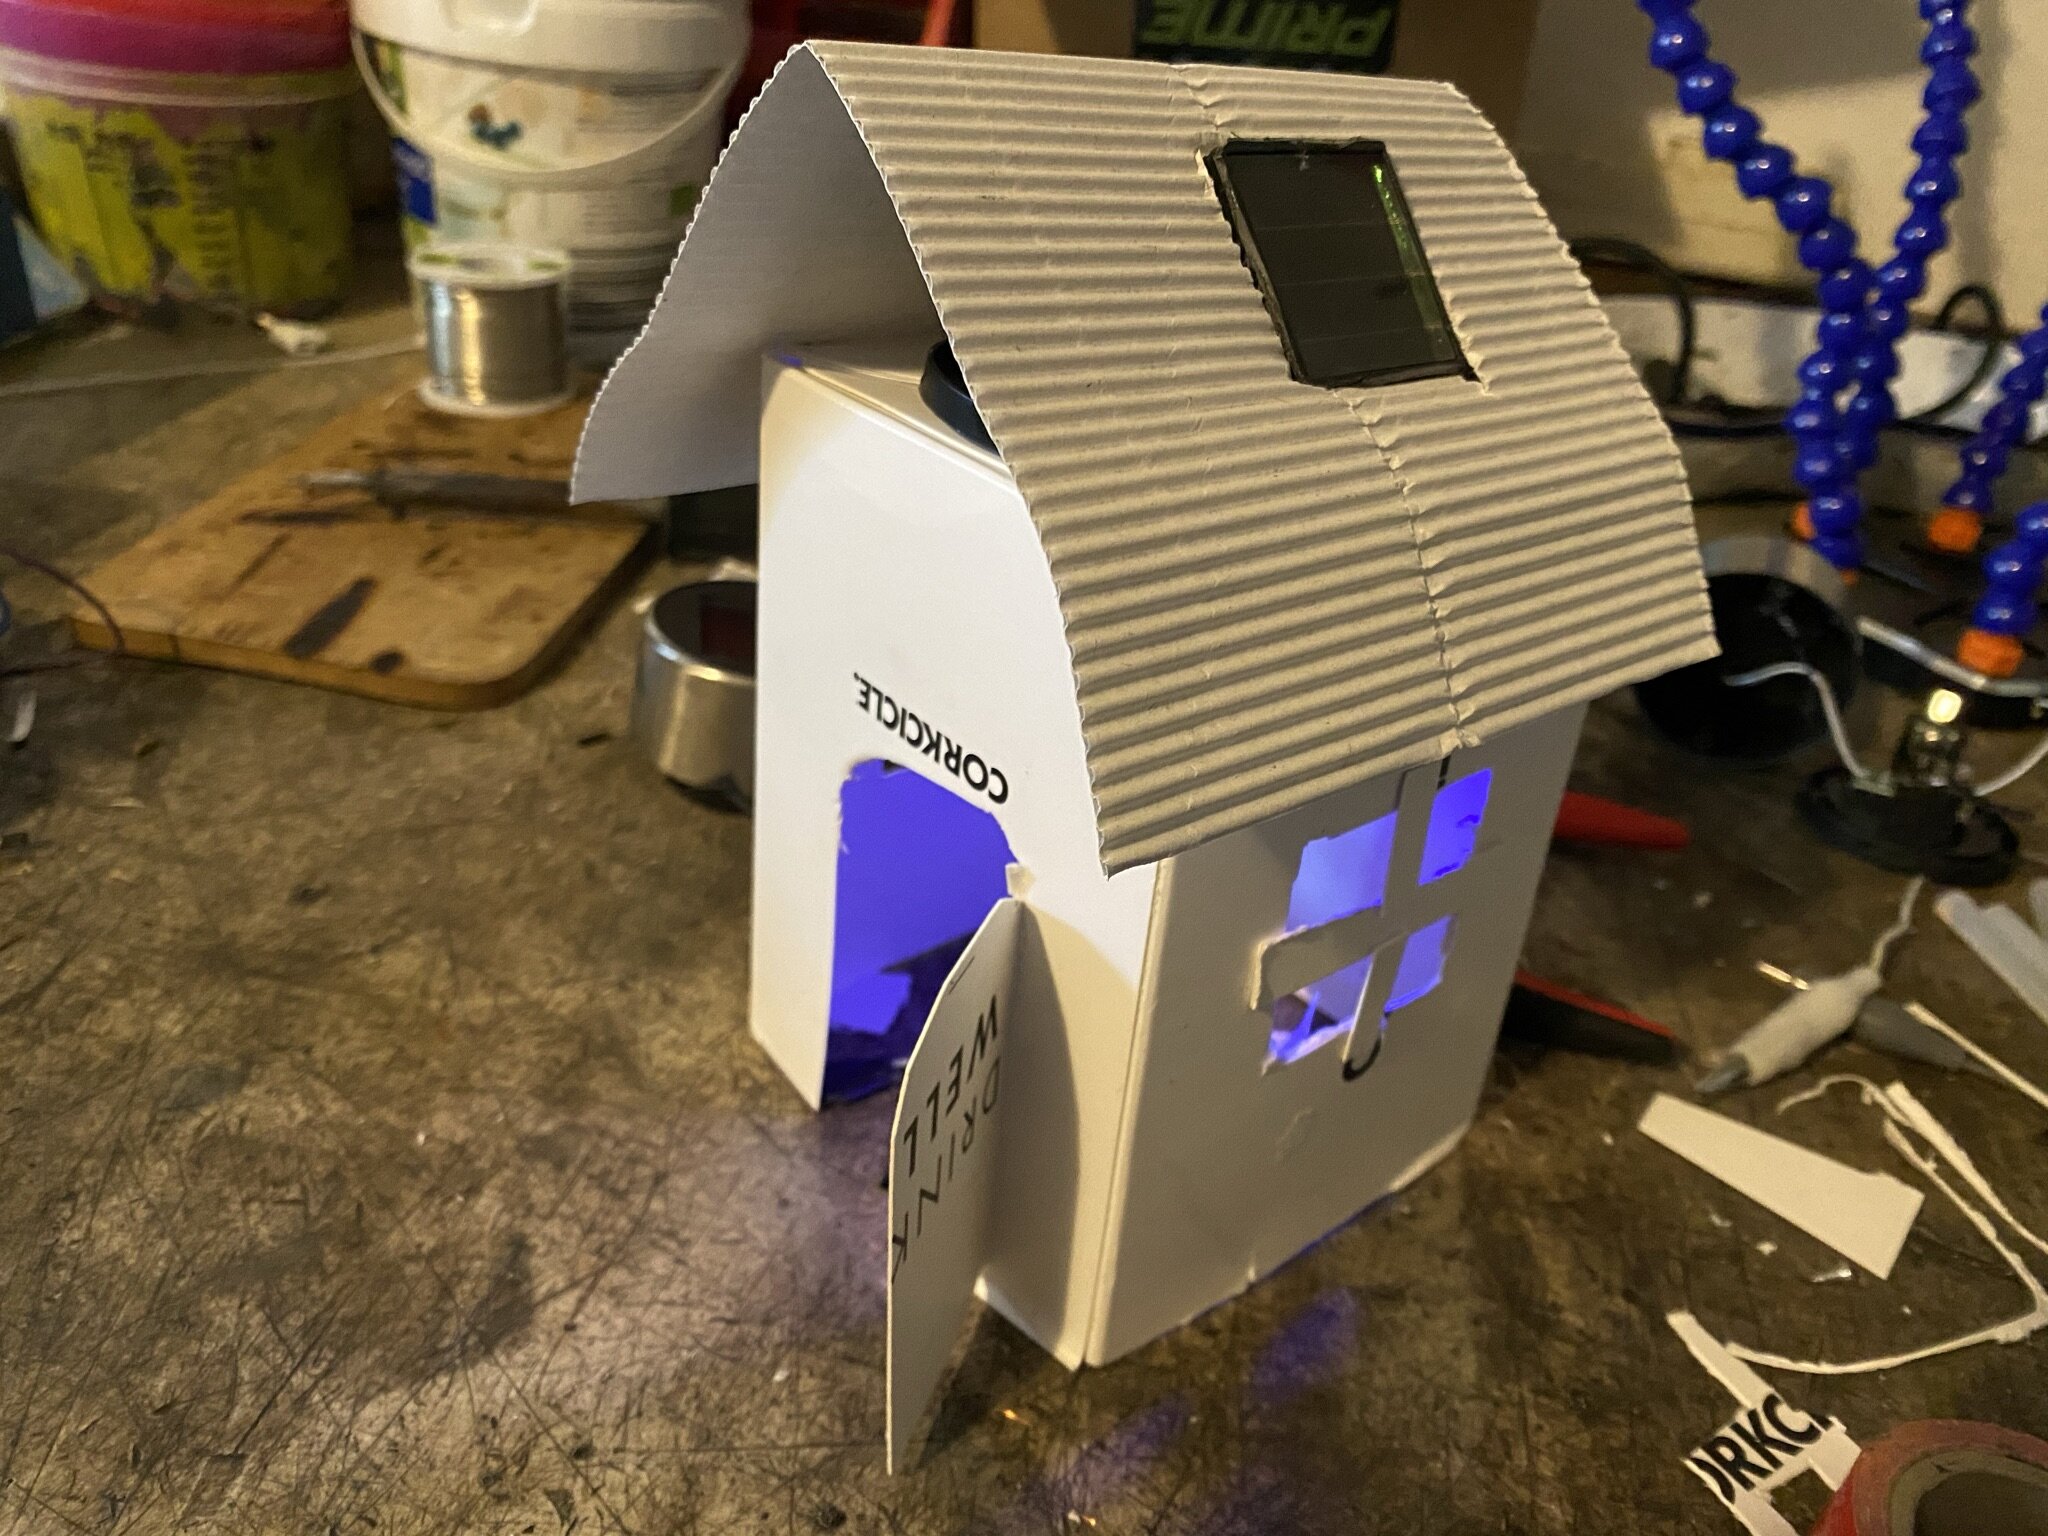
Next I tried to imagine different ideas for taking the project a little bit further. The first one that I worked on was inspired by Left Brain Craft Brain solar house kit but I wanted to make the reverse action where the light charges during the day and turns on at night. I crudely cut a door and windows into an old cardboard box, hot glued on a paper roof and arranged the dissected solar light “in the attic”.
I ran the alligator clip cables from where the light had been into the house and attached to a blue LED that worked in a similar way. This prototype was just a quick first example and I can imagine learners taking this open-ended prompt and creating more complicated circuits, interesting stories and unique designs.
For the second extension project I decided to make a more beautiful paper and cardboard night light inspired by the work of Jie Qi. I used copper tape to create a simple circuit with a positive and negative line, attached the wires from the solar garden light and added some customized LEDS with cut-outs from a tea box. There are also so many different ways that tinkerers could take this project into different directions.


My next steps for the solar garden dissection and remix is to experiment with adding different components like motors and speakers. I’m really interested to see what kind of things we can control with these cheap but fascinating parts. As well I’d like to try this activity with a group of students and see what connections they make to sustainability, plants, solar power and other environmental topics. There’s a lot to explore with “eco-friendly” tinkering activities and I’m looking forward to sharing more experiments.
Prototyping time and R&D with for this project was made possible through a collaboration with Universität Zürich - ETH Zürich - Universität Basel Plant Science Center Creative Lab
