Scratch-O-Lantern
Over the past couple of months I've been experimenting with the idea of scratchpaper, an activity that combines scratchx, arduino and paper circuits. We've been prototyping in the Tinkering Studio, Nicole and I tried it out with the Lifelong Kindergaten group at MIT, and most recently, my friends in Karkhana led a three-day girls camp exploring these materials and tools. I was inspired by two of the young participants who made a light up pumpkin project and decided to create a mini-guide for scratch-o-lanterns!
First off, go to our instructables how-to for ScratchPaper to get the instructions for mounting an arduino on a circuit board block, finding the electronic components to experiment with, and downloading some example sketches to help you get started messing around with the idea.
For the Scratch-O-Lantern, you'll need to collect the arduino circuit block and USB cable, LEDs, light sensors, alligator clips, carving tools and the perfect pumpkin!
Cut the hole in the top of the pumpkin and remove the seeds and stringy flesh from the inside.
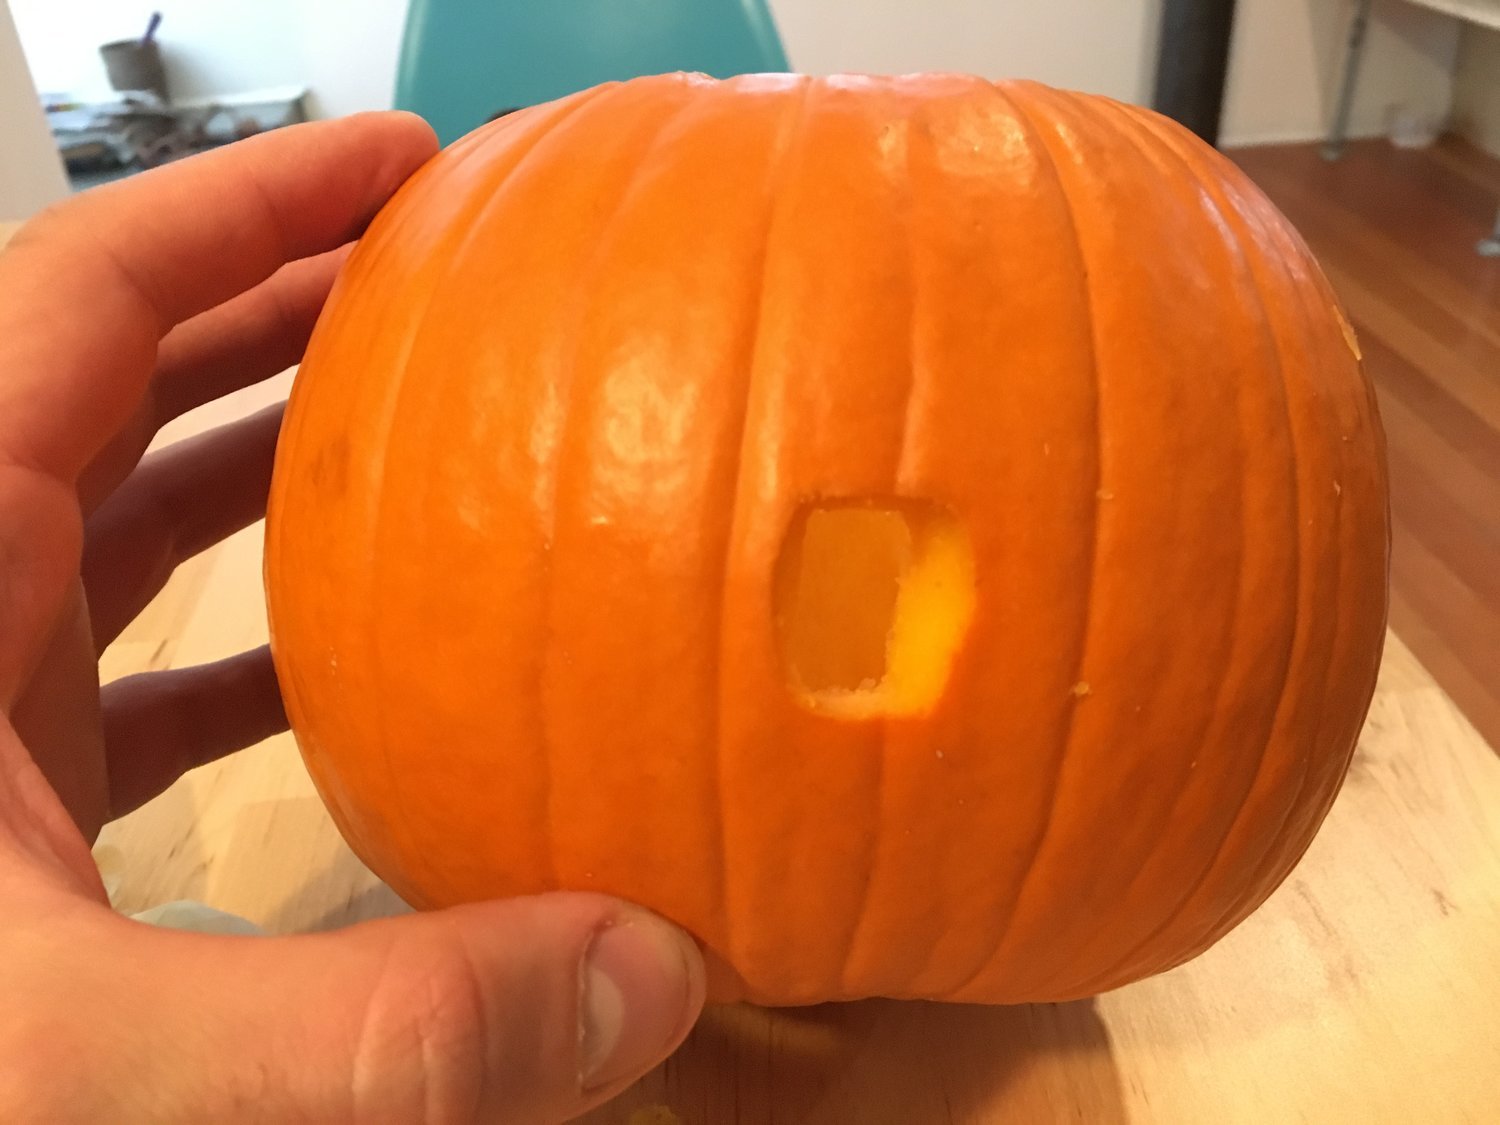
Create a small rectangular hole in the back of the pumpkin big enough for the wires.
Carve the jack-o-lantern face! This can be as simple or complex as you like. I decided to go for a traditional smiling face with a mouth big enough for me to be able to feed it candy.
Press the components into the pumpkin flesh, making sure that the leads don't touch. I put the light sensor in the top of the mouth and added an orange LED to each of the eyes.
Attach an alligator clip to each of the leads of the LEDs and light sensors and feed the wires out the back of the pumpkin.
Connect the clips to the arduino board and open the scratchx arduino extension. The positive leg of the LED goes to one of the digital in nails and the negative side goes to the negative pin. The light sensor hooks up to the A0 pin and the positive nail (I didn't have a 1k resistor but ideally that would go in between the analog input and the negative pin).
I made a pretty simple program to make the lights blink on and off when you put a candy (or your hand) in the mouth. First, under the "when device is connected" hat block I assigned ledA and ledB to the proper pins that I hooked them up to on the board. I made a variable "light" and set it to the analog 0 pin so that I could get a value to use in the program. The main code says that when the sensor value goes below 45 (this could be different depending on the start value of "light") then the LEDs would blink and the computer would play a chomping sound.
Here's a video of my creation in action! It's a lot of fun to play with and can be customized with different light patterns, sound effects, and visualizations on the screen. With scratchx and arduino, the possibilities are endless!
I hope you enjoy making your own scratch-o-lantern, remixing the idea, and taking it to new and interesting places. Happy Halloween!


