Prototyping a Toy Dissection Tool Kit
Last week we made our first prototype of a toy dissection tool kit. We think that carefully taking apart singing and dancing toys is a really fun way to learn about both circuits and mechanisms. Hopefully, we can develop kits that provide the scaffolding for tinkering experiences that people can try together at home around a workbench or a kitchen table.

Part of the fun of making the kit was sourcing parts and preparing tools and materials. The backbone of this tools set is a good small philips screwdriver to help take apart the plastic body and mini shears to remove the fur and stuffing. We also provided materials for mounting the toy mechanism on a circuit board including a cut/sanded pine block, red and black wires, and copper nails for easy soldering connections. In the next version, we'd like to include even more hard-to-find or unusual parts that expand the possibilities for hacking and remixing toys
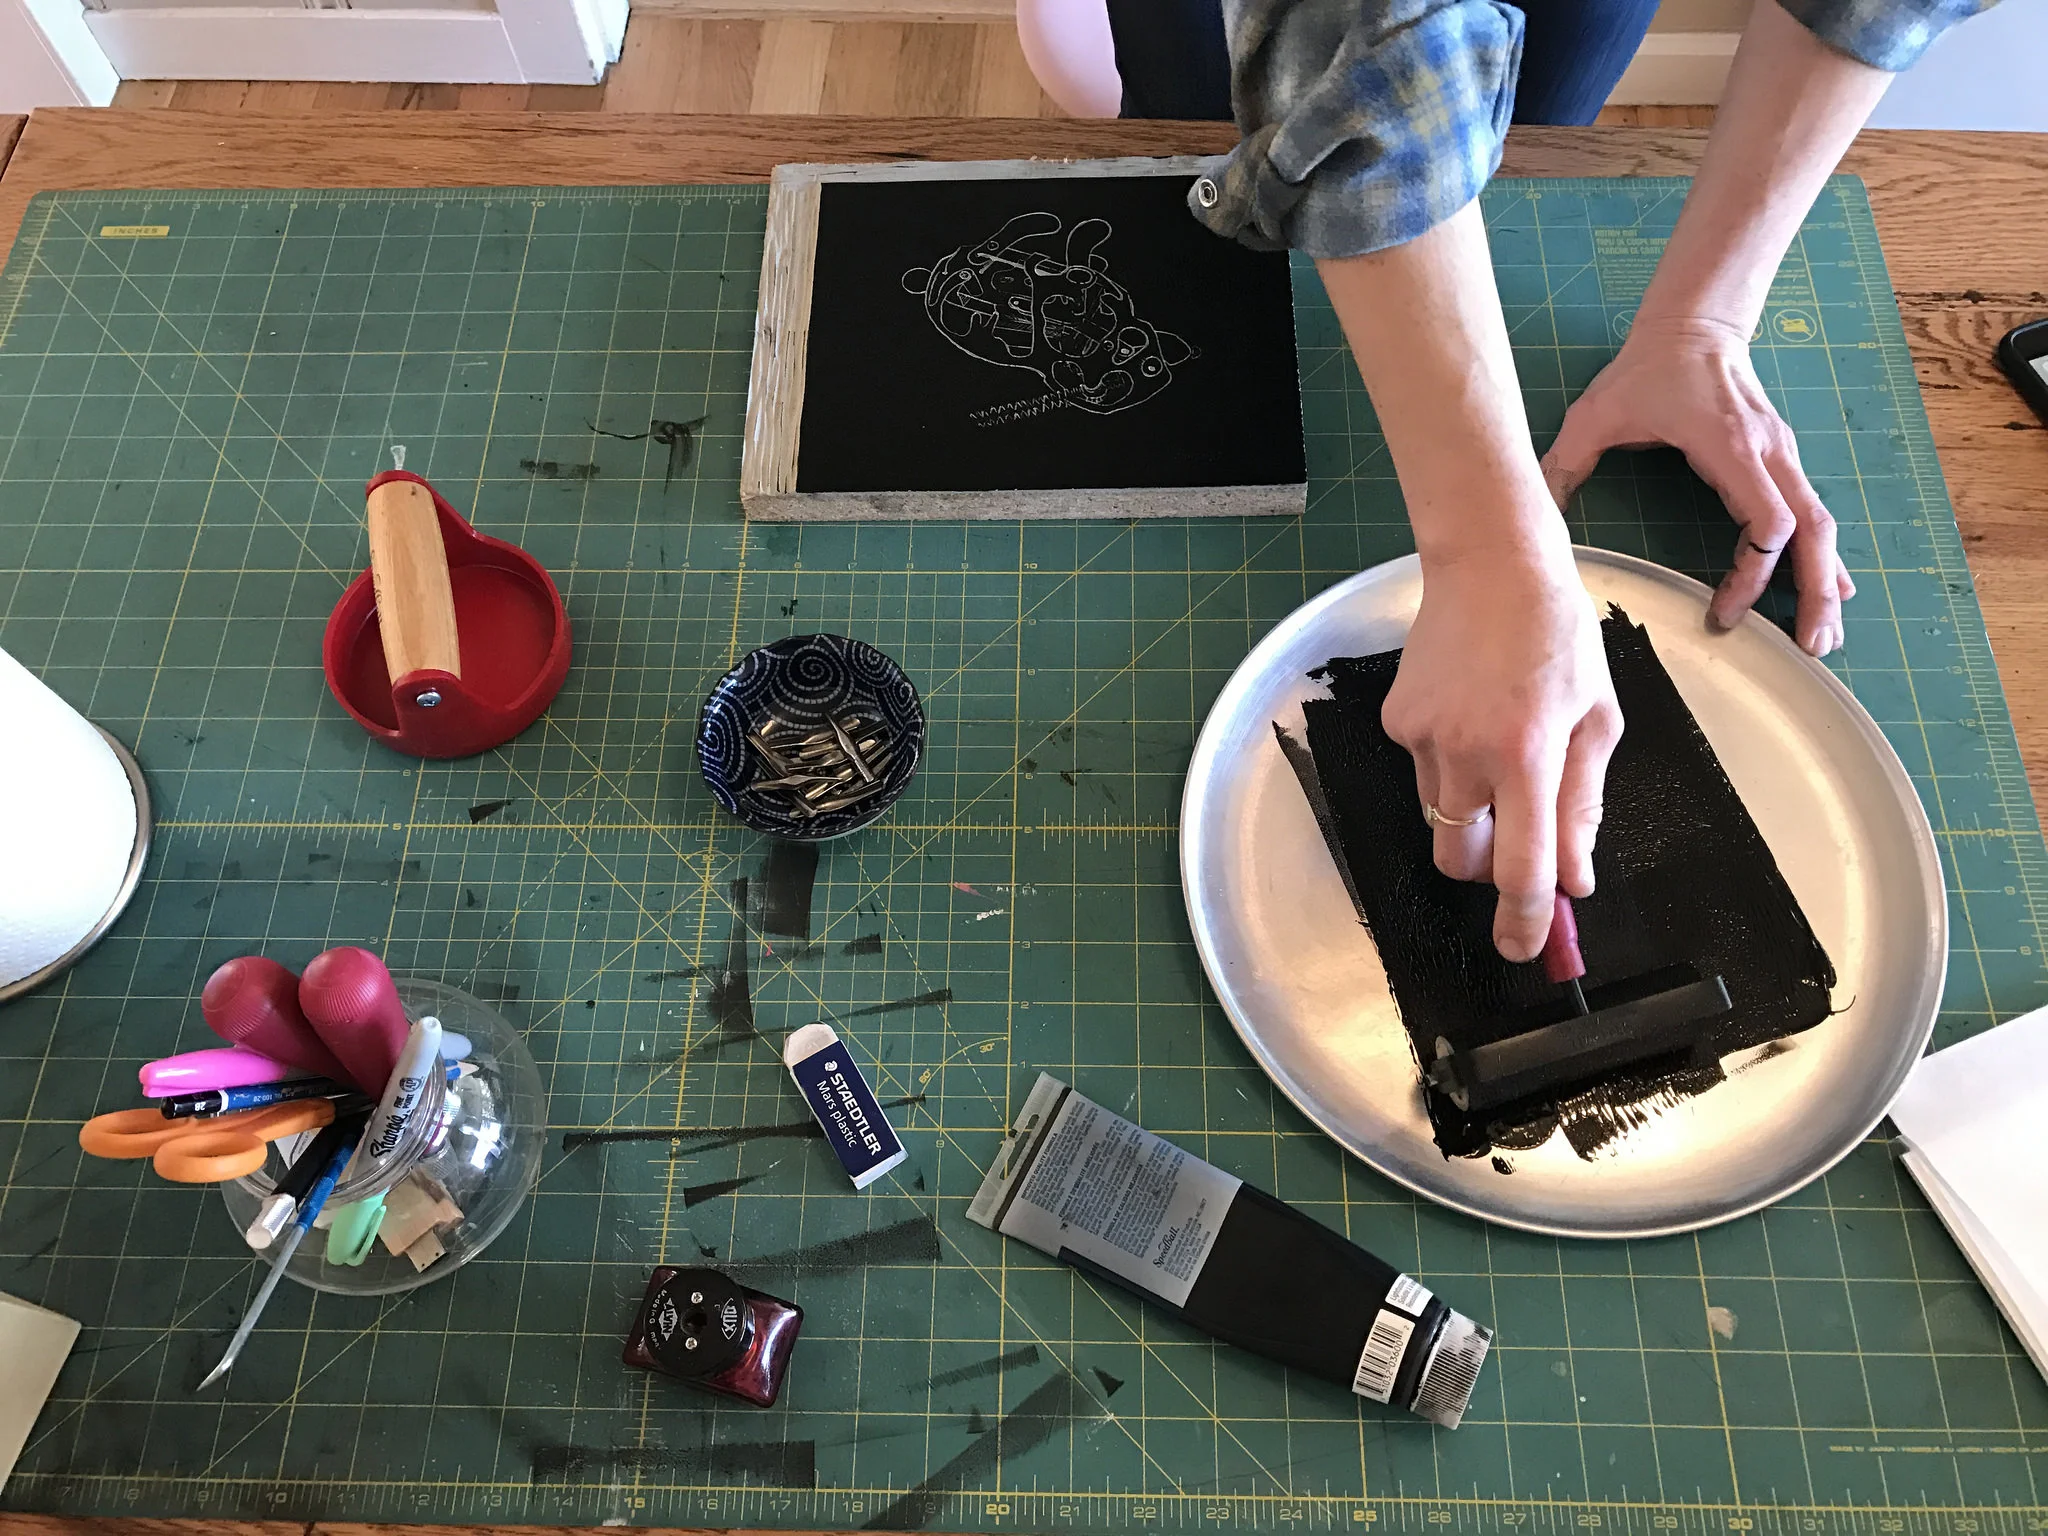
For the box label, we wanted to communicate a homemade quality and Nicole used a wide variety of tools and techniques to create the design. She sketched out a few different versions of a partially dissected bunny that was made for a previous art show. Then she transferred the drawing to a linoleum block so that we could print the design. We used a light table to line everything up so that the banners for the text fit in the design and finally edited the results on a computer before heading to copyworld to print the labels.

As part of the kit, we created a guide with suggestions of how to dissect the toy as well as handmade drawings and ideas about what to do with the components after taking it apart. While it was a good first step, we'd like to add parts written more for the kids doing the activity as well as address some of the information to parents about learning that happens through tinkering. We'd also love to translate the guide to Spanish when we get the chance!
For those who don't like to read instructions, we also made a video to go along with the kit. It's kind of a rough cut, but goes through the steps to dissect the toy in just a couple minutes. I was pretty happy with our homemade captions, but next time would love to actually include the diagrams, ideas, and instructions right in the video.

After all that activity to put together the kit, we tested it out at the Treasure Island Flea last weekend alongside some circuit activities that made use of the toy components. It was a great chance to have in-depth conversations with those who bought the kit and those who didn't and I came away with more of an understanding of what motivates people to pick up something like this. I think the two biggest factors for a successful kit is that it gives an easy starting point and contains lots of unusual parts that people don't know where to find. I would like to push our toy dissection kit in both of these directions for the next iteration.
For now the only way to pick up this kit is by visiting us at one of our pop-up workshops around the bay area, but we are thinking big for these kits and once we've had the chance to prototype them more we'll share the next steps!