WICO@Home Cardboard Collage Automata
As part of our explorations with the Cabaret Mechanical Theater, we’ve been leading cranky contraptions workshops with online participants. These wood and wire automata developed at the Tinkering Studio make use of a wood block, a piece of thick craft foam and 20 gauge galvanized steel wire (along with myriad craft materials for making characters and telling stories). Its a great exploration of crank sliders and other mechanisms and provides a good introduction to building automata.
But there are some specific parts that are a little hard to get, so as part of a upcoming project with Aarhus University, I began to experiment with ways to build cranky contraptions using only everyday material that you can find around the house. I’m pretty happy with the results and I wanted to share some steps for getting started. This guide is a work-in-progress and there are a lot of different ways that you can build these machines. We hope that you change and remix the designs and then let us know what you try.

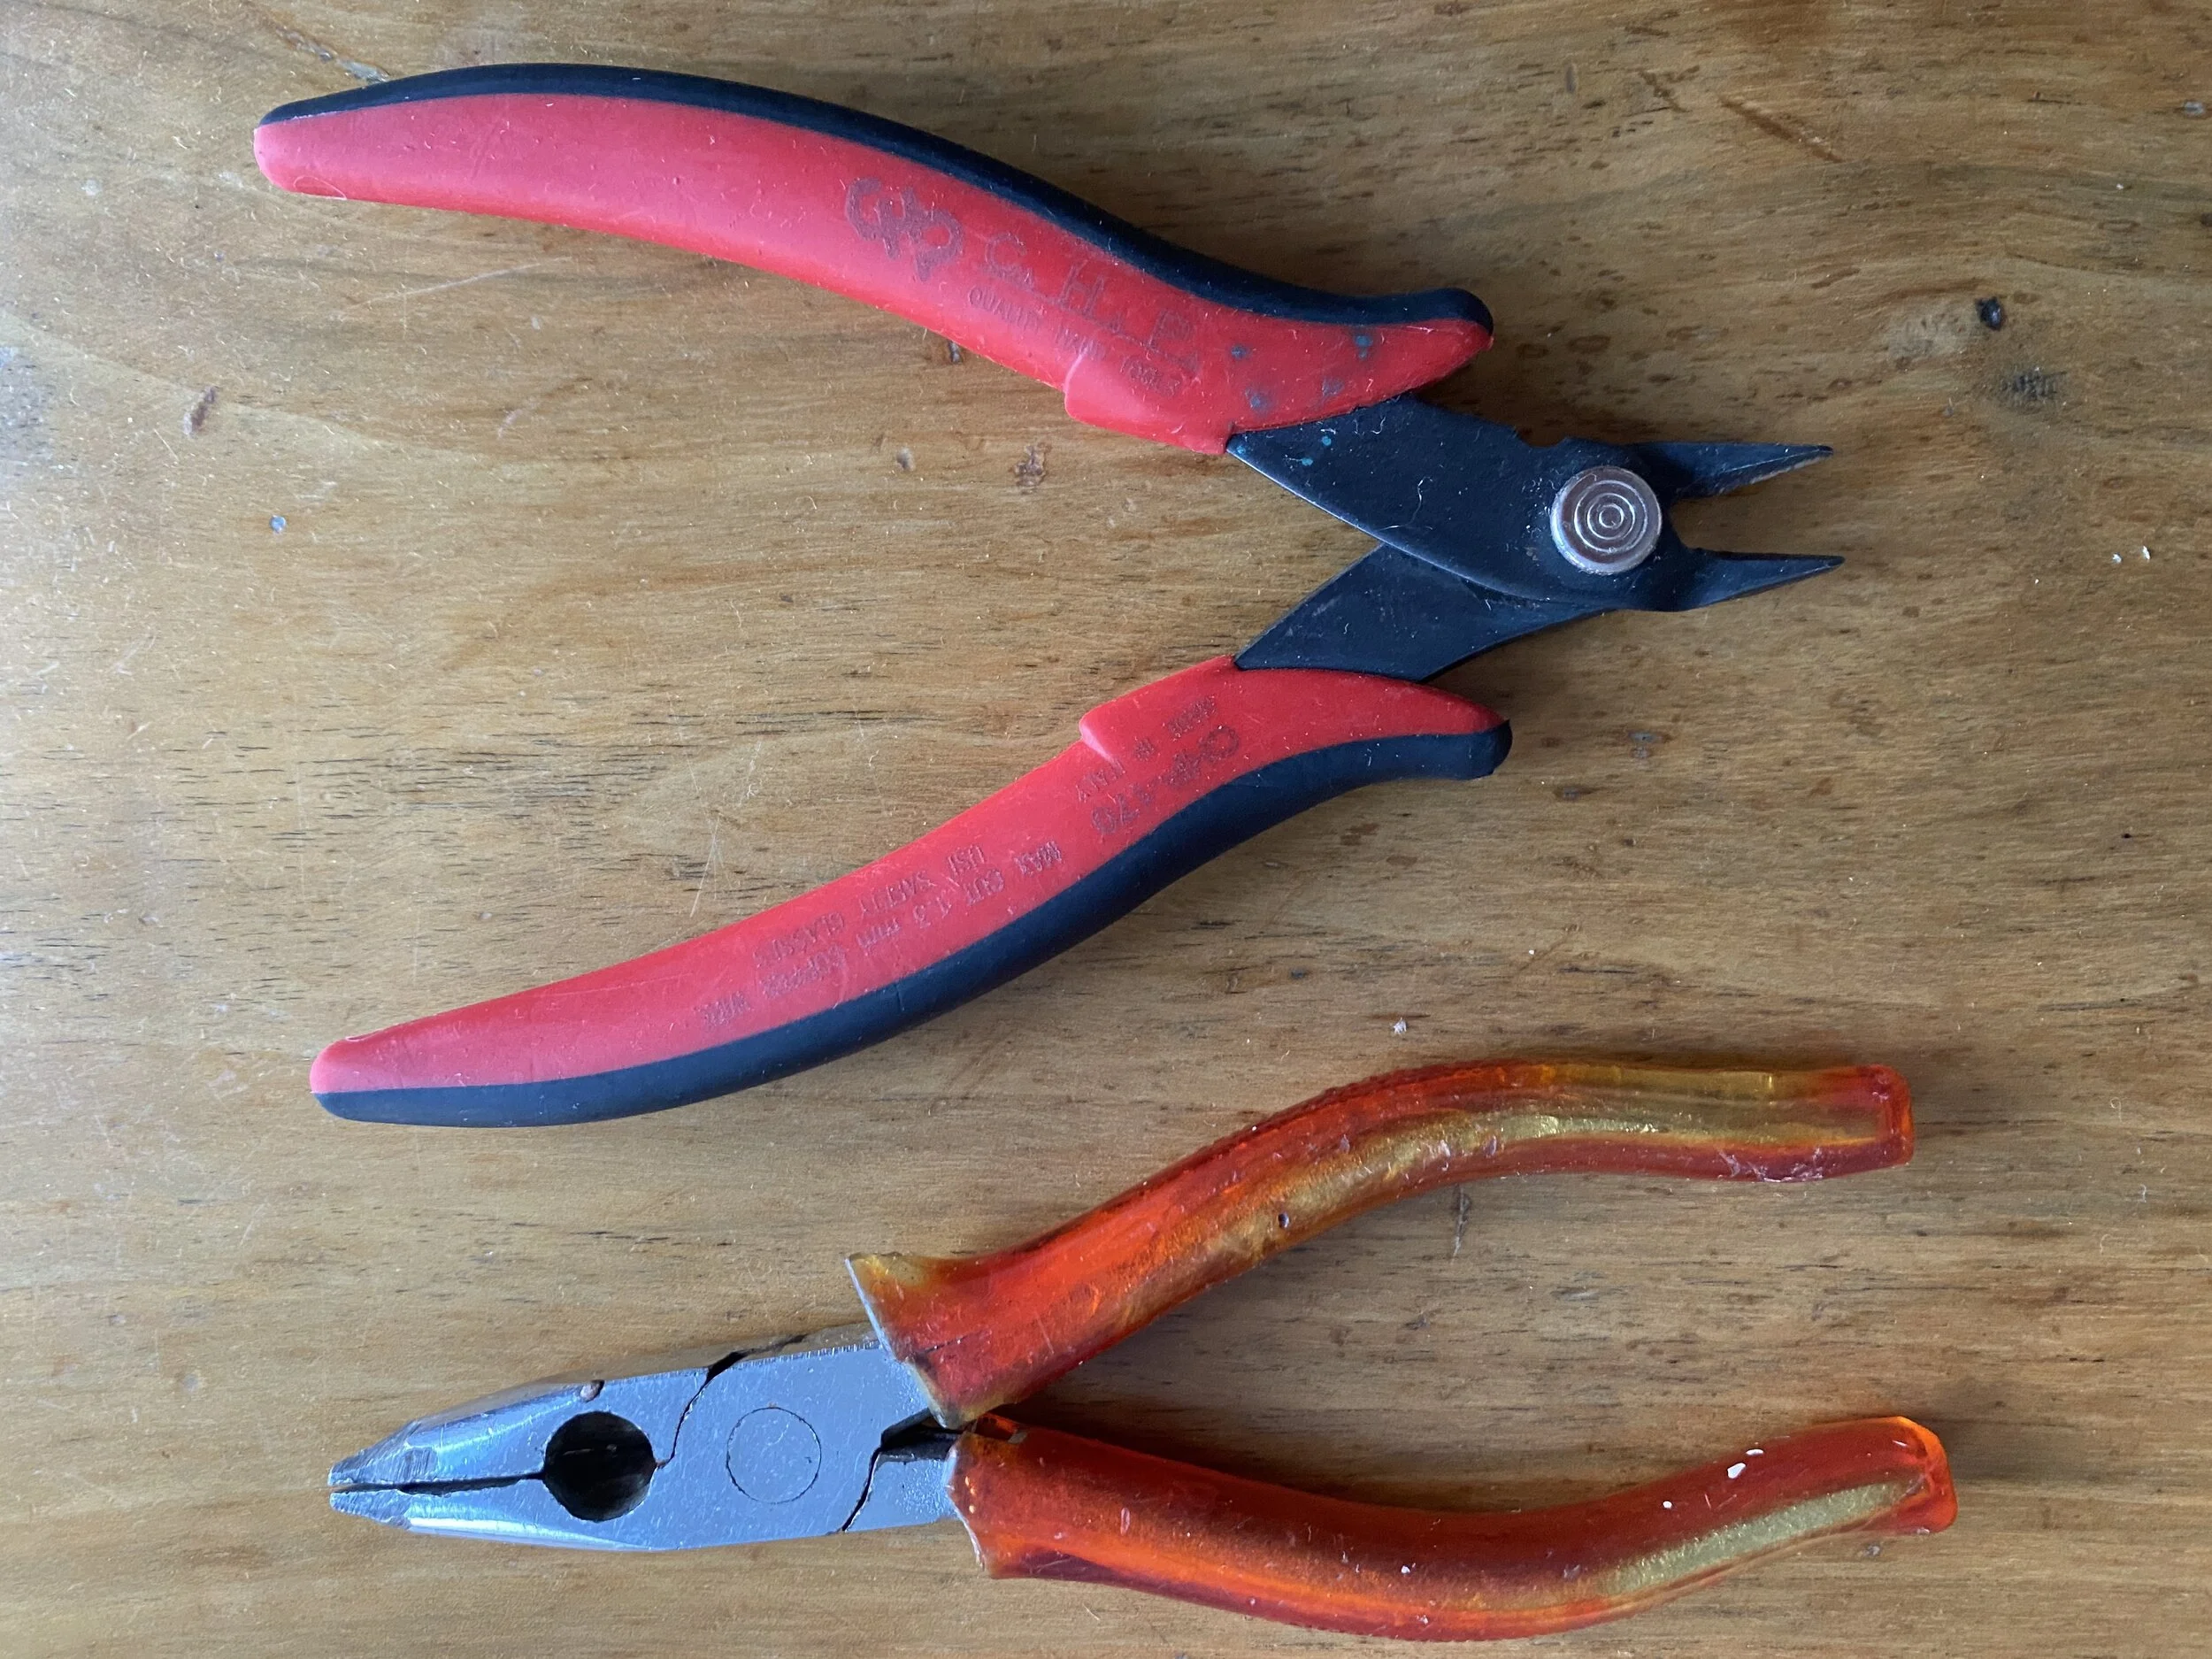
First, you’ll need to collect some sturdy cardboard, paper clips, paper straws, scissors and tape. If you have access to round nose pliers, wire snippers and a hot glue gun, they will come in handy as well.

For the design of these automata I’ve been limiting myself to only using cut out photos from magazines and newspapers. This collage based design challenge opens up creative possibilities for me but of course you can use what ever you like to make stories and characters.

To start building your machine, cut our a carboard rectangle that’s approximately 20 cm tall and 5 cm wide. Make sure that the corrugation lines are parallel to the thinner side. Using the corrugation line, fold the piece of cardboard about 1/3 of the way up the shape.


Then cut out a small right angle triangle (you can usually use an existing square corner of the box) and add two pieces of tape to each side. Attach the right triangle into the corner of the fold and stick down the tape so you have a study L-shaped piece to use as a base.

Next cut another piece of cardboard that is about 2 cm tall and 5 cm wide (it’s better if it’s a bit wider than the original piece. On this piece the corrugation should run parallel to the longer side. Tape the piece a little more than halfway up the long side of your base. If you want, you can also use a paper straw that’s a bit longer than the width of the base for this piece.
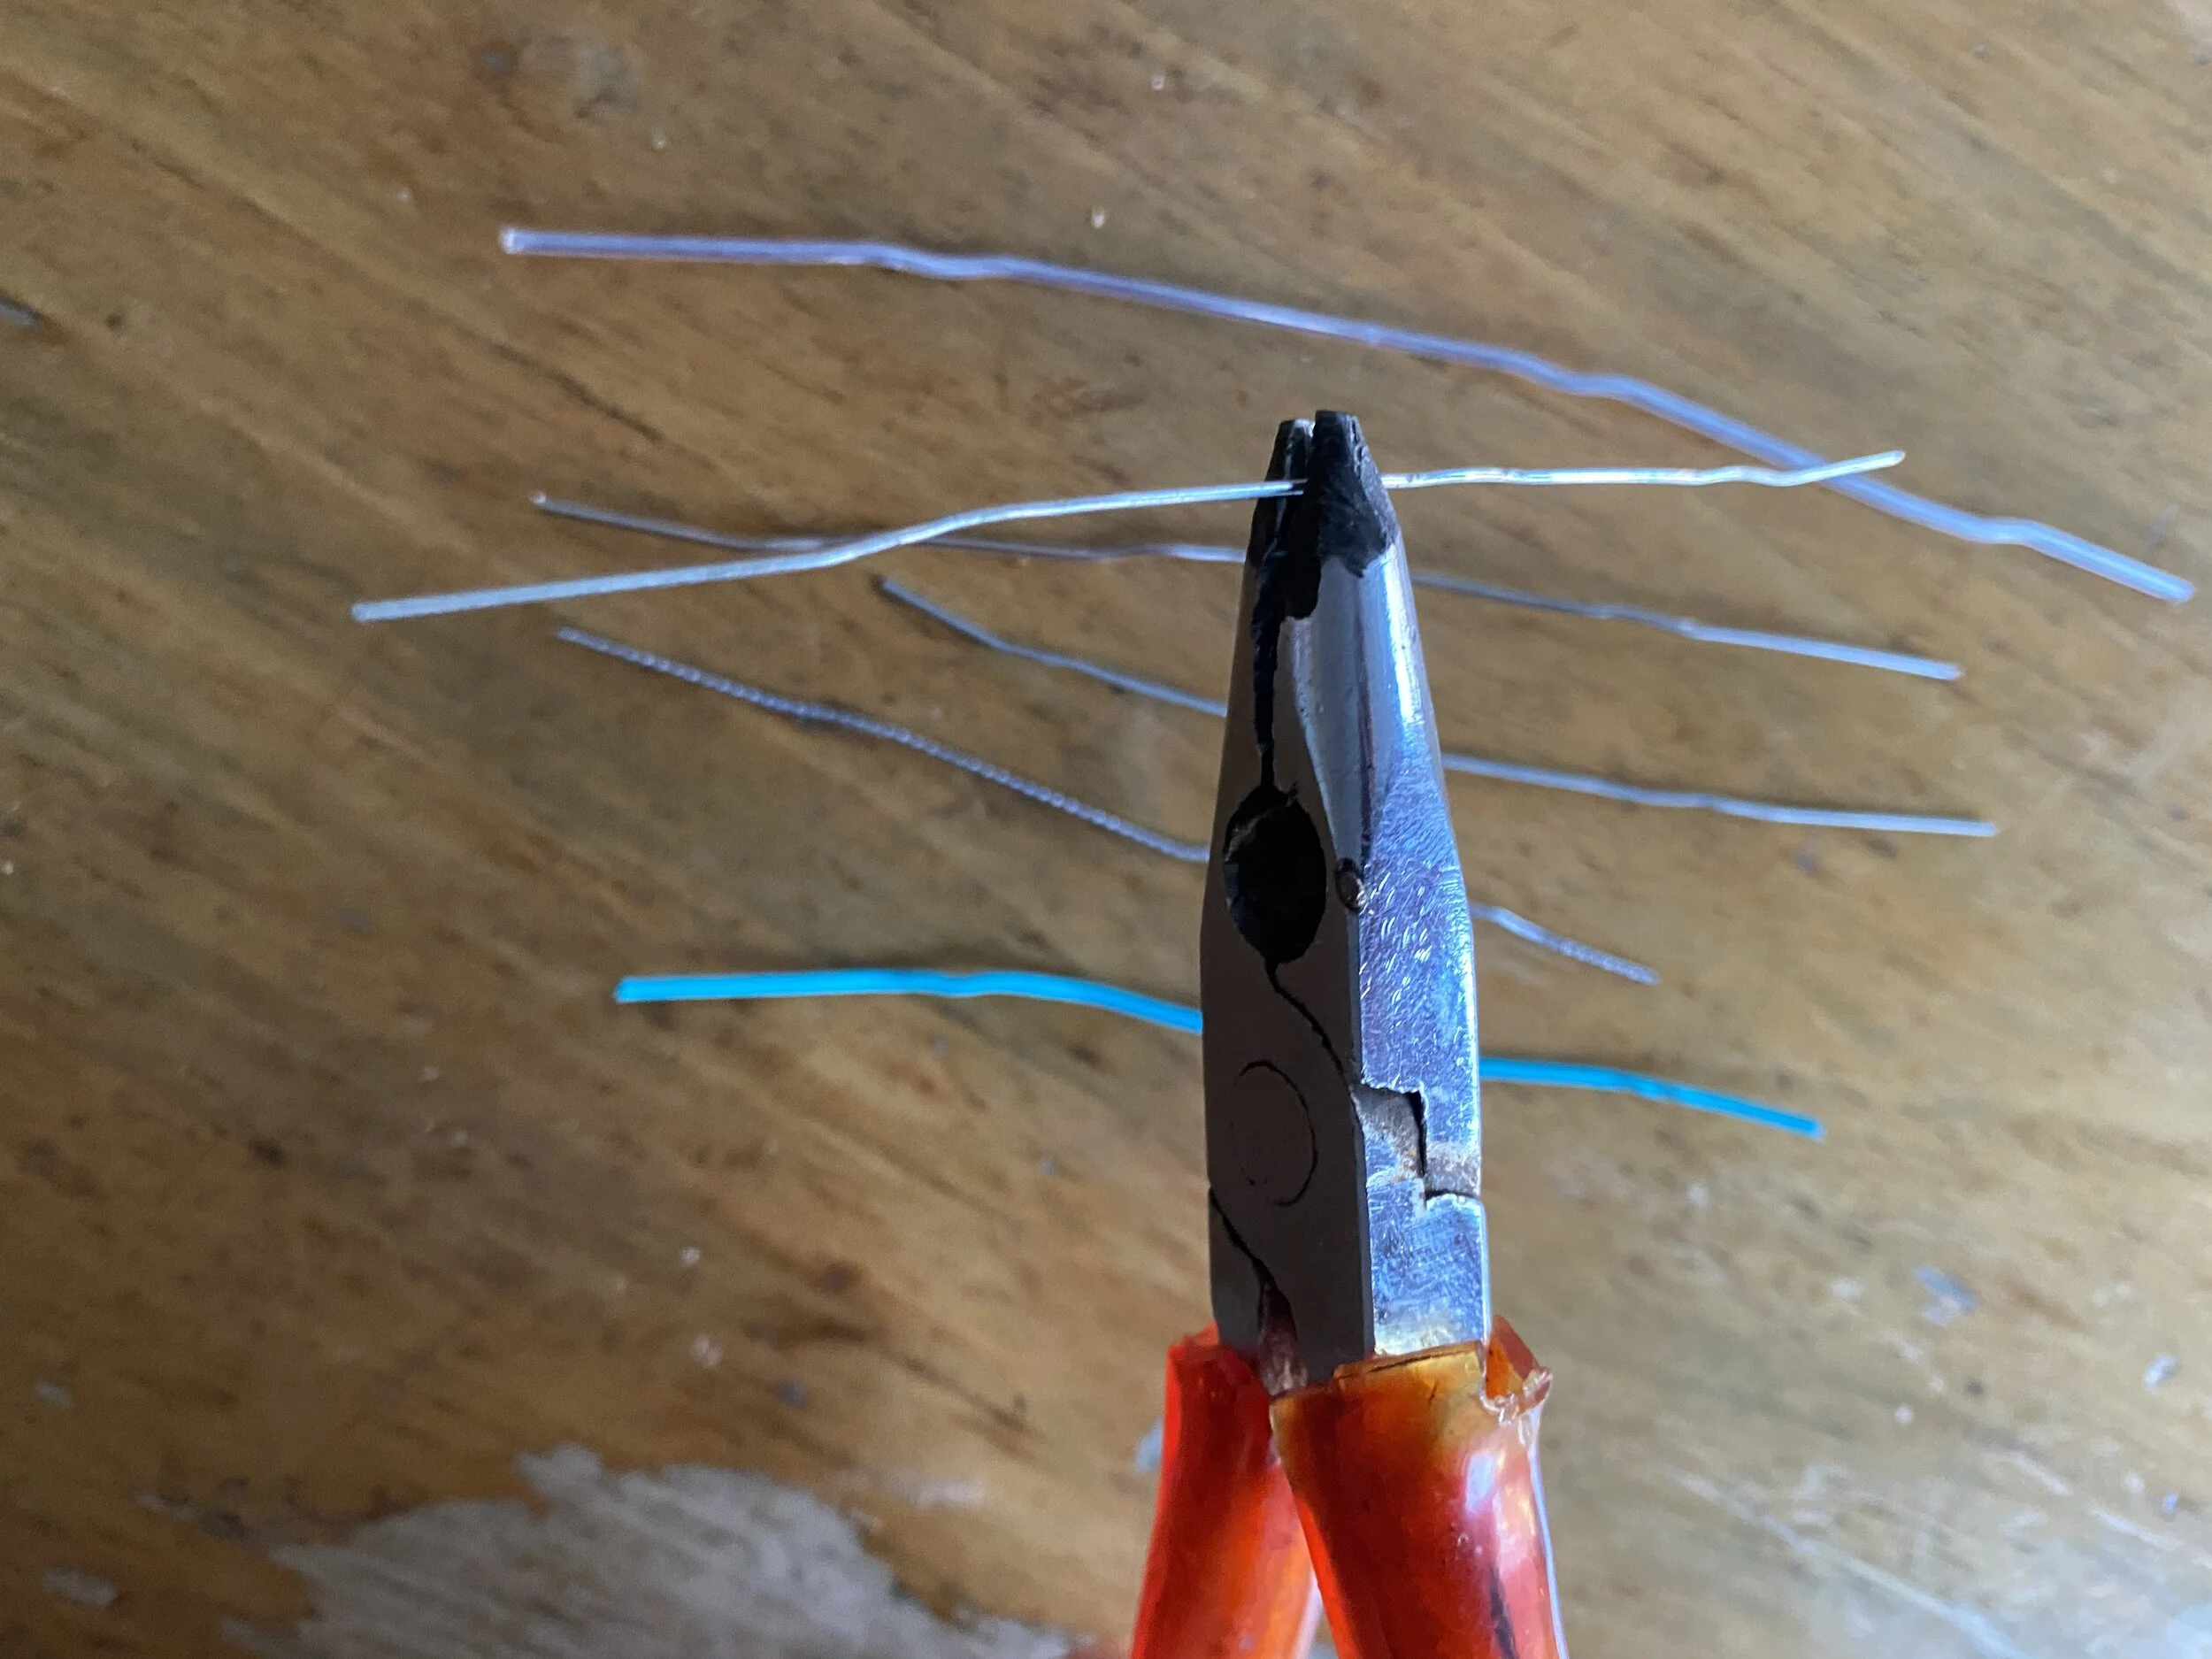
Now straighten at least three paper clips (you can use your fingers, but this is easier with round nose piers).
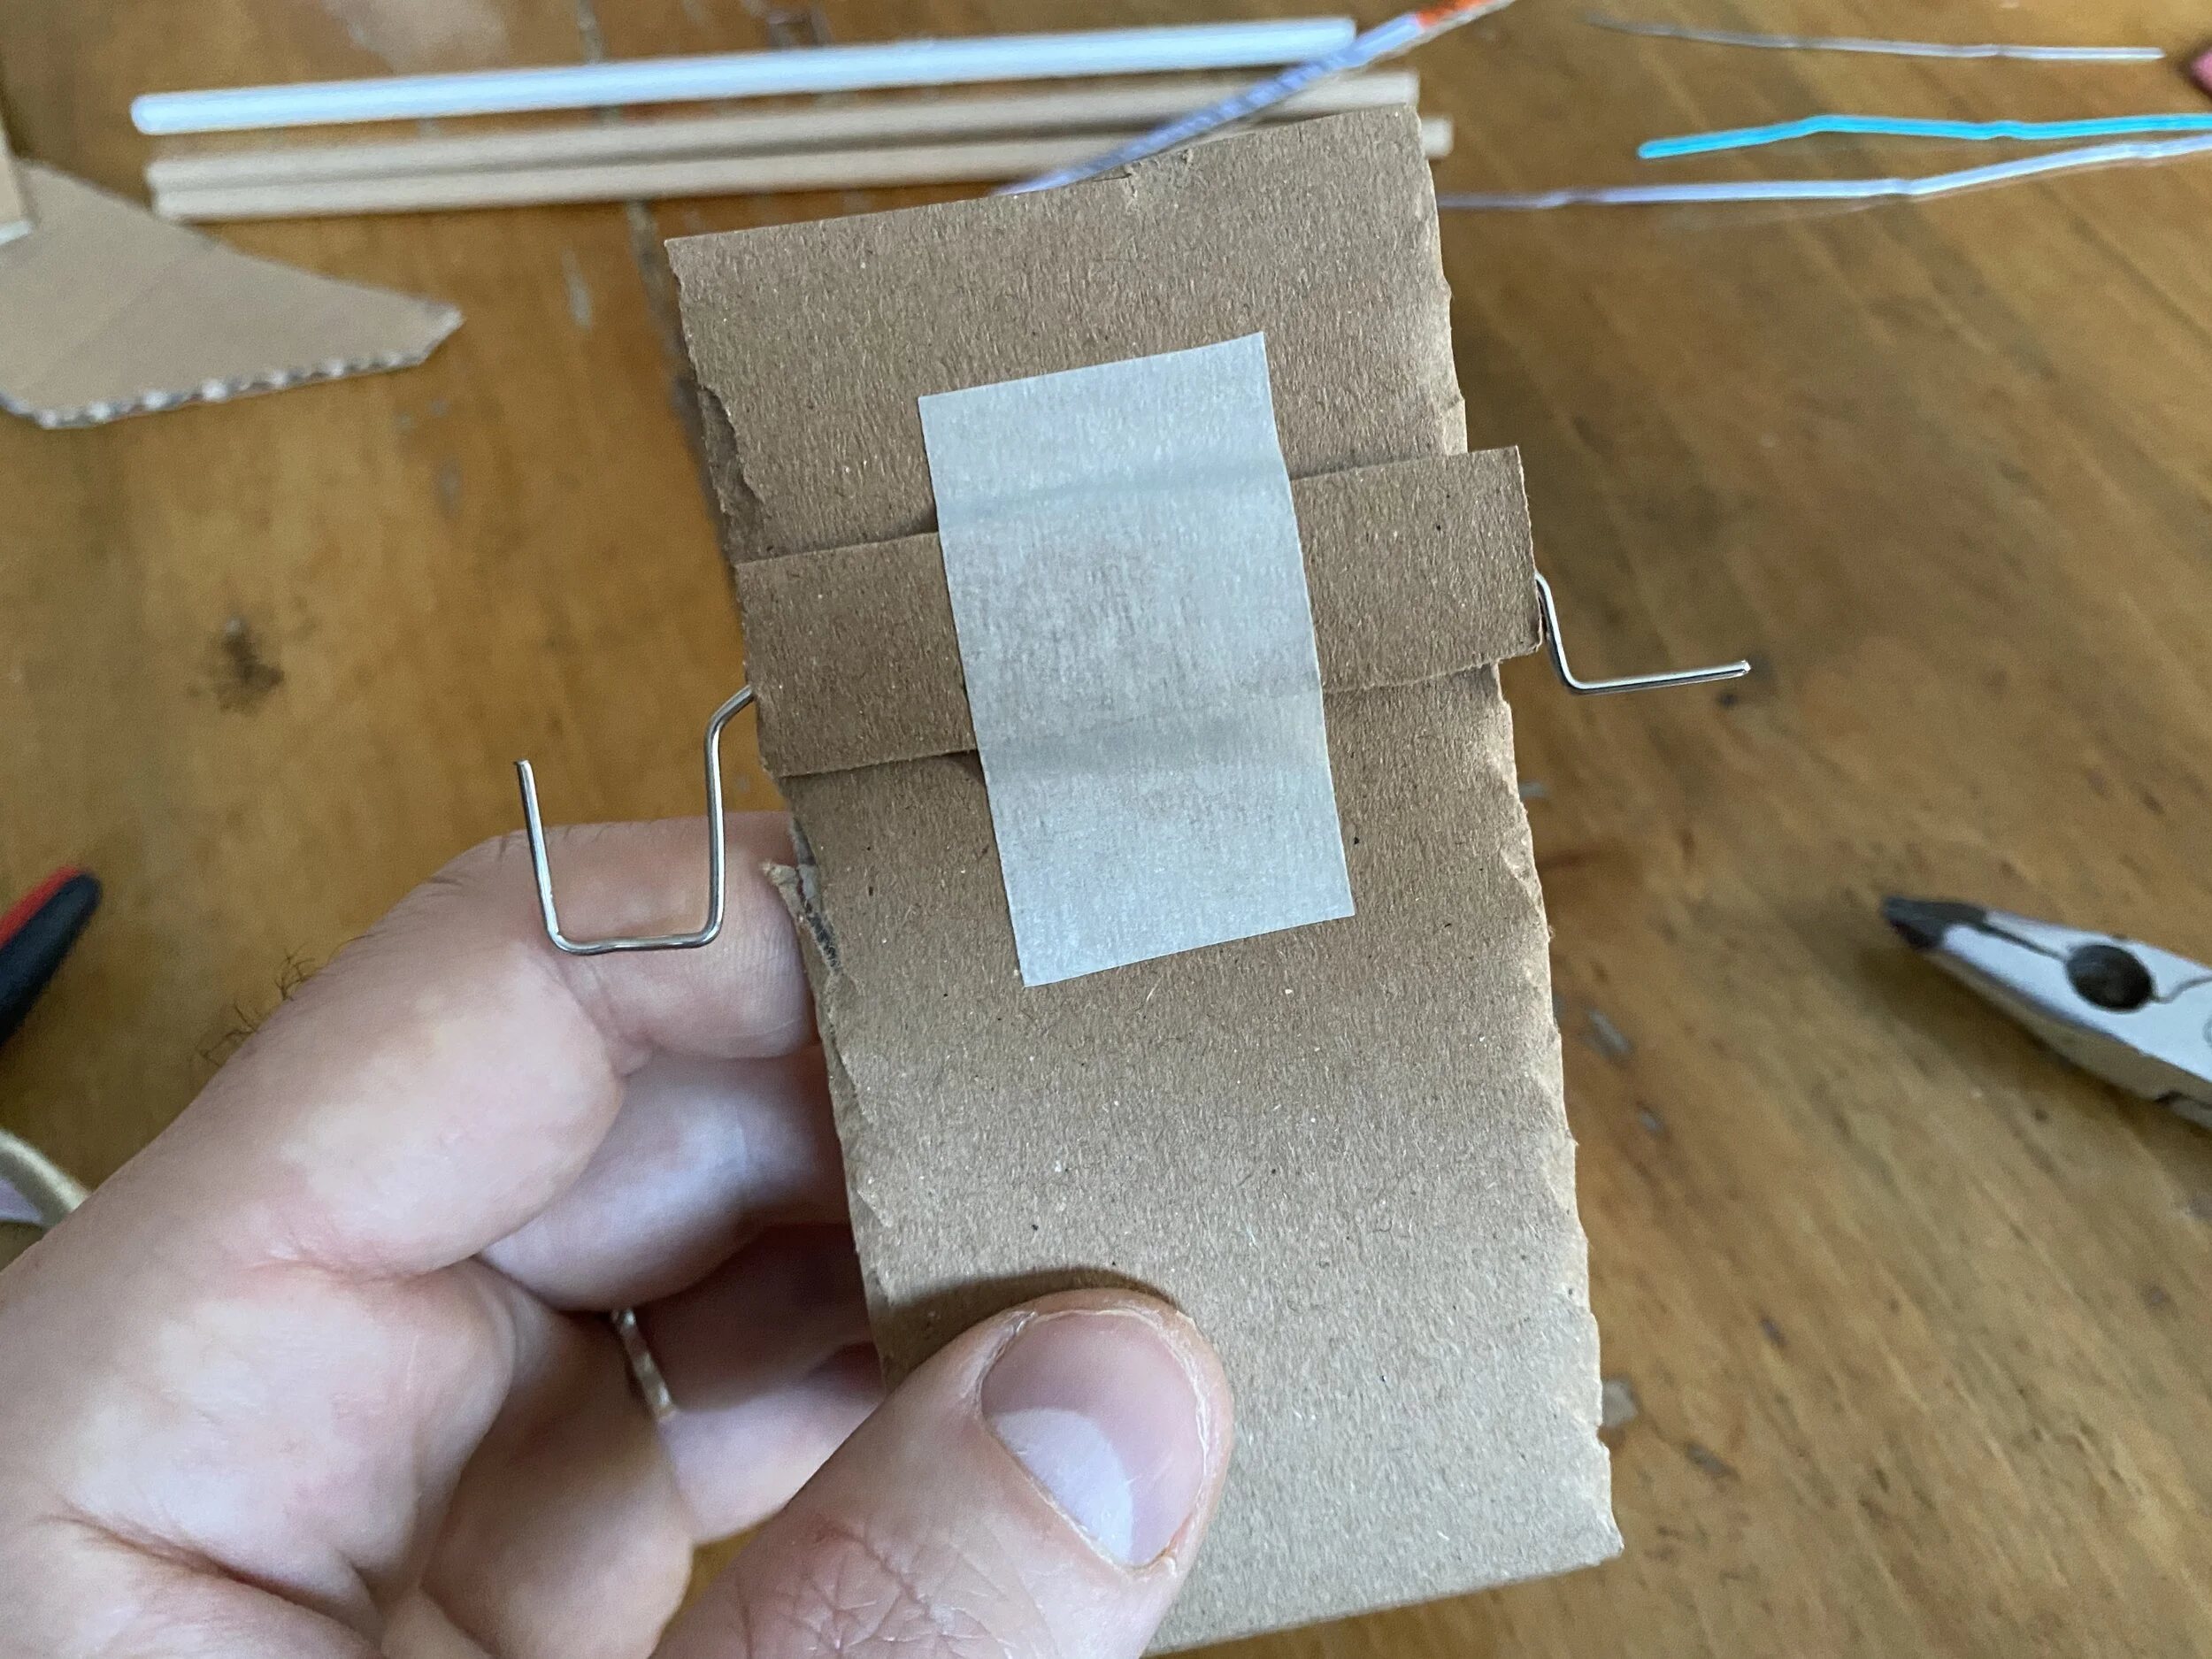
Take the first straightened paper clip and run it through a corrugation hole of the little piece you just taped on to the base. On one side make a little L shape for a handle and on the other side form a U shape that will move up and down when you turn the crank. This wire will be the crankshaft for your automata.

Cut a small skinny piece of cardboard against the corrugation grain so that you can easily fold it into a tight roll. Make sure that the piece is less wide than the U of the wire. After you wrap the cardboard piece into a roll add hot glue or tape to make it secure. Thread it onto the U shaped side of the automata. Instead of the roll of cardboard you can also use a small piece of straw or even just by wrapping the wire around the crankshaft. This will be the connector piece to transfer the motion of the crankshaft.

Tape or glue a second wire onto the little roll of cardboard. It might be easier to curl a little loop at the end of the wire so you have a larger piece to tape on. Now take the third piece of wire and shape a small circle on one end using the round nose pliers. Tape the wire piece to the cardboard piece so that the little loop is near the top of the automata on the side of the U shaped bend in the crankshaft. Thread the wire attached to the connector piece through the hole.
Now you may have the bend and re-bend, adjust the placement and angles of the wires and closely observe the motions of your machine. Once it’s all set up, you should be able to turn the crank and see the little wire move up and down.
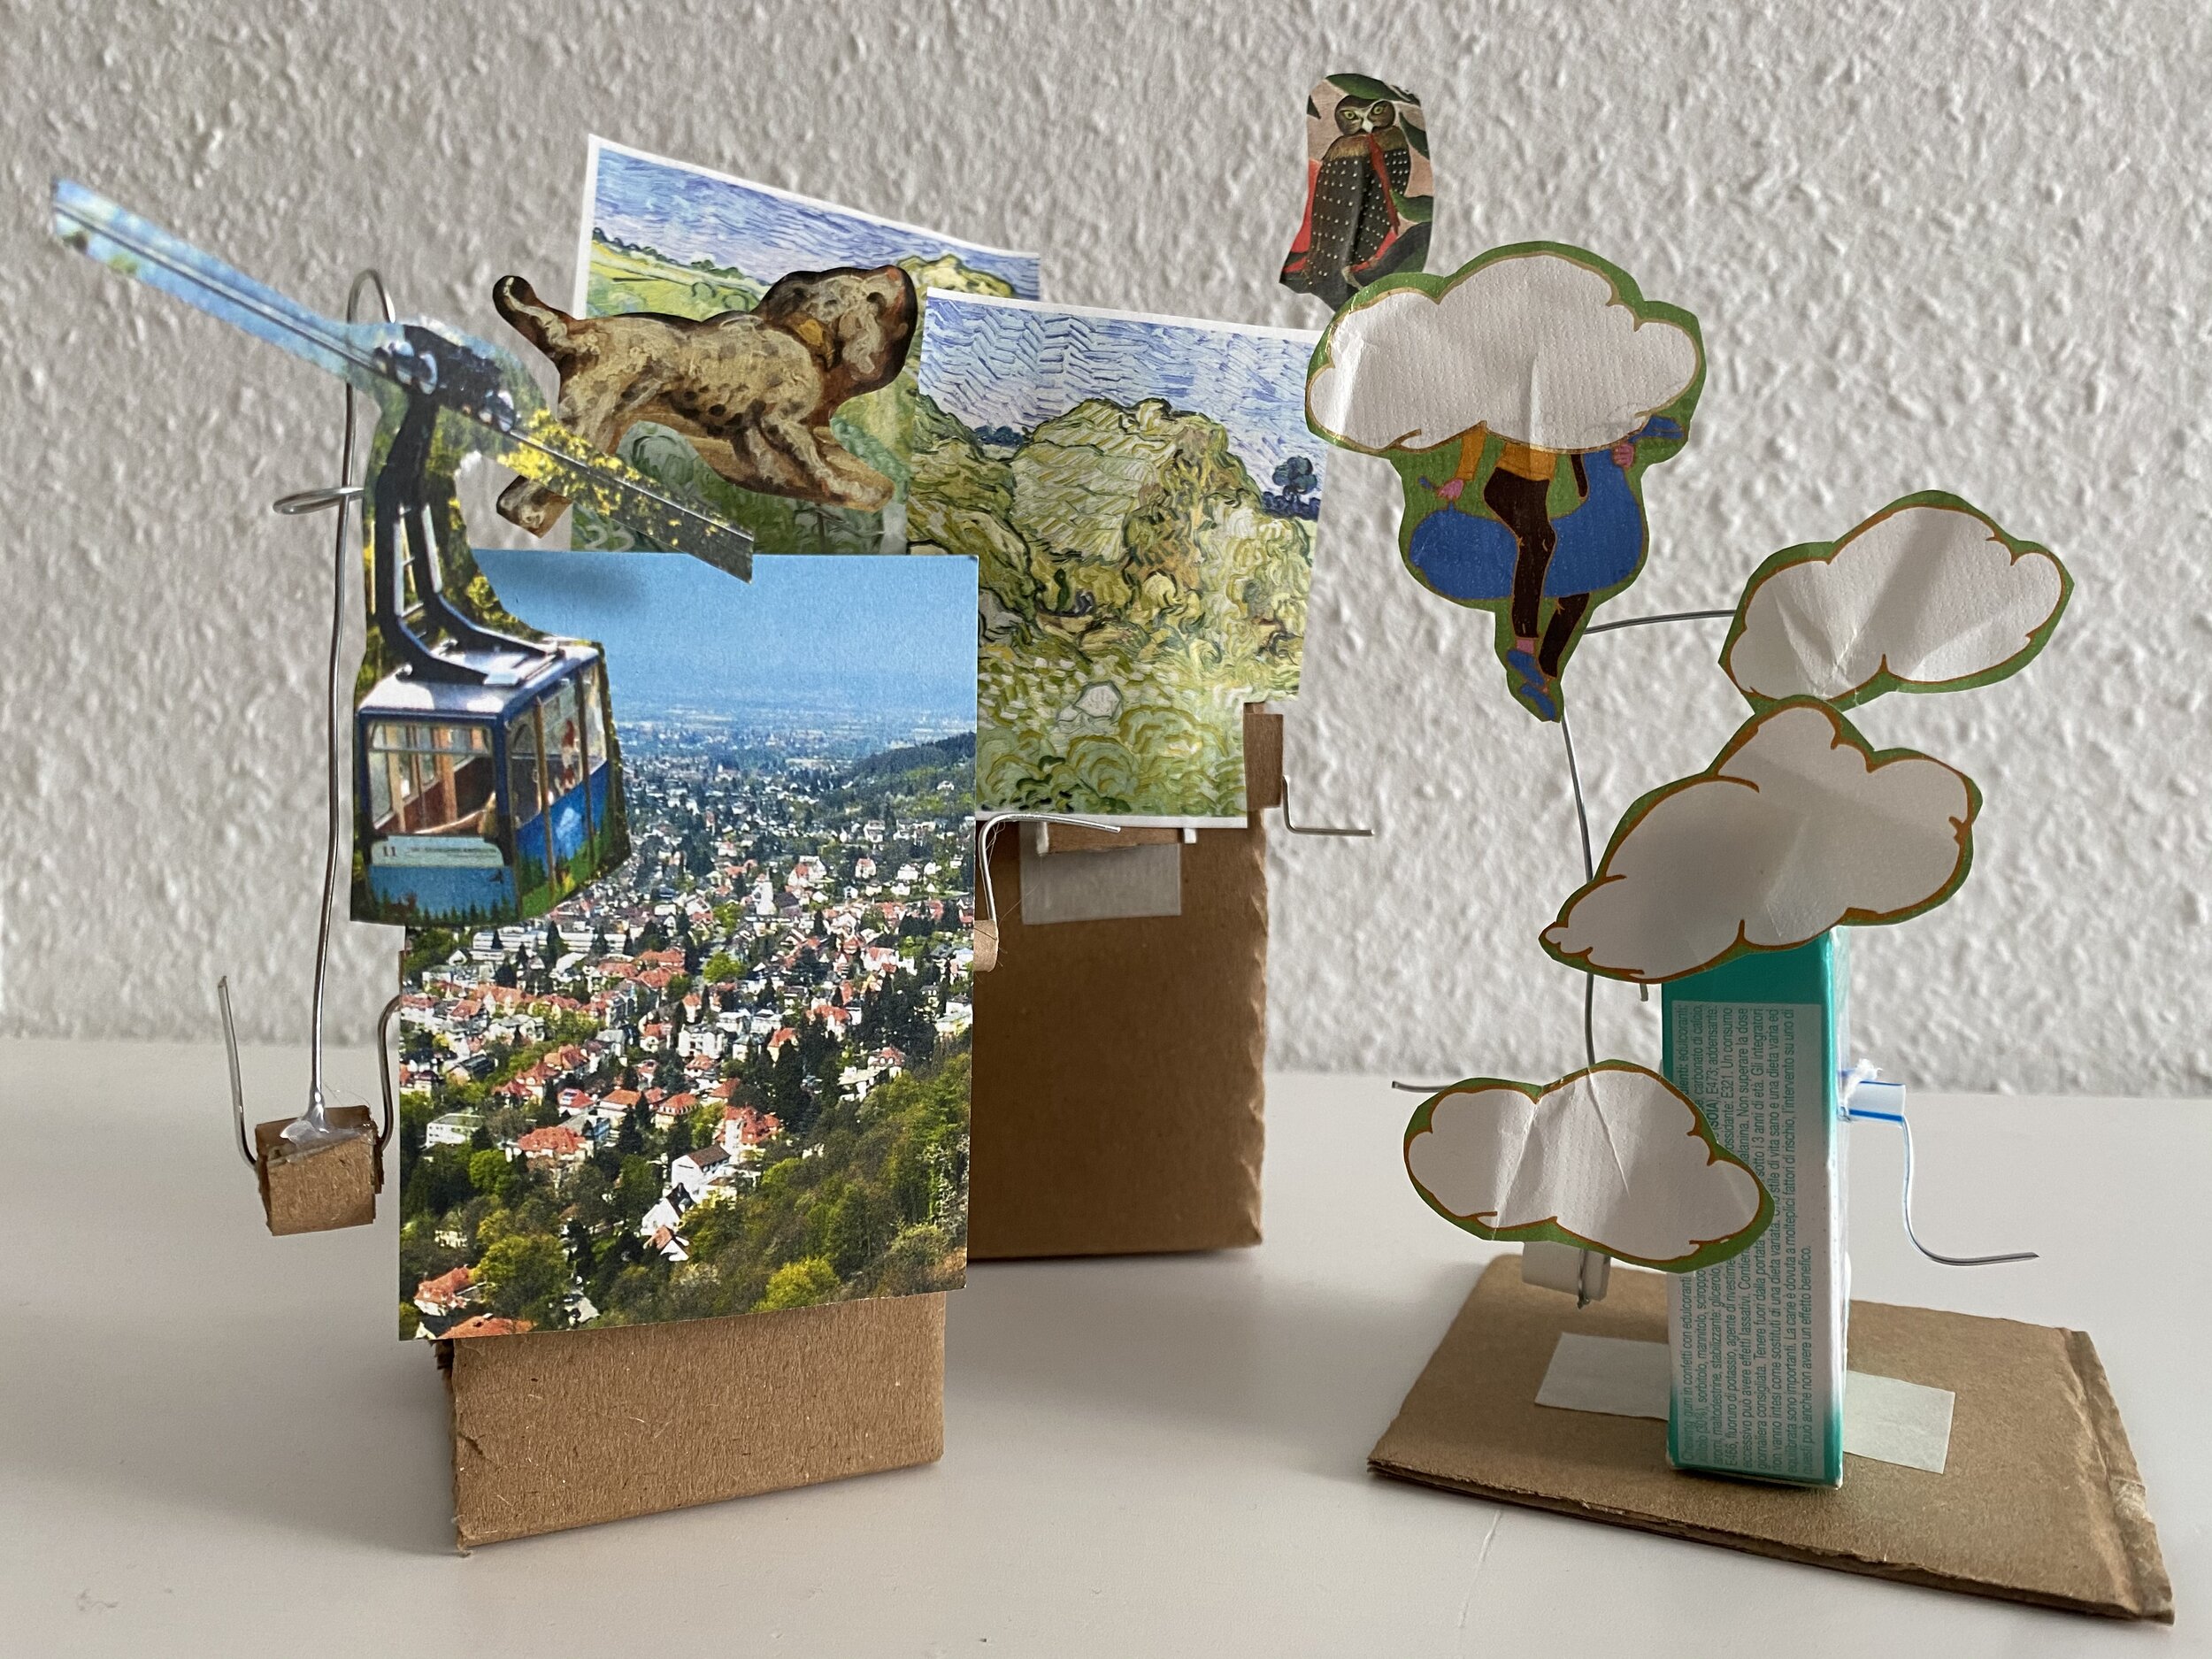
Here is where things get interesting. Find some photographs from your magazines and create a story or scene for you automata. It works well to have a piece for the background attached to the base (be careful to not interfere with any of the moving parts). Then add something that will move in front of the background to the wire attached to the connector.
Some things that we’ve been experimenting with include juxtaposing different styles of images (painted, sketched, black and white, abstract) for the background and the foreground. It’s also been interesting to try to fold pieces to create more of a pop-up effect for the scenes.
These cardboard cranky contraptions are just the start of what you can do. Experiment with using other materials for the base (cardboard gum/candy boxes work well), play with size and scale and add more elements and complex mechanisms. The possibilities for creating playful sculptures with simple materials that you have around your house can be really endless. Let us know what you try and happy tinkering.