Public Prototyping Tips and Tricks
When we develop new tinkering activities and adapt existing projects, it’s important to remember to have a tinkering attitude as educators and designers. That means that to not worry about planning everything out ahead of time, but instead getting feedback from participants and projects to refine the prompts, examples, environments and materials. This bottom-up process (as Mitchel Resnick describes in the article Designing for Tinkerability), allows us to turn initial explorations into focused activity.

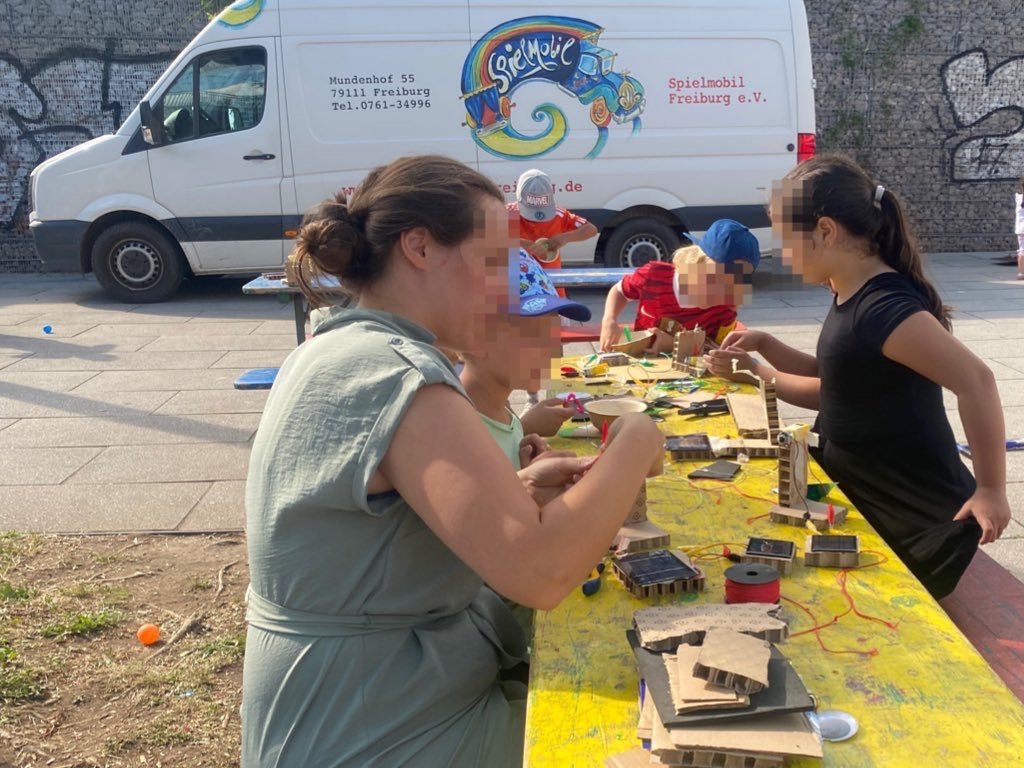
Over the past year, I’ve had the chance to work with a local play organization called Spielmobil that runs outdoor public creative learning activities with neighborhood kids all around Freiburg. Earlier in the summer I tried a solar do-nothing machine workshop and at the end of August, I spend two days at the summer holiday festival prototyping Calder-style mobiles. It was the first time that I had tried either of these activities with learners and I wanted to share some general reflections about the process of public prototyping and concrete examples of what they look like in practice. It might seem a little scary to try out a new activity where you don’t know what will happen, but it’s actually the best way to improve a tinkering project and provide great opportunities for learners.
Here are five things to keep in mind:

1. Involve Learners in the Process
Don’t try to pretend that you are the expert and you know everything about the activity. I try to be really open with participants and let them know that I’m trying something for the first time and ask them to help me learn about the exploration. This takes some pressure off and let’s participants feel excited to share their questions and ideas.

2. Pay Attention to Materials (Too Much and Too Little)
Usually when trying a new activity I try to anticipate which parts people will use and how they will them. It usually seems easier to start with too much stuff, even if there are some things that turn out to not be relevant for the activity. Then you can watch what happens and take notes on types of materials and quantities. You might find that there are materials that aren’t helpful, messy or confusing. As well if you see that learners are trying crazy work-arounds that could be solved with the addition of one or two simple materials, those are the things to introduce that to the set for the next time.
For the solar machines I discovered that small bits of paper/plastic were too messy and distracting. If I did it again I would streamline the process. I also realized that I needed more of the tools to cut and shape wire.

3. Limit the Participants with the Environment
If you are in a drop-in space like a museum floor, public festival, maker faire or event, it’s really hard to do a brad new activity with many learners. I usually try to curb the number of participants with the spaces around the table and seats so that we can start with a small group that I can be paying attention to closely. I usually block three sides of the ‘entrances’ so that people can only approach the table from one direction. When people come up to a full space I let them know and ask if they can check back in a few minutes. I also try to communicate the average time it takes to get going with the activity and suggested age limit so they are not confused.
For the mobile making activity I had a tent assigned to me. I placed benches around three sides of the space so people could only enter from the front. As well it became a natural place for parents to sit as their kids worked.

4. Use Examples to Shape the Problem Space
Before you trying a new activity with learners, hopefully you have the chance to test it out yourself and create some initial prototypes. I find that it’s helpful to display your experimental projects around the space so people can have an idea of what’s possible. One thing to keep in mind is making sure that the projects aren’t too complex and intimidating for people just getting started. Another is to check to make sure that there’s a variety of options so people see that there isn’t just one way to do the project.
I hung some string up for the mobiles workshop which gave me a clear space to display the examples. One challenge was that after a learner made a mobile with the shape of their hands everyone wanted to try the same thing even though hands were really hard to cut out of cardboard. For the second day I removed those examples and tried to think of interesting shapes like names and fishes that were less challenging to shape.
5. Be Open to New and Unexpected Ideas
For all tinkering facilitation, but especially with new activities, it’s important to be open open to people using materials in unexpected ways, having their own goals and trying things that may seem impossible. Supporting these pathways and observing what learners do in moments when they are really driving the experience gives so many clues for the project. Not everything will work out, but at the end there sill be new surprises and discoveries for everyone.
And finally, once you’ve tried a new tinkering activity, reflecting on the process can help clarify ideas and uncover next steps. This can happen in person with a co-facilitator or colleague or can also happen online through social media or blog posts. Look back on activities paying extra attention to the things that went well and the things to change for next time. And then try the activity again to iterate on the design.