Lanterne Basteln for St. Martin's Day
St. Martin’s Day is a holiday in Germany that takes place on the 11th of November where children make homemade lanterns and walk through the evening streets or trails.

Since I came to Freiburg, I’ve been on the look out for tinkering opportunities that tie in with local traditions. The idea of making a DIY creation for “lanternelaufen” seemed perfect for tinkering or bastln as they say in Germany.
Making a tinkering lantern gave me the chance to connect to a couple other ideas that I’ve been experimenting with lately. I wanted to integrate fused bubble wrap and a solar powered LED garden light into the project. So here’s my little guide for tinkering with St. Martin’s Day lanterns that can be changed and modified in many different ways.

For the project you’ll need to get two long strips of cardboard, two circles of sturdy cardboard, dichroic vinyl or colorful plastic bags, bubble wrap, an LED solar powered garden light, parchment paper, scissors, tape, an iron and a hot glue gun.


Prepare two cardboard strips so that they fit around your circles. Lat the two strips of cardboard out on the table and cut out at least two pieces of bubble wrap that can fit between your two strips of cardboard. You can decide how tall to make your lantern.


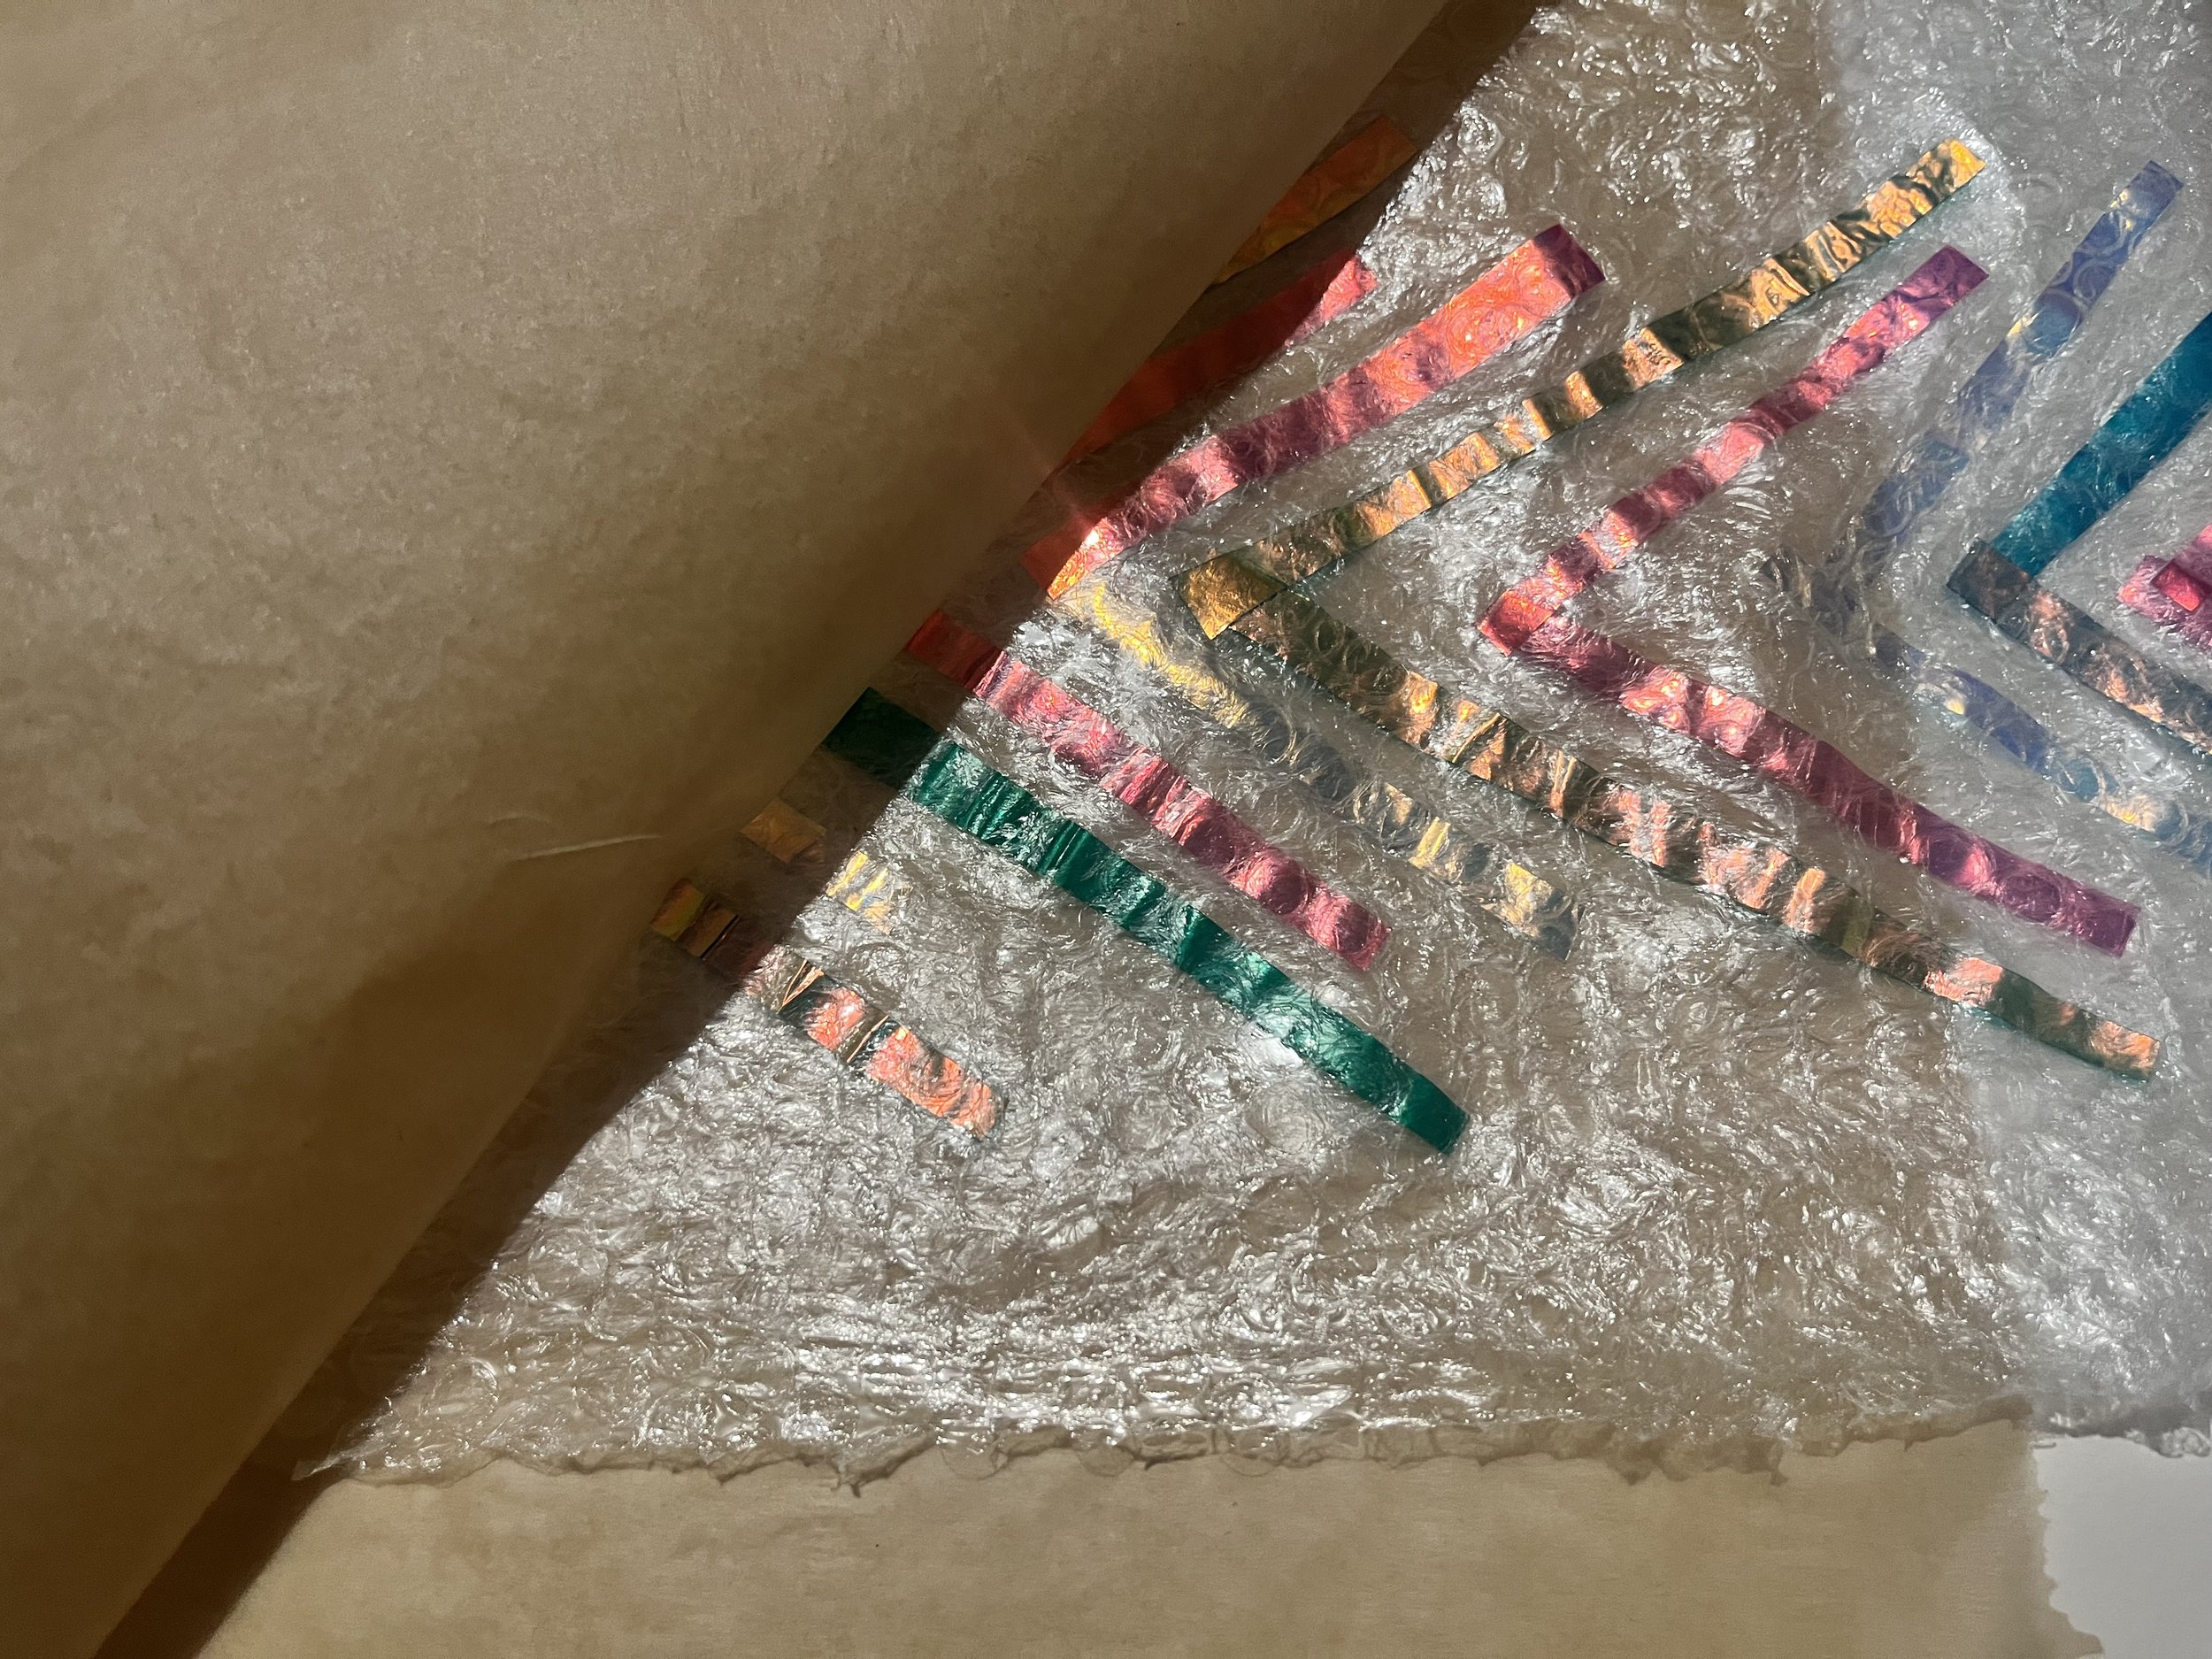
Arrange the colorful pieces of plastic however you like between the two pieces of bubble wrap. I used dichroic vinyl which is an interesting material that reflects and transmits different colors of light. There are many different possible designs and types of plastic that you can try out.
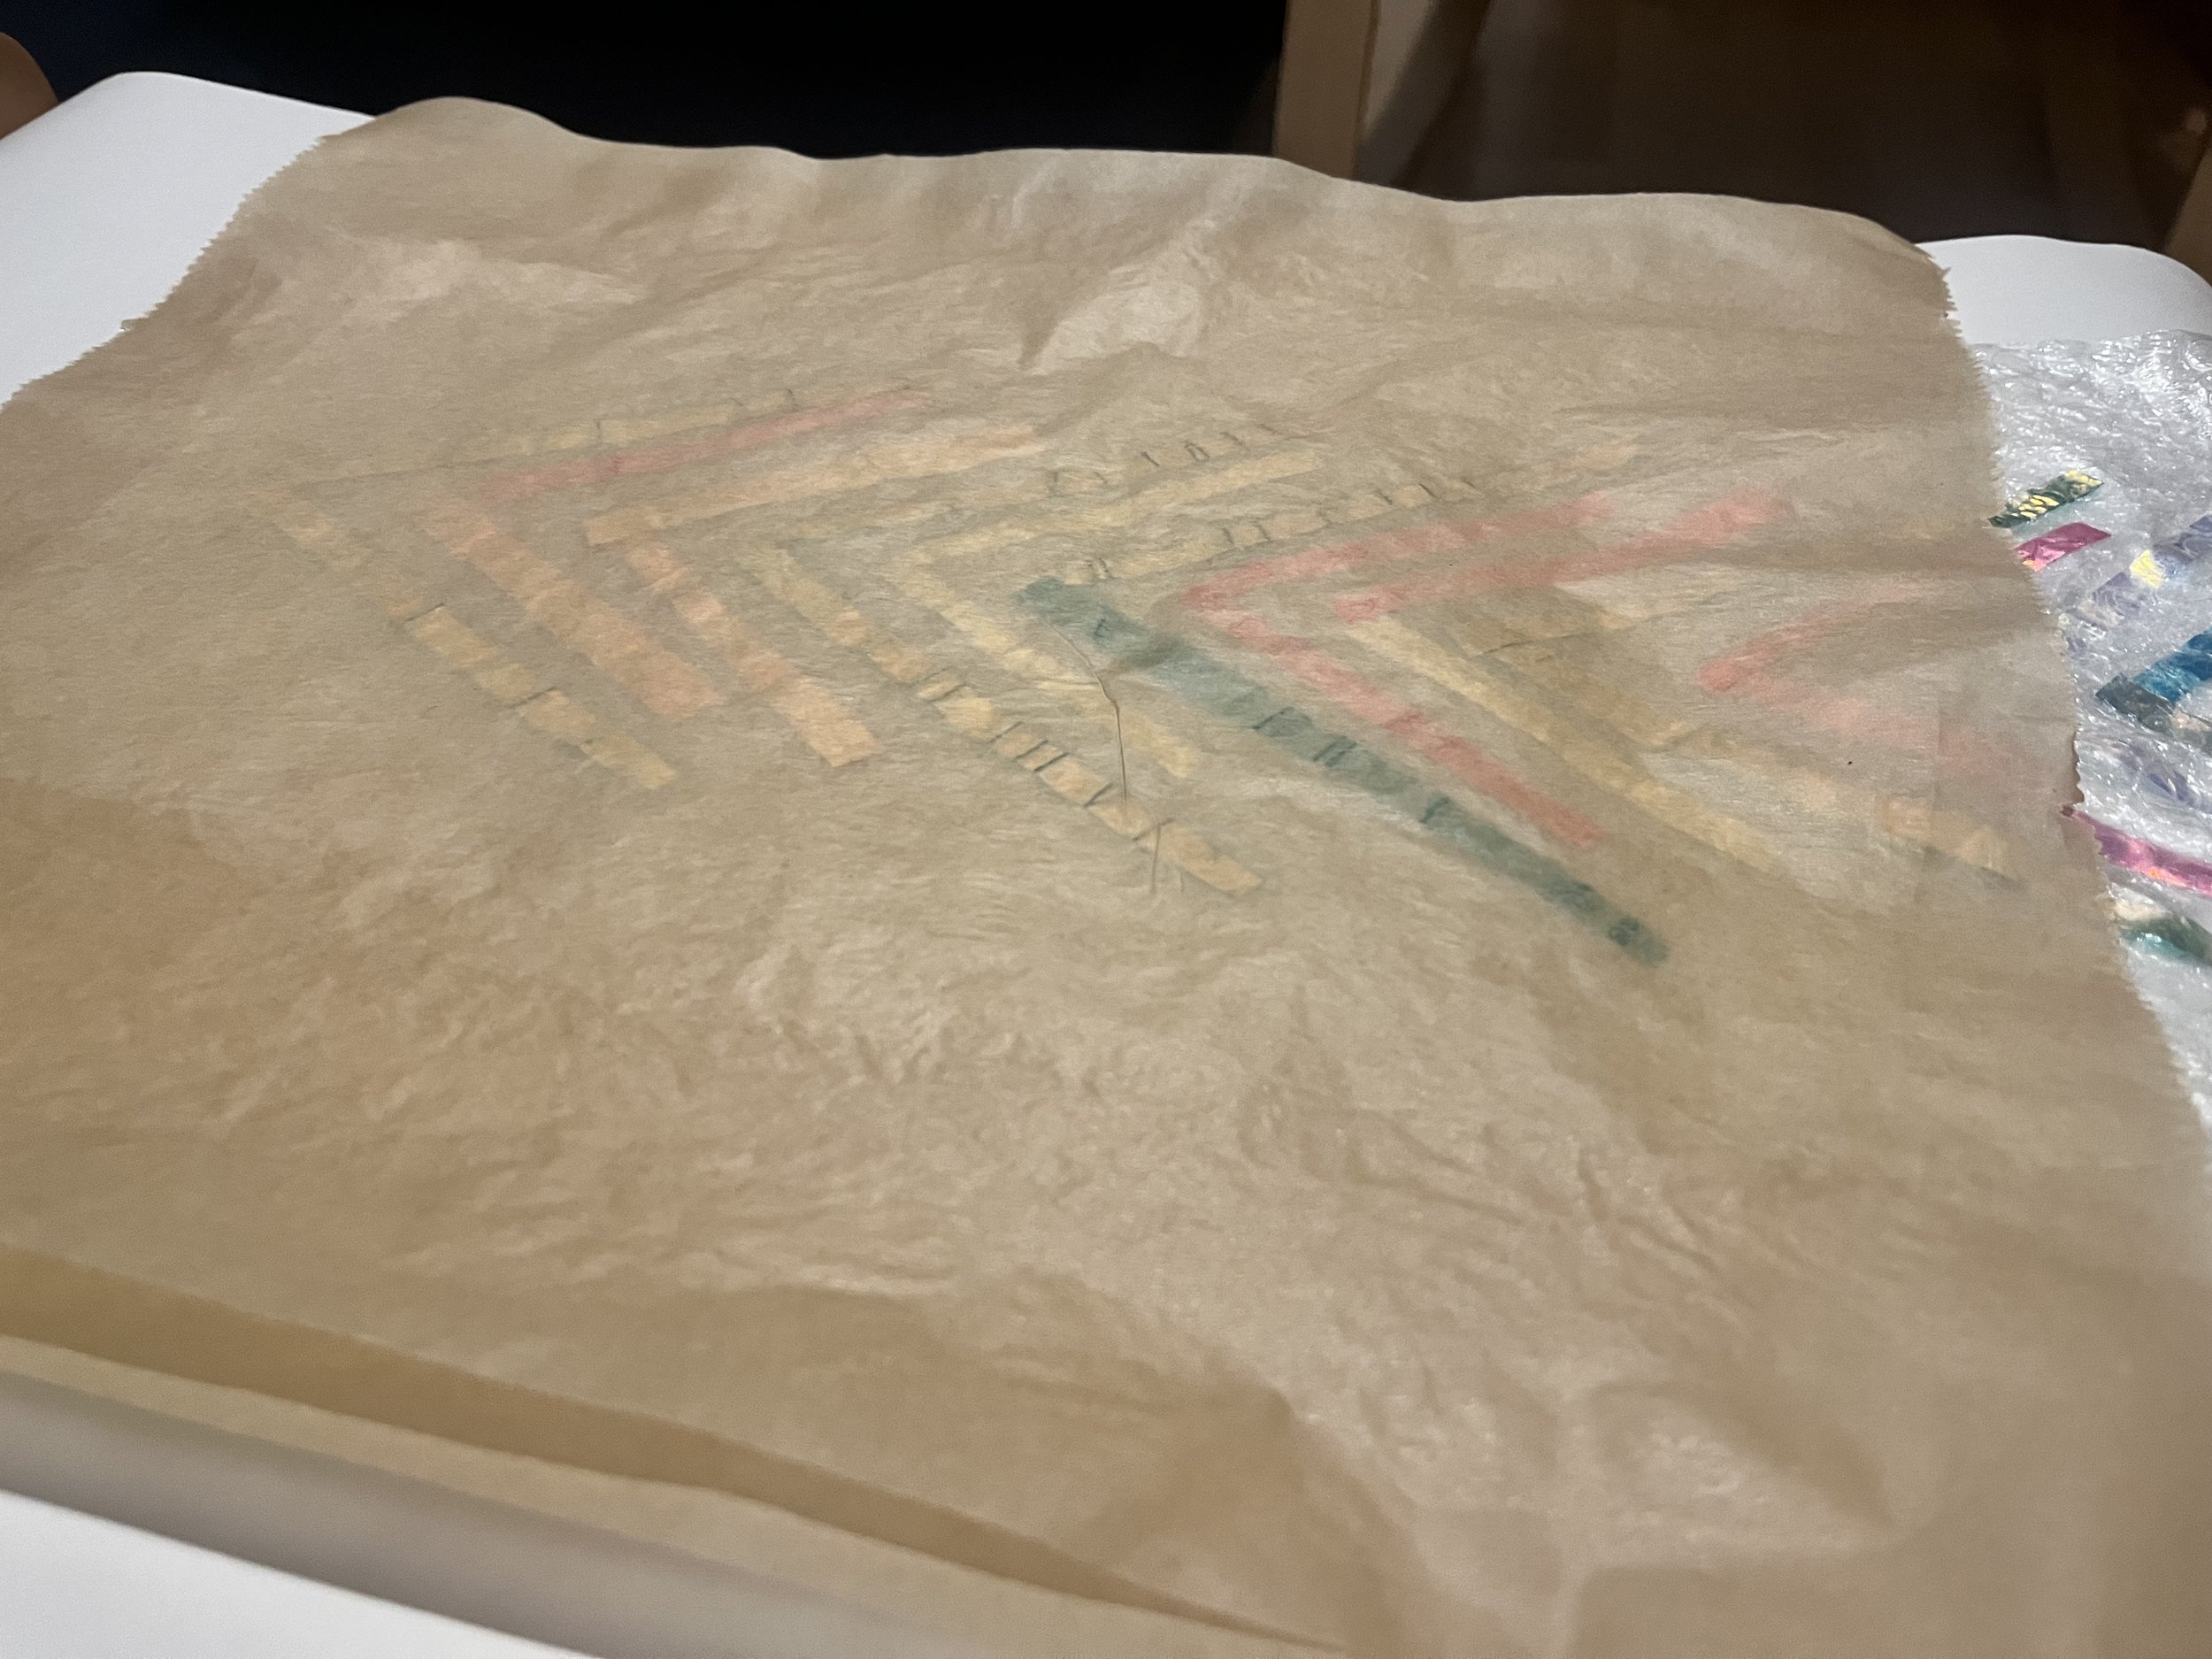
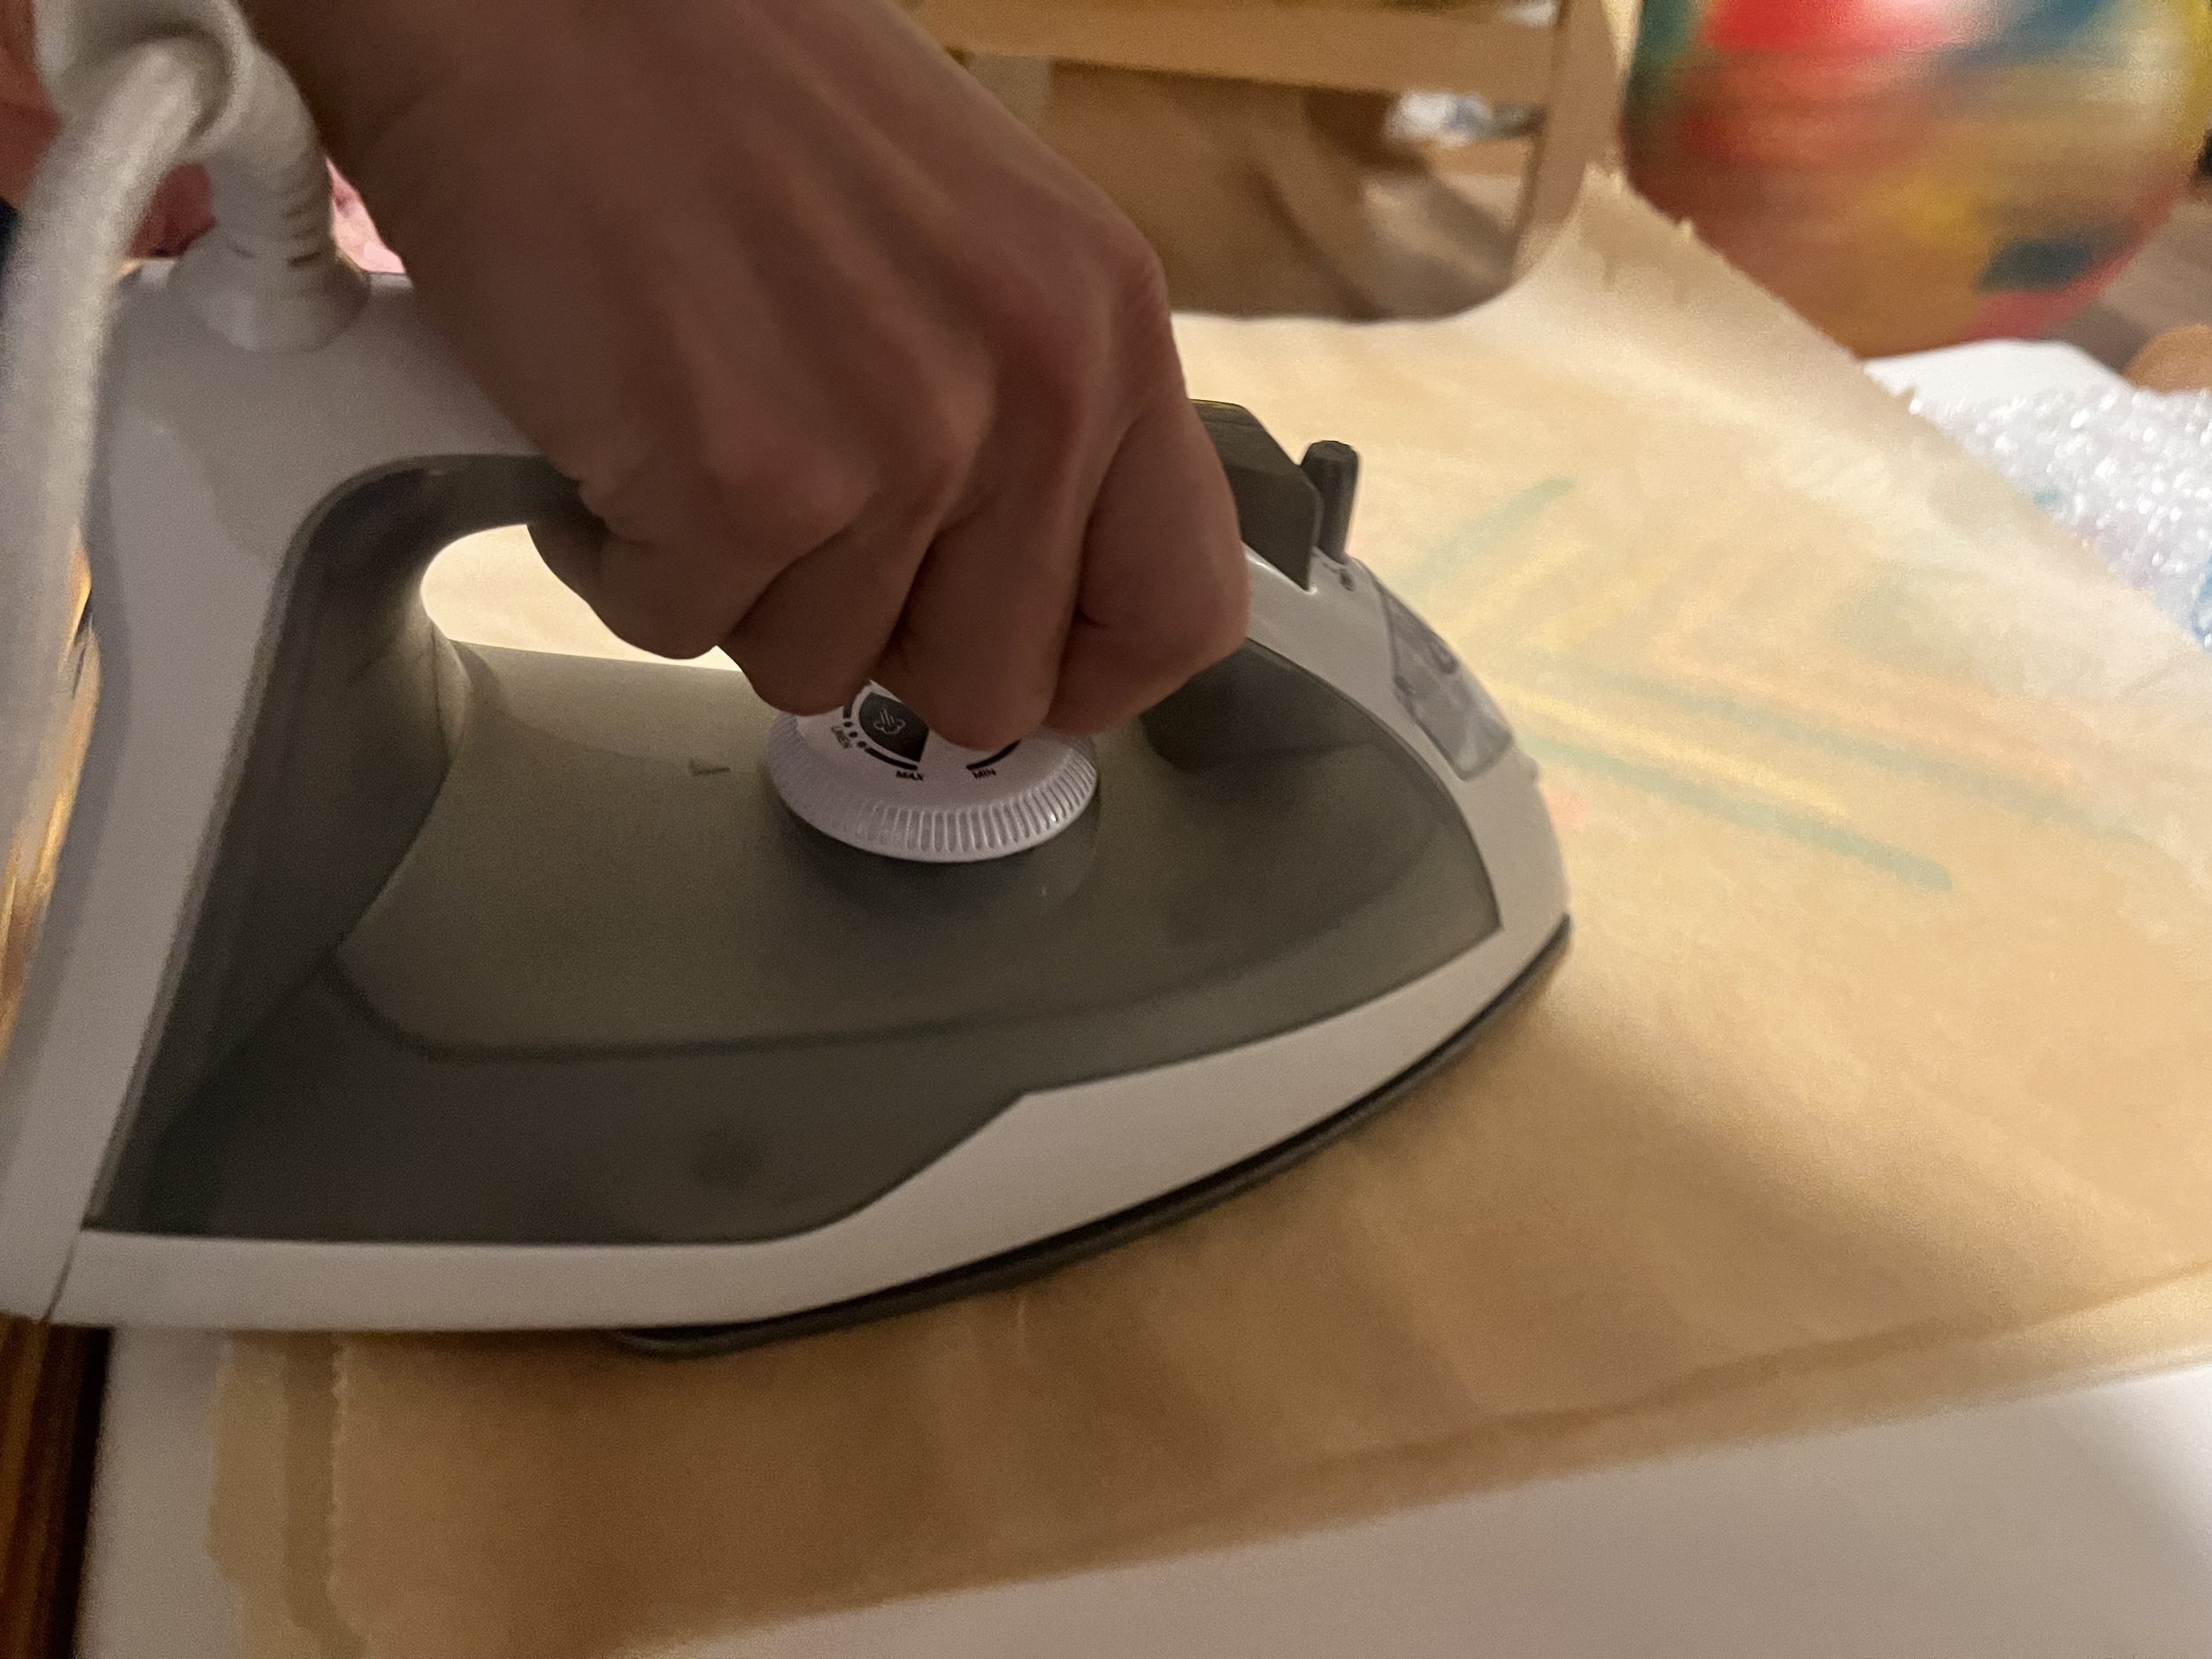
Place a piece of parchment or baking paper on the top and on bottom of your bubble wrap sandwich. Slowly pass your hot iron (try the linen setting) over the parchment paper, melting the layers together and giving you some satisfying pops when the bubbles smash. Make sure to not touch the iron directly to the bubble wrap. You can find more ideas about plastic fusing from the tinkering studio project page.


Use your hot glue gun to stick the fused plastic sheet in between the cardboard strips. Carefully glue the circles to the strips, one on top and one on the bottom. You might need to massage the cardboard to make it more flexible so that it can be rolled around the circles.
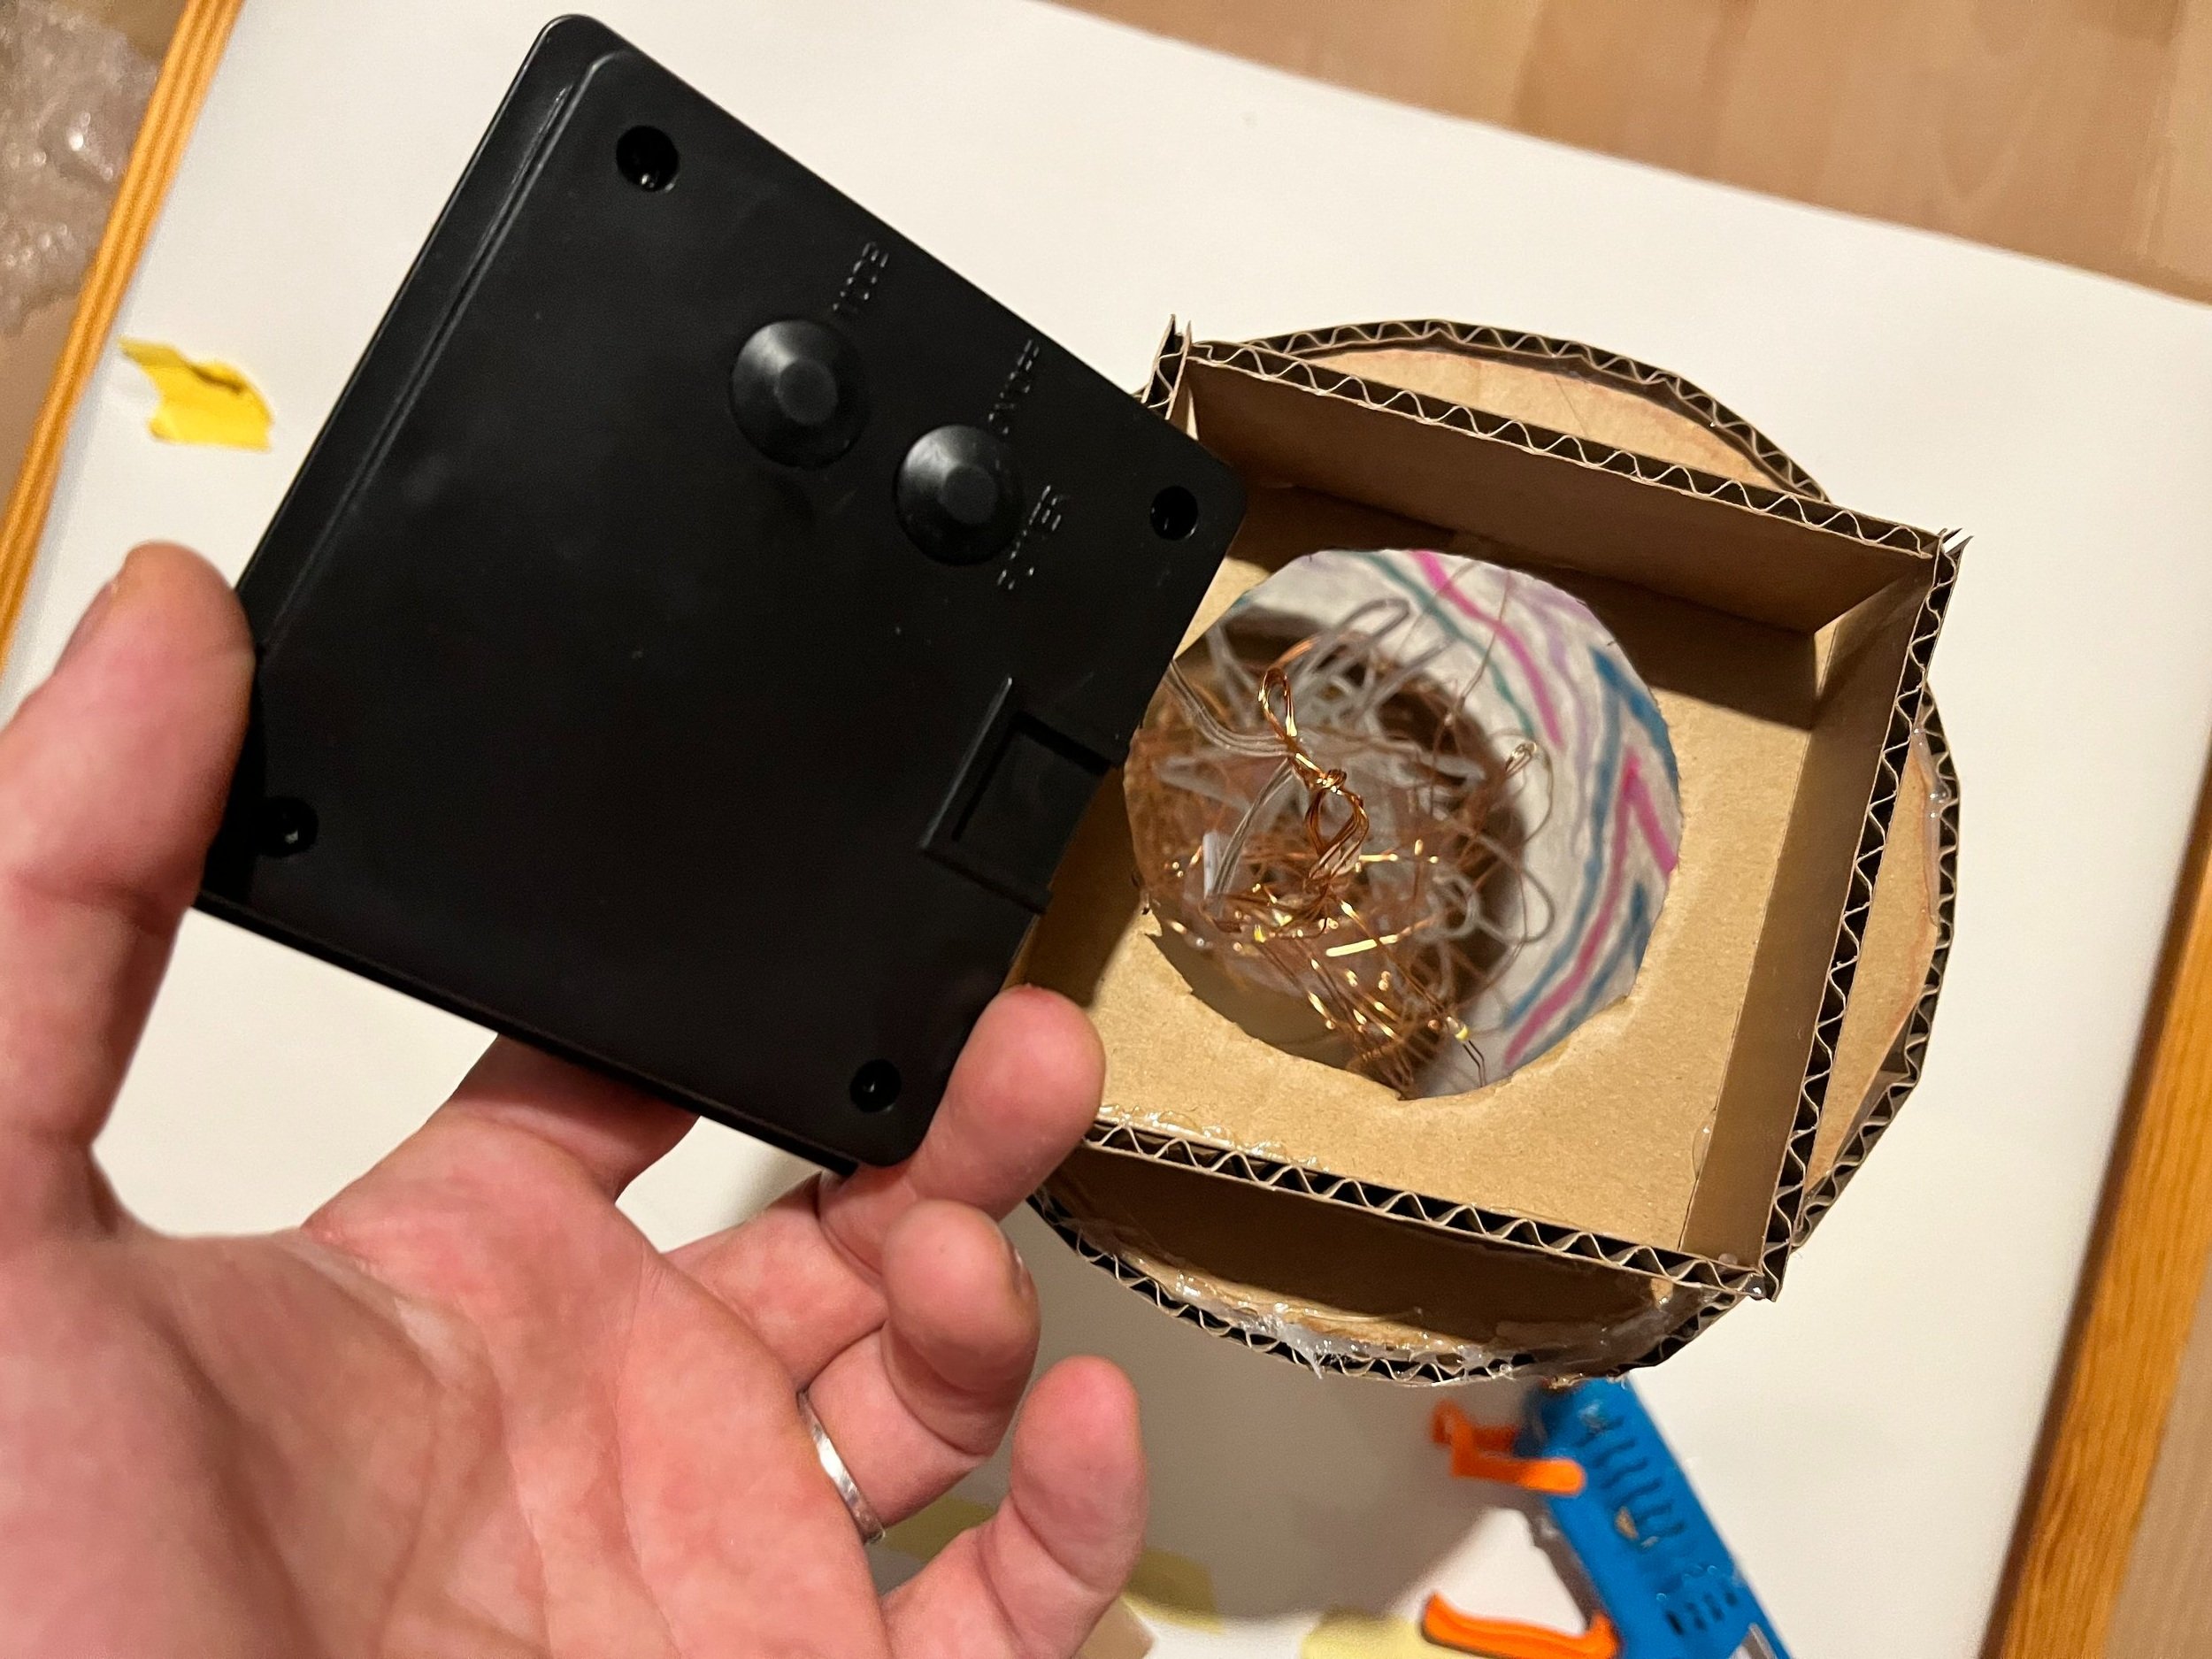
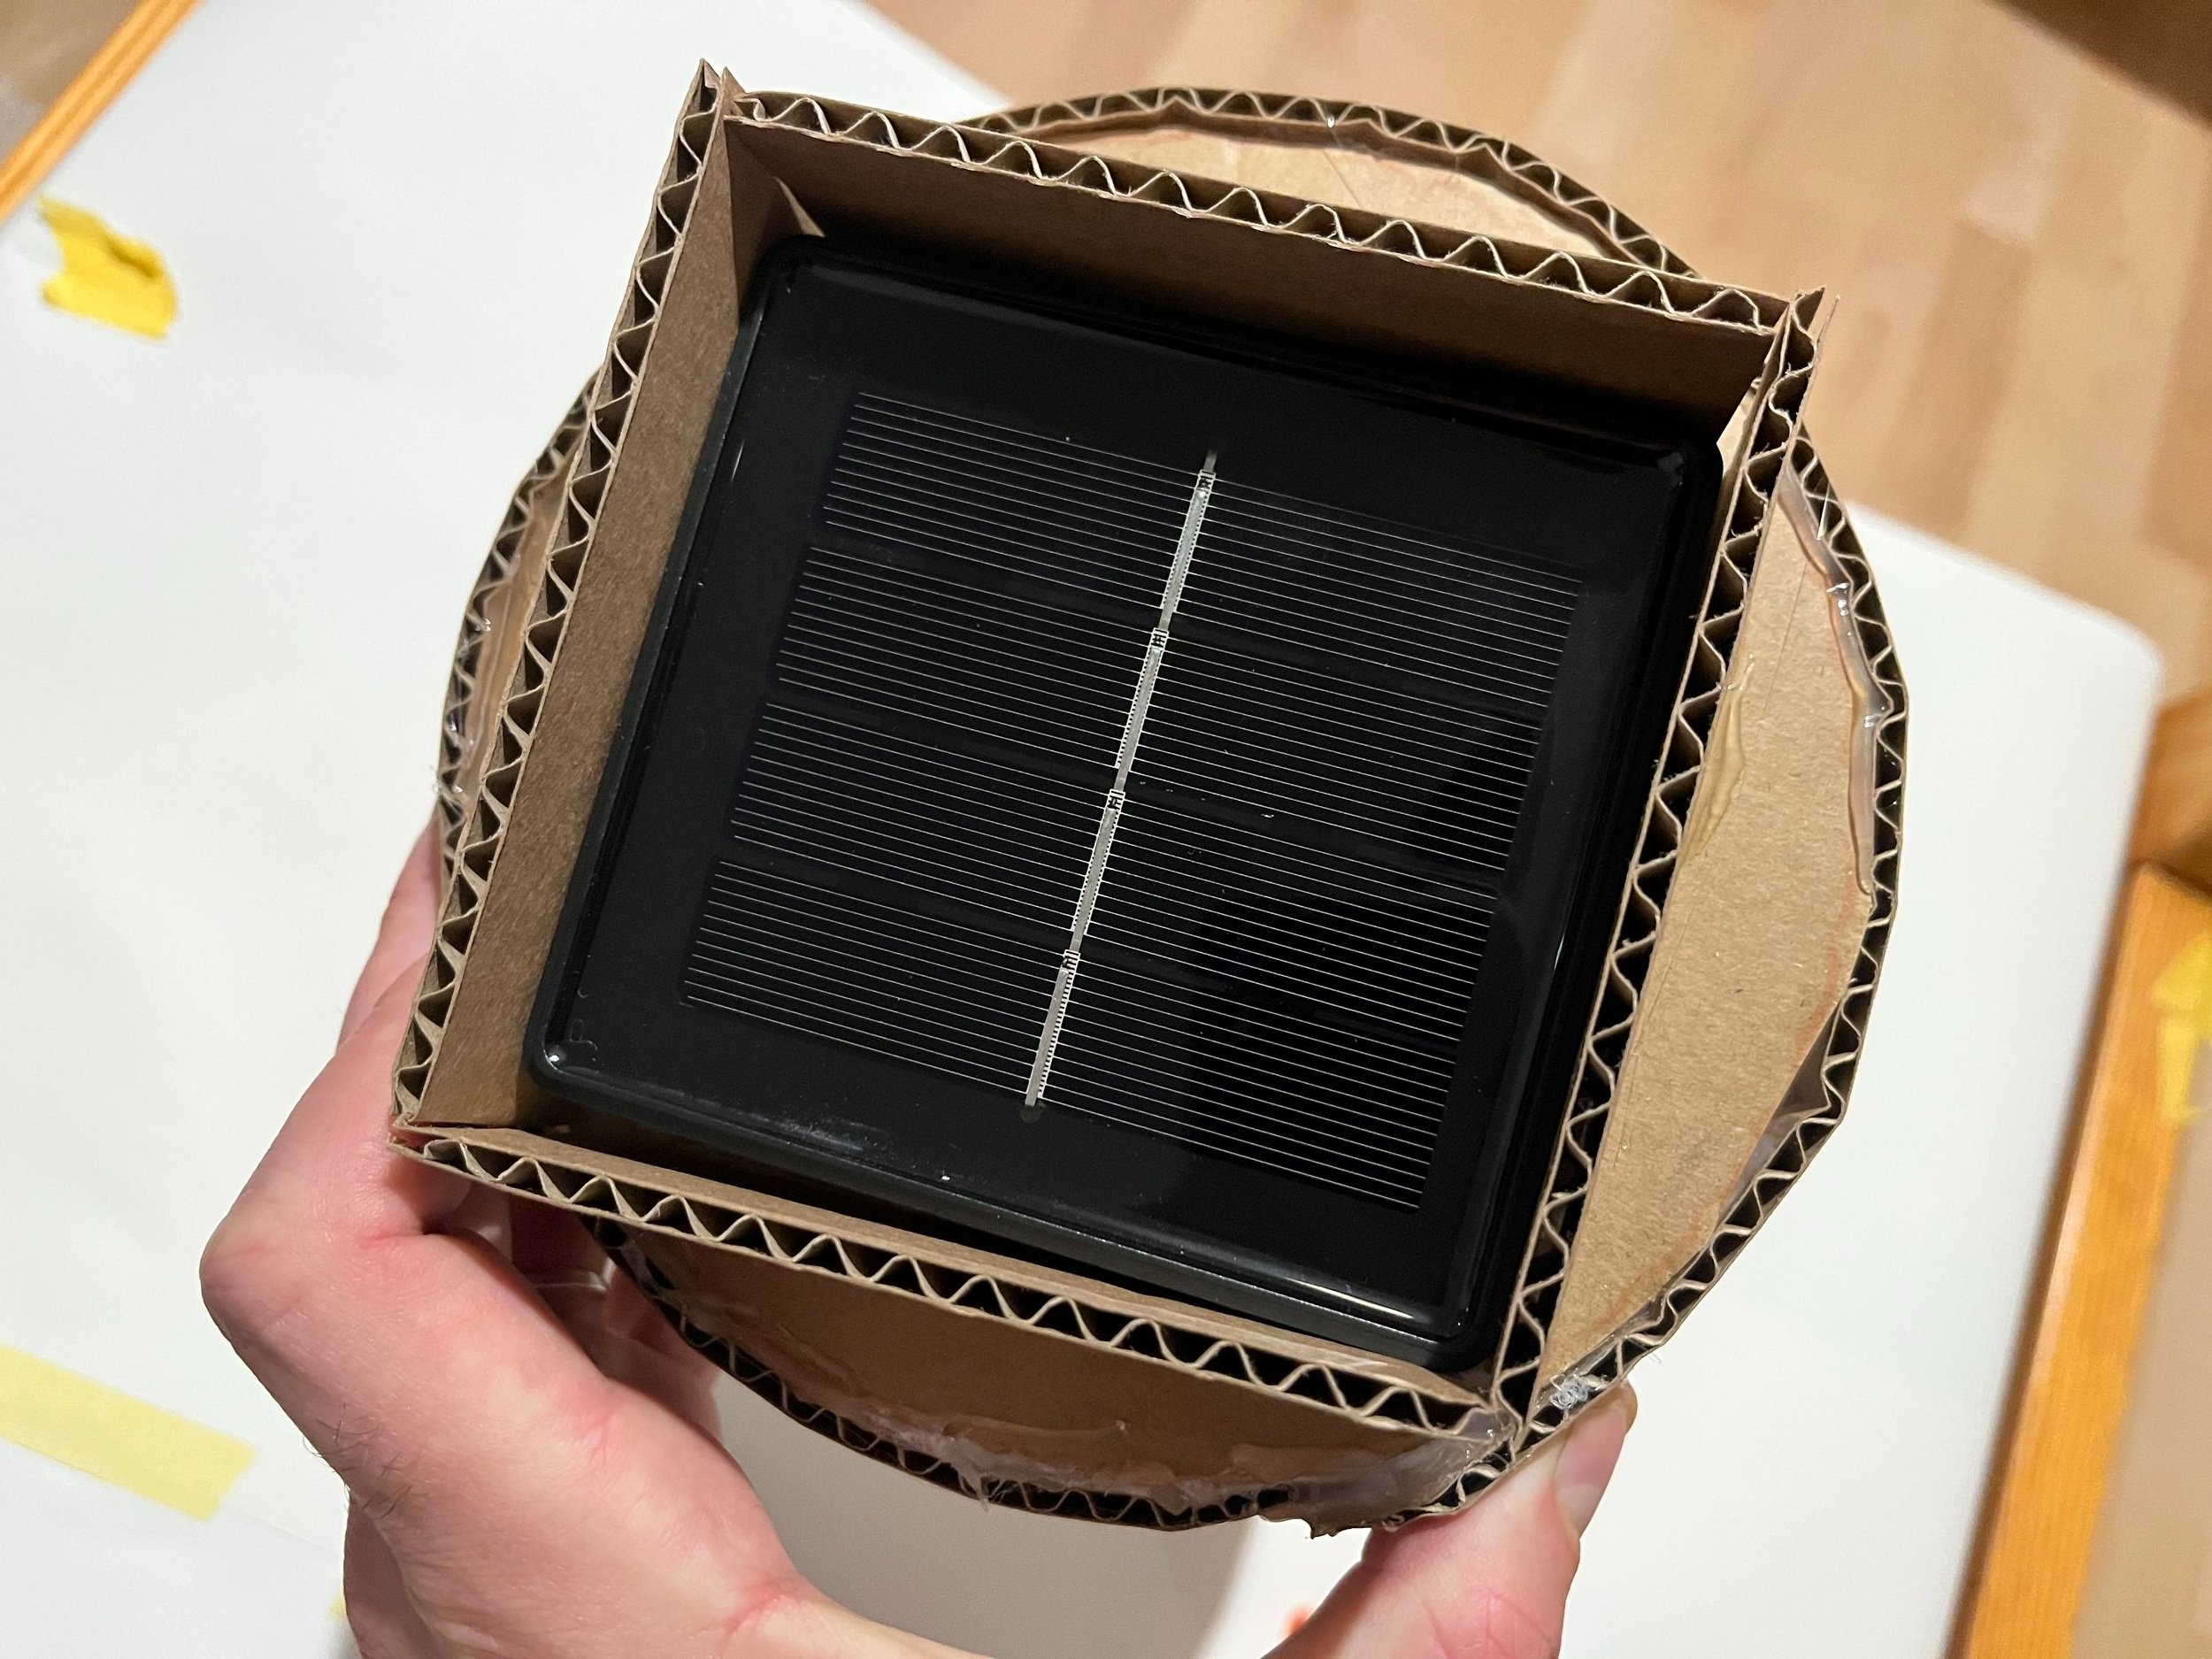
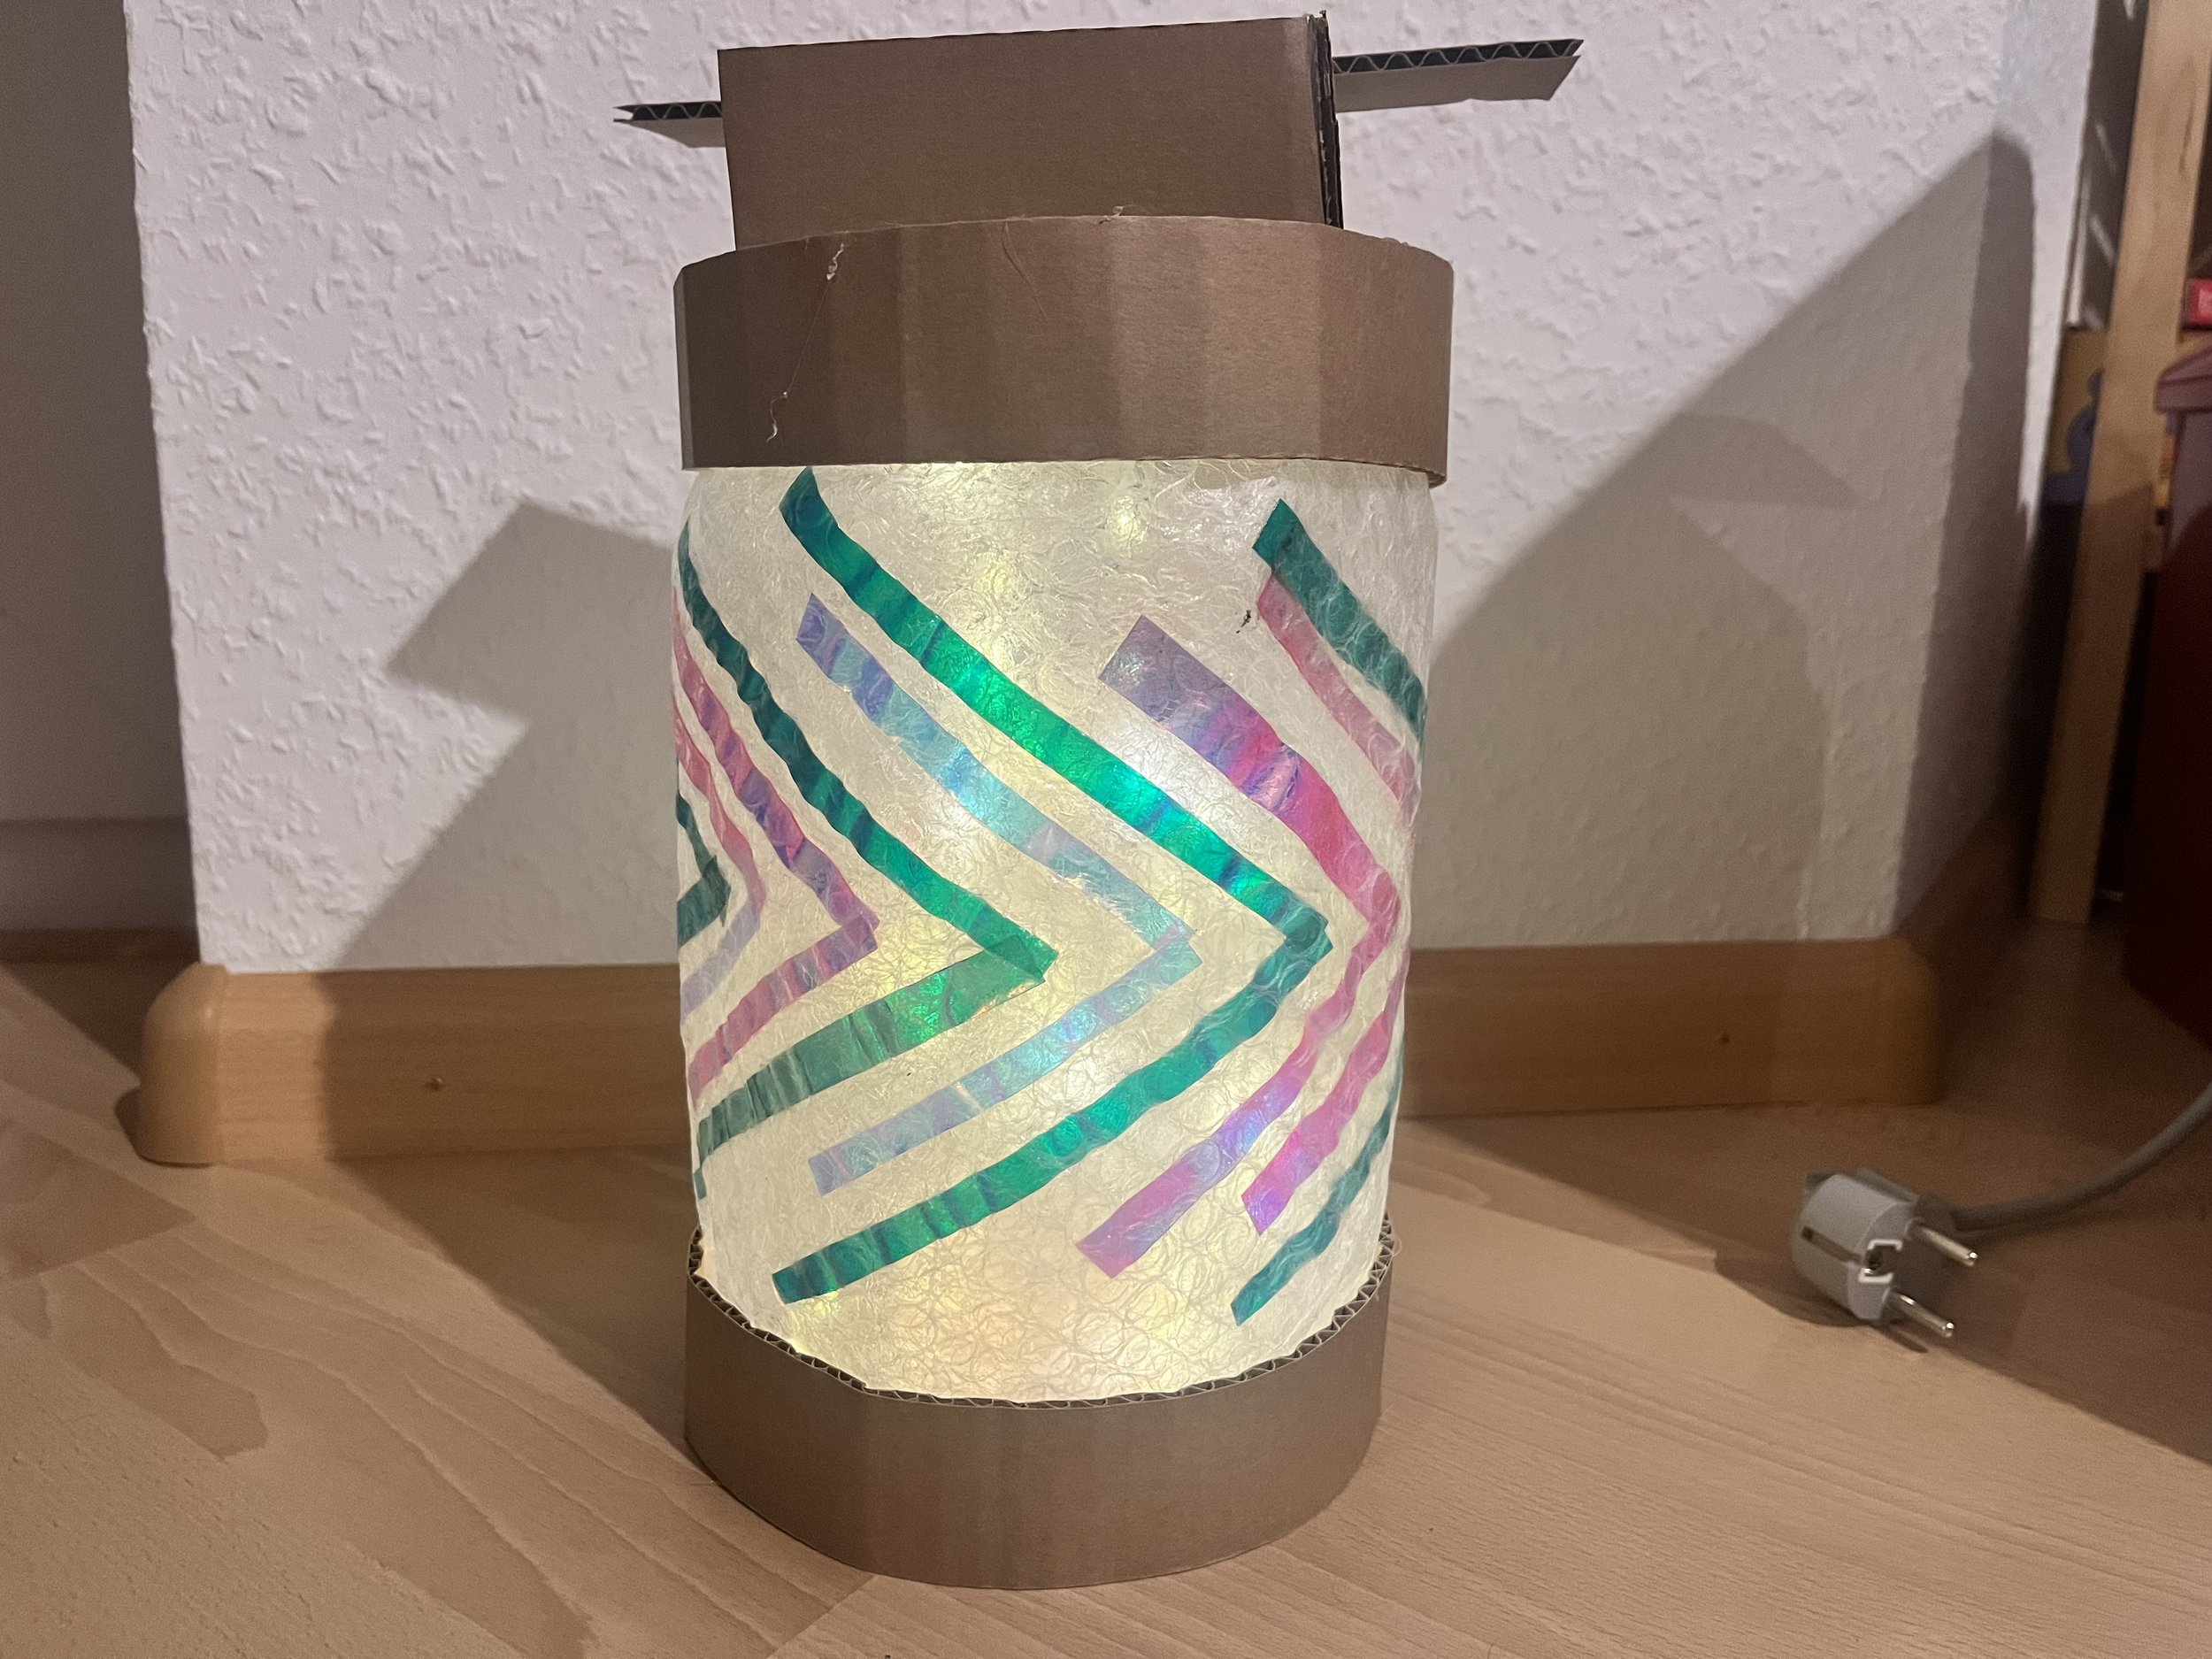
I’ve been experimenting with these solar garden units for other projects and thought that would be a great way to bring light into the lantern. The solar panel charges in the sun and then turns on when it’s dark outside. Cut a hole in the top of the lantern and drop the LED lights inside. You can construct a little frame so that the solar panel unit stays secure on top of the lantern. Turn off the lights or block the solar panel with a piece of cardboard to test out your creation.
Our lantern turned out really cool and it was fun to see how the different LED patterns animated the plastic surface. If you build your own, there are lots of variables to experiment with including the size and shape, the pattern in the bubble wrap and the arrangement of the LEDs.

And for your final step, you’ll need to figure out how you will hang it from a long stick for the local St. Martin’s Day parade if there’s one near you. Please post in the comments if you make your own version that connects a variety of tinkering themes like plastic fusing, solar energy and holiday cheer.