Get Started Tinkering with Mirrors
Over the past few weeks, along with a group of science center educators and designers, I’ve been prototyping ideas for a ‘tinkering inventive playset’ centered around the theme of kaleidoscopes. We’re working to design experiences with flexible materials, inspiring examples, open-ended prompts and environmental touches that support learners to explore their own experiments with mirrors, patterns and reflections.
We chose kaleidoscopes as a theme because it combines art and science and connects with traditional exhibit topics like mirrors, optics, angles and geometry. There’s potential for fun and surprising results. And there are open-ended questions for us to consider as activity developers like trying to make the projects have more avenues for collaboration and experimenting with special materials sets or technological components like motors, switches and even programmed microcontrollers.
Our group is part of the LEGO museum playful learning network which allows us to organically share prototypes and half-baked ideas with each other. In the new year, we hope to expand our circle of creative collaborators in science centers and museums both within the network and also in the wider making and tinkering world. If you want to join us, here are a few suggestions for interesting ways to begin to explore kaleidoscopes in a tinkering context that hopefully can lead to deeper investigations and connections.
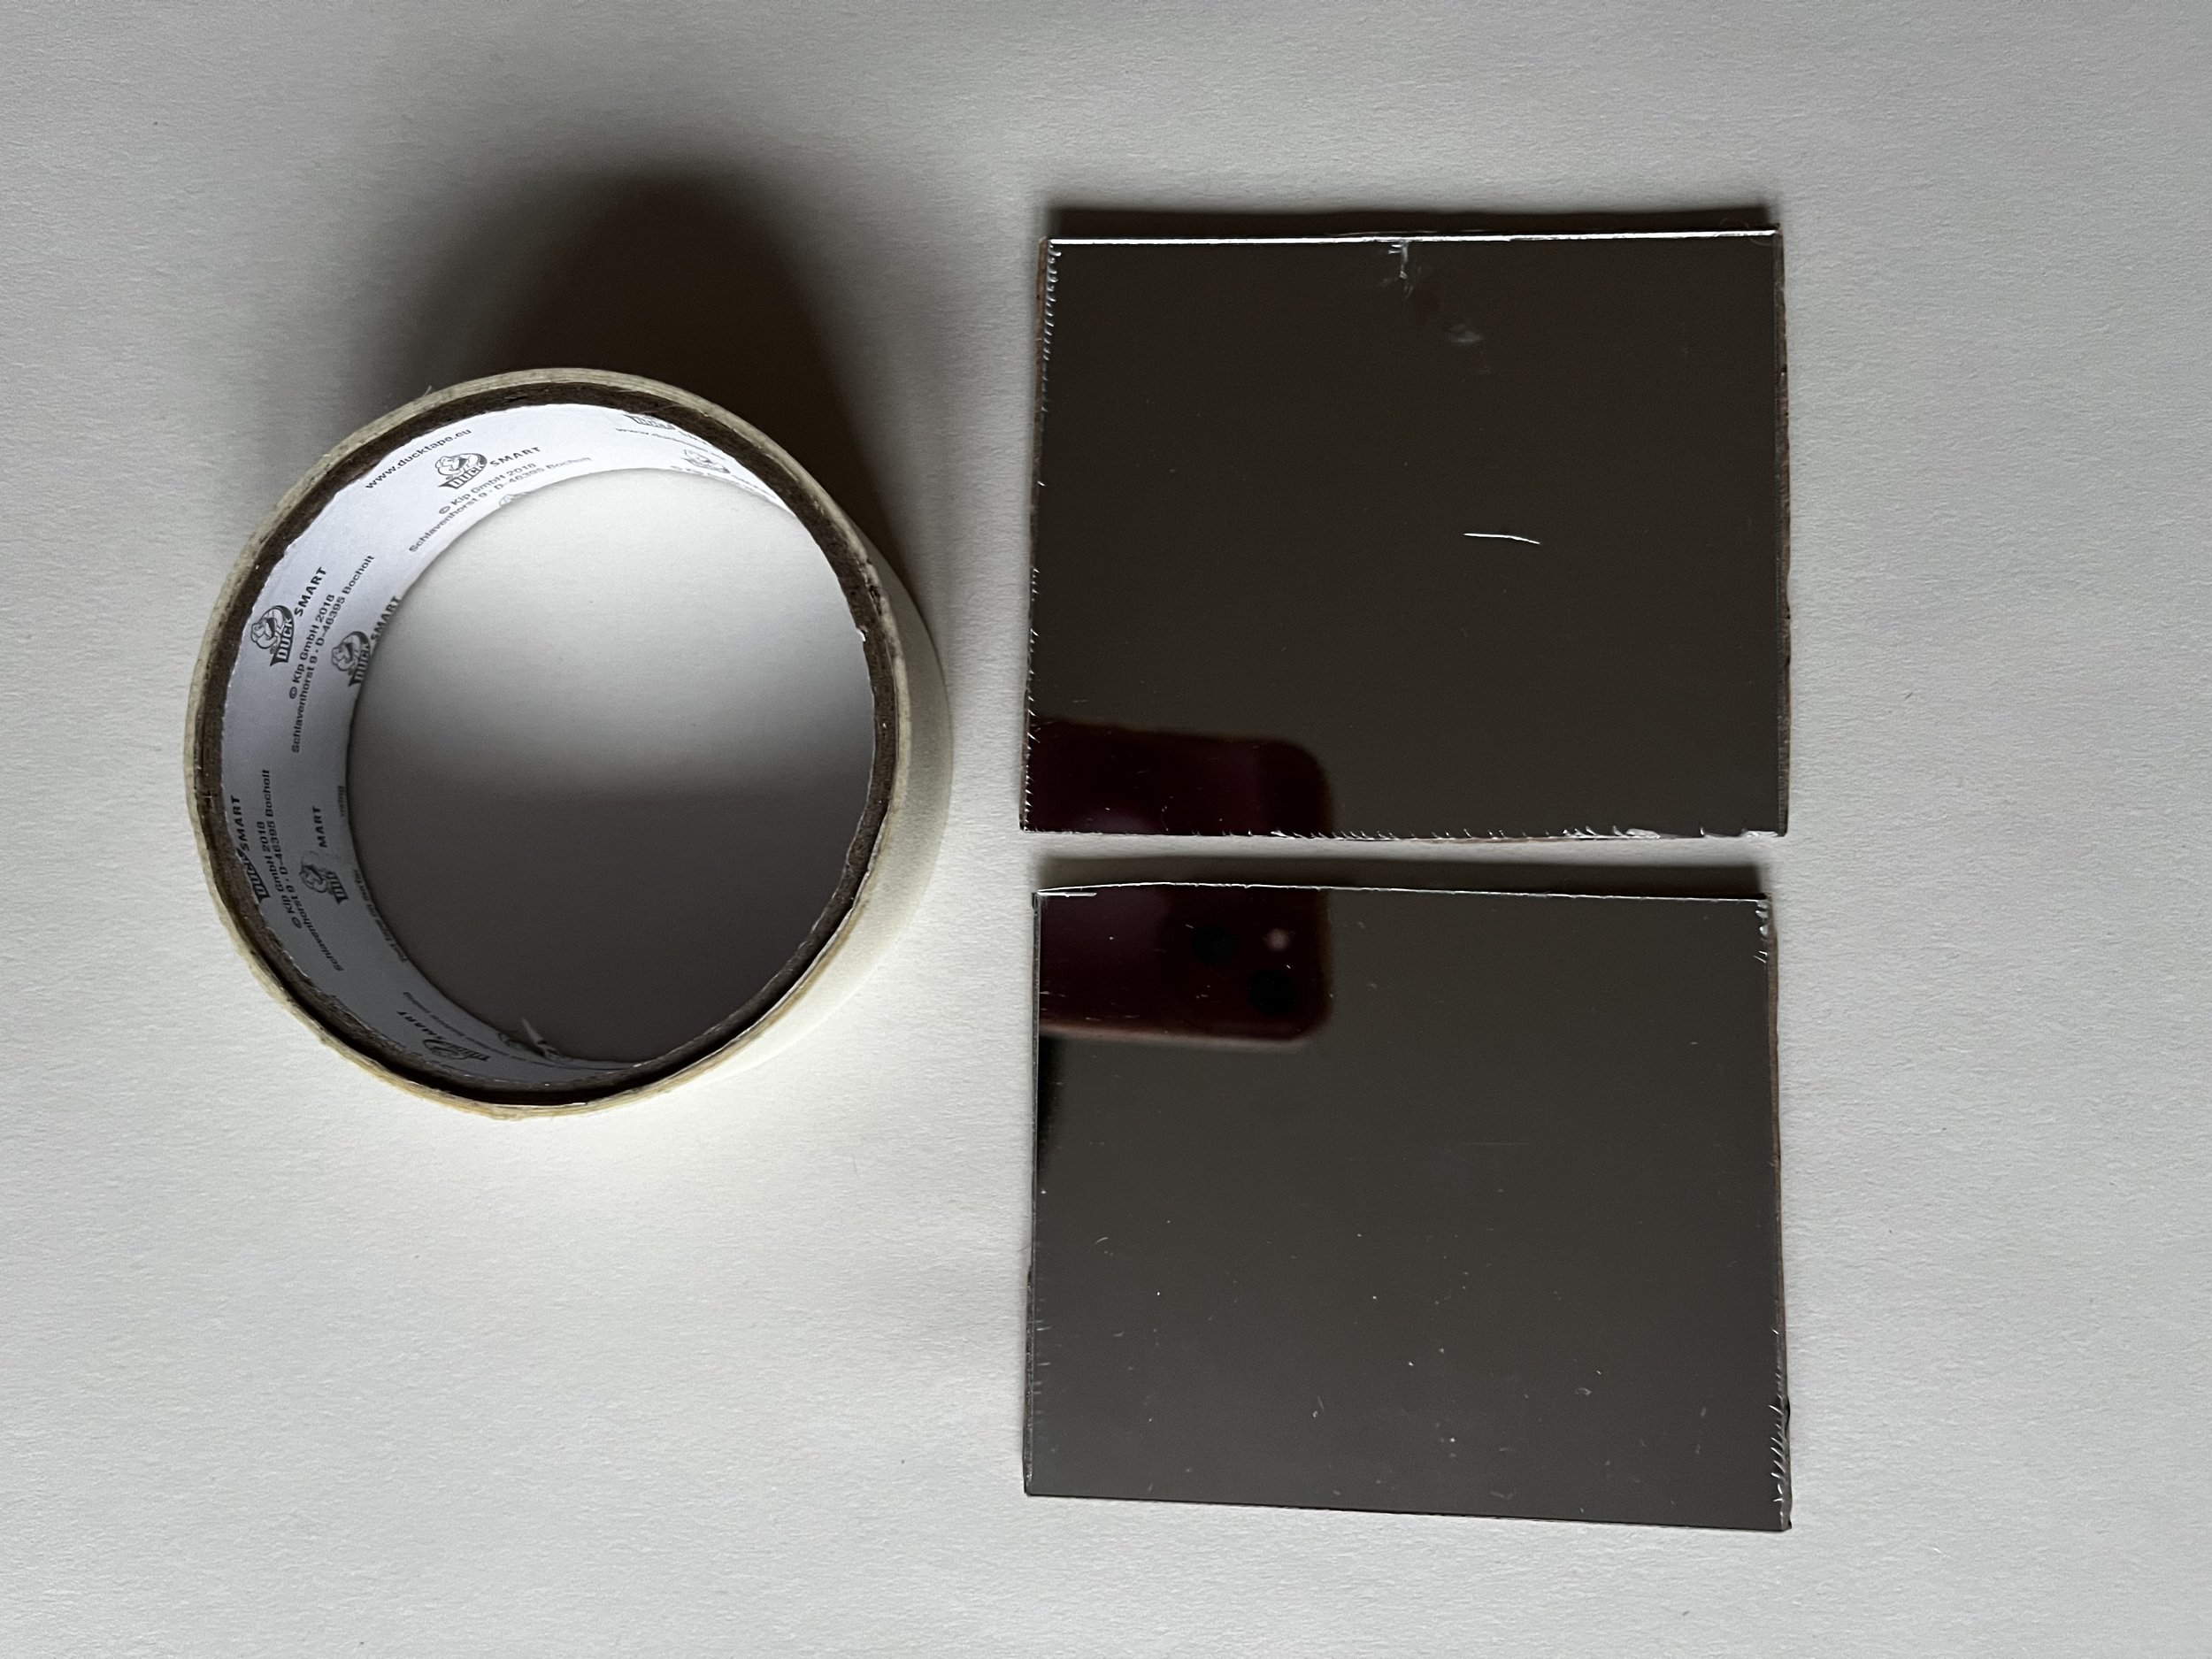
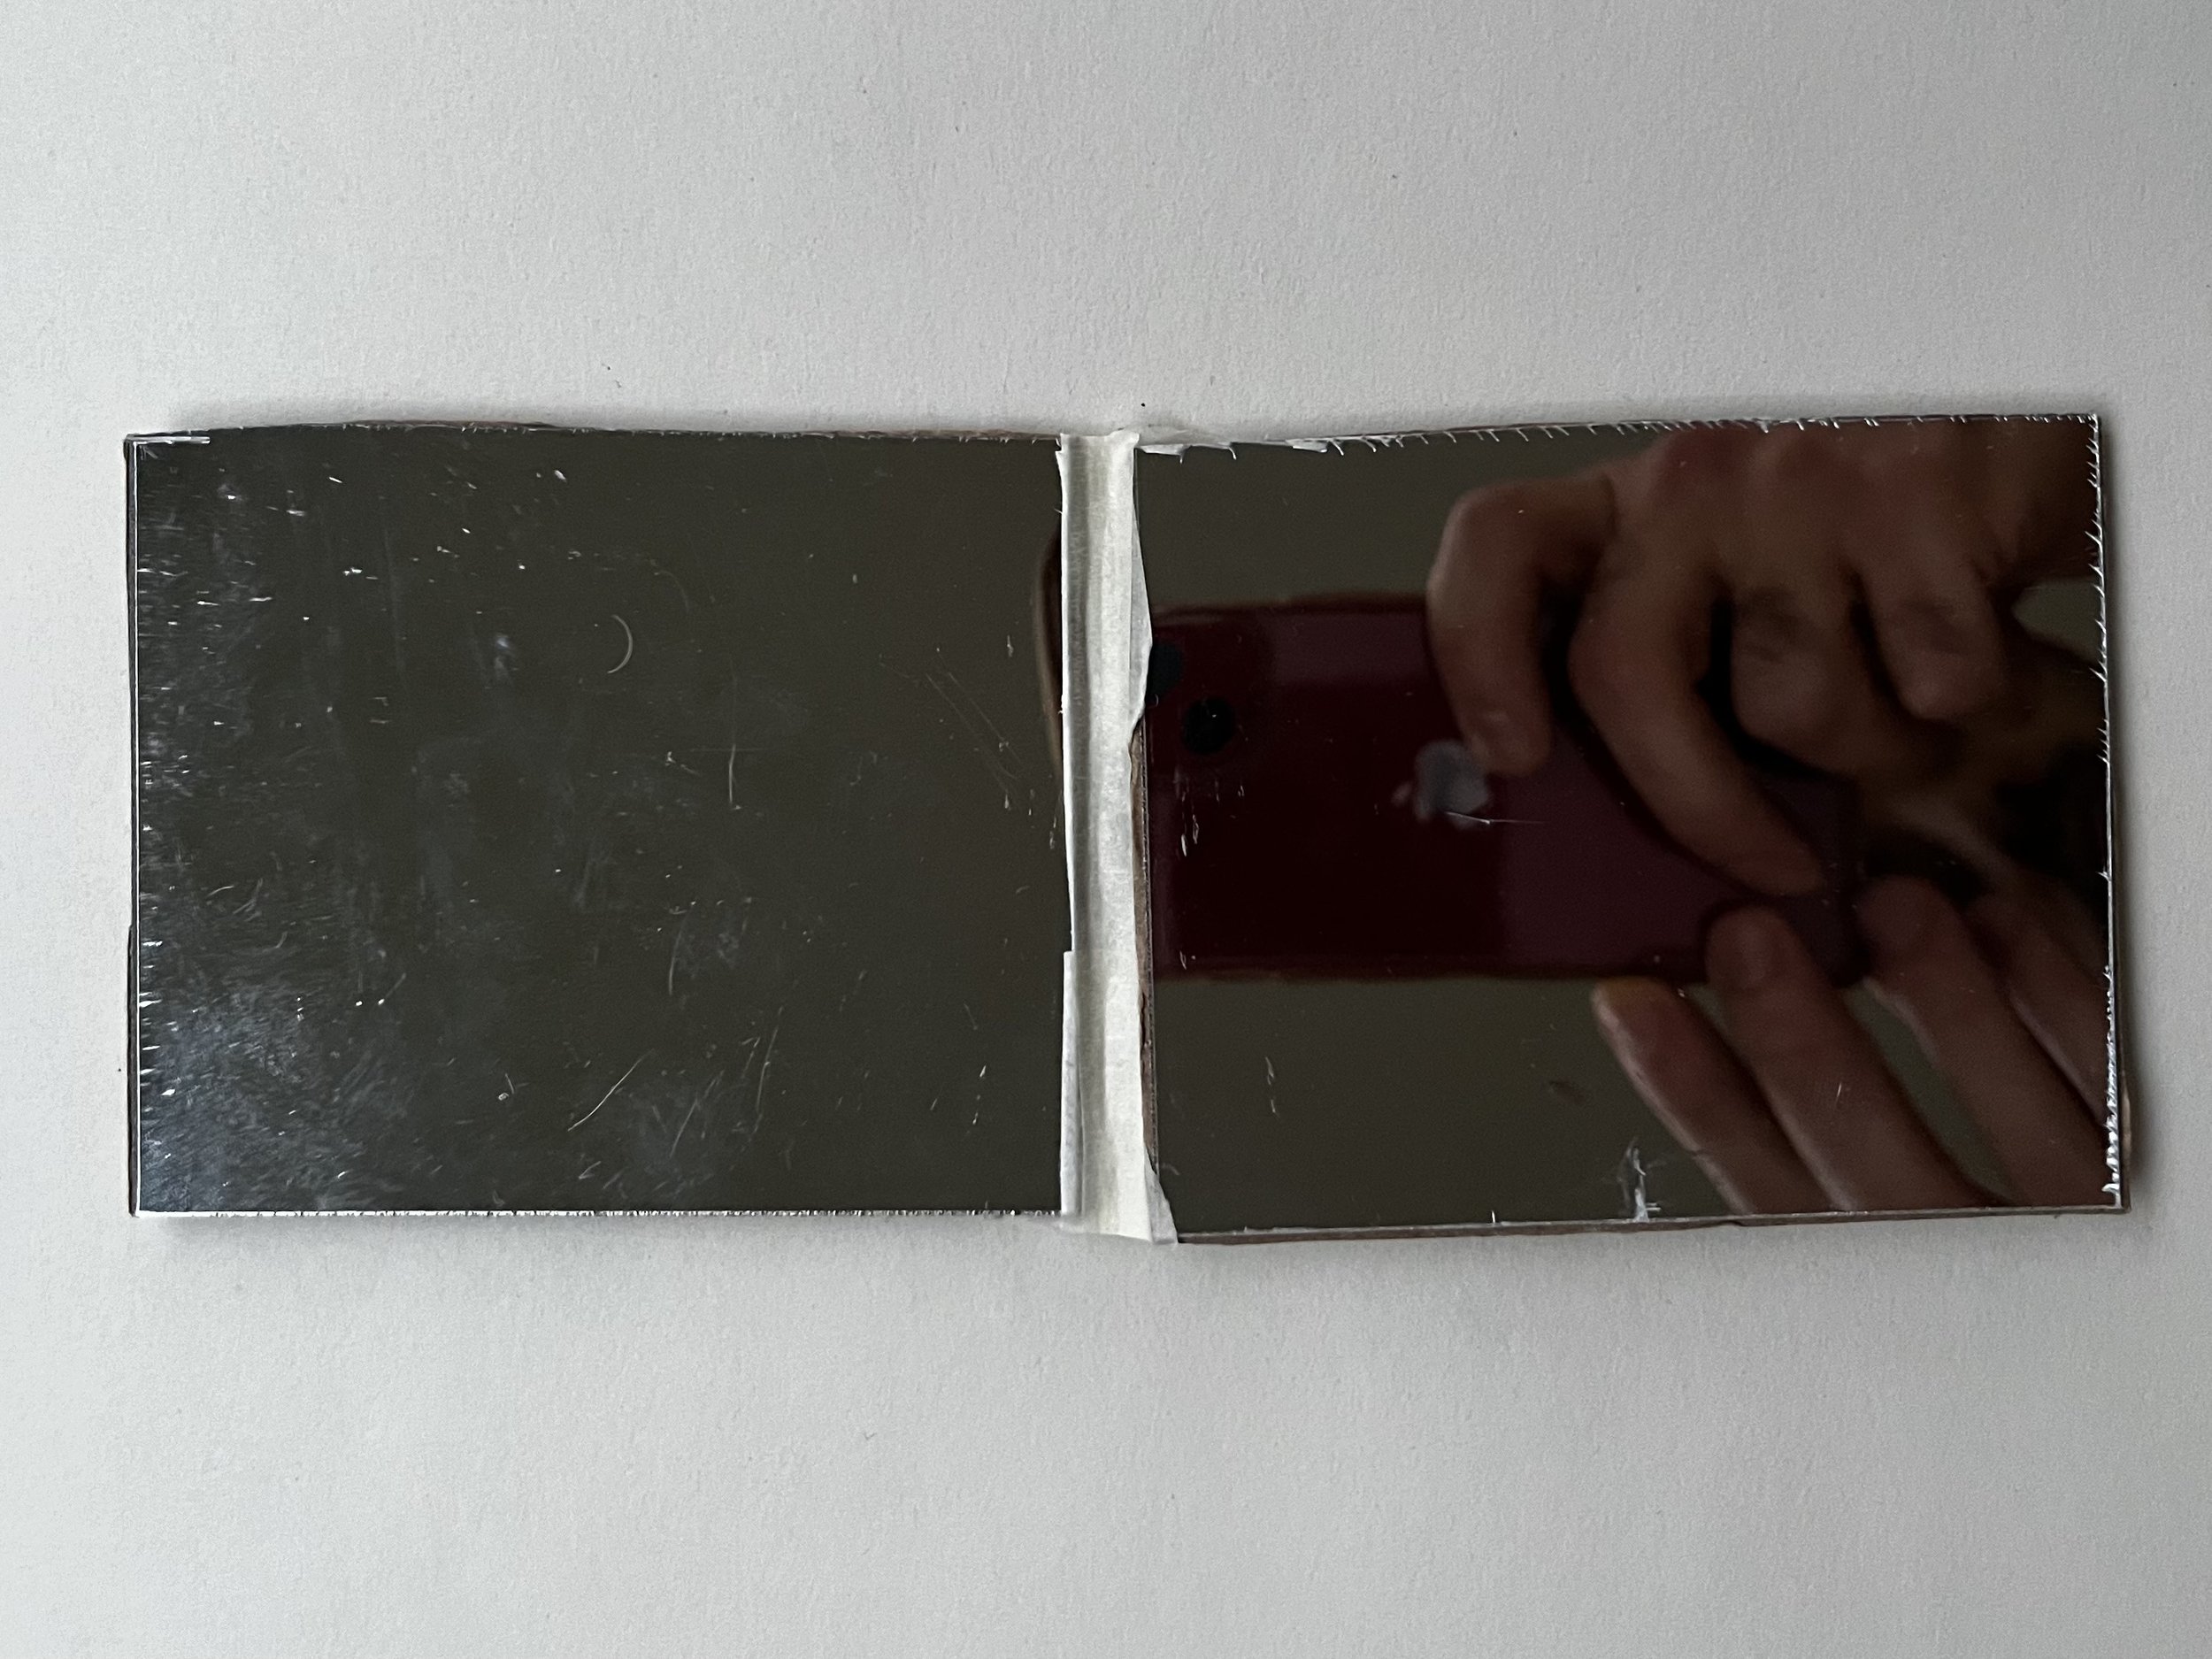
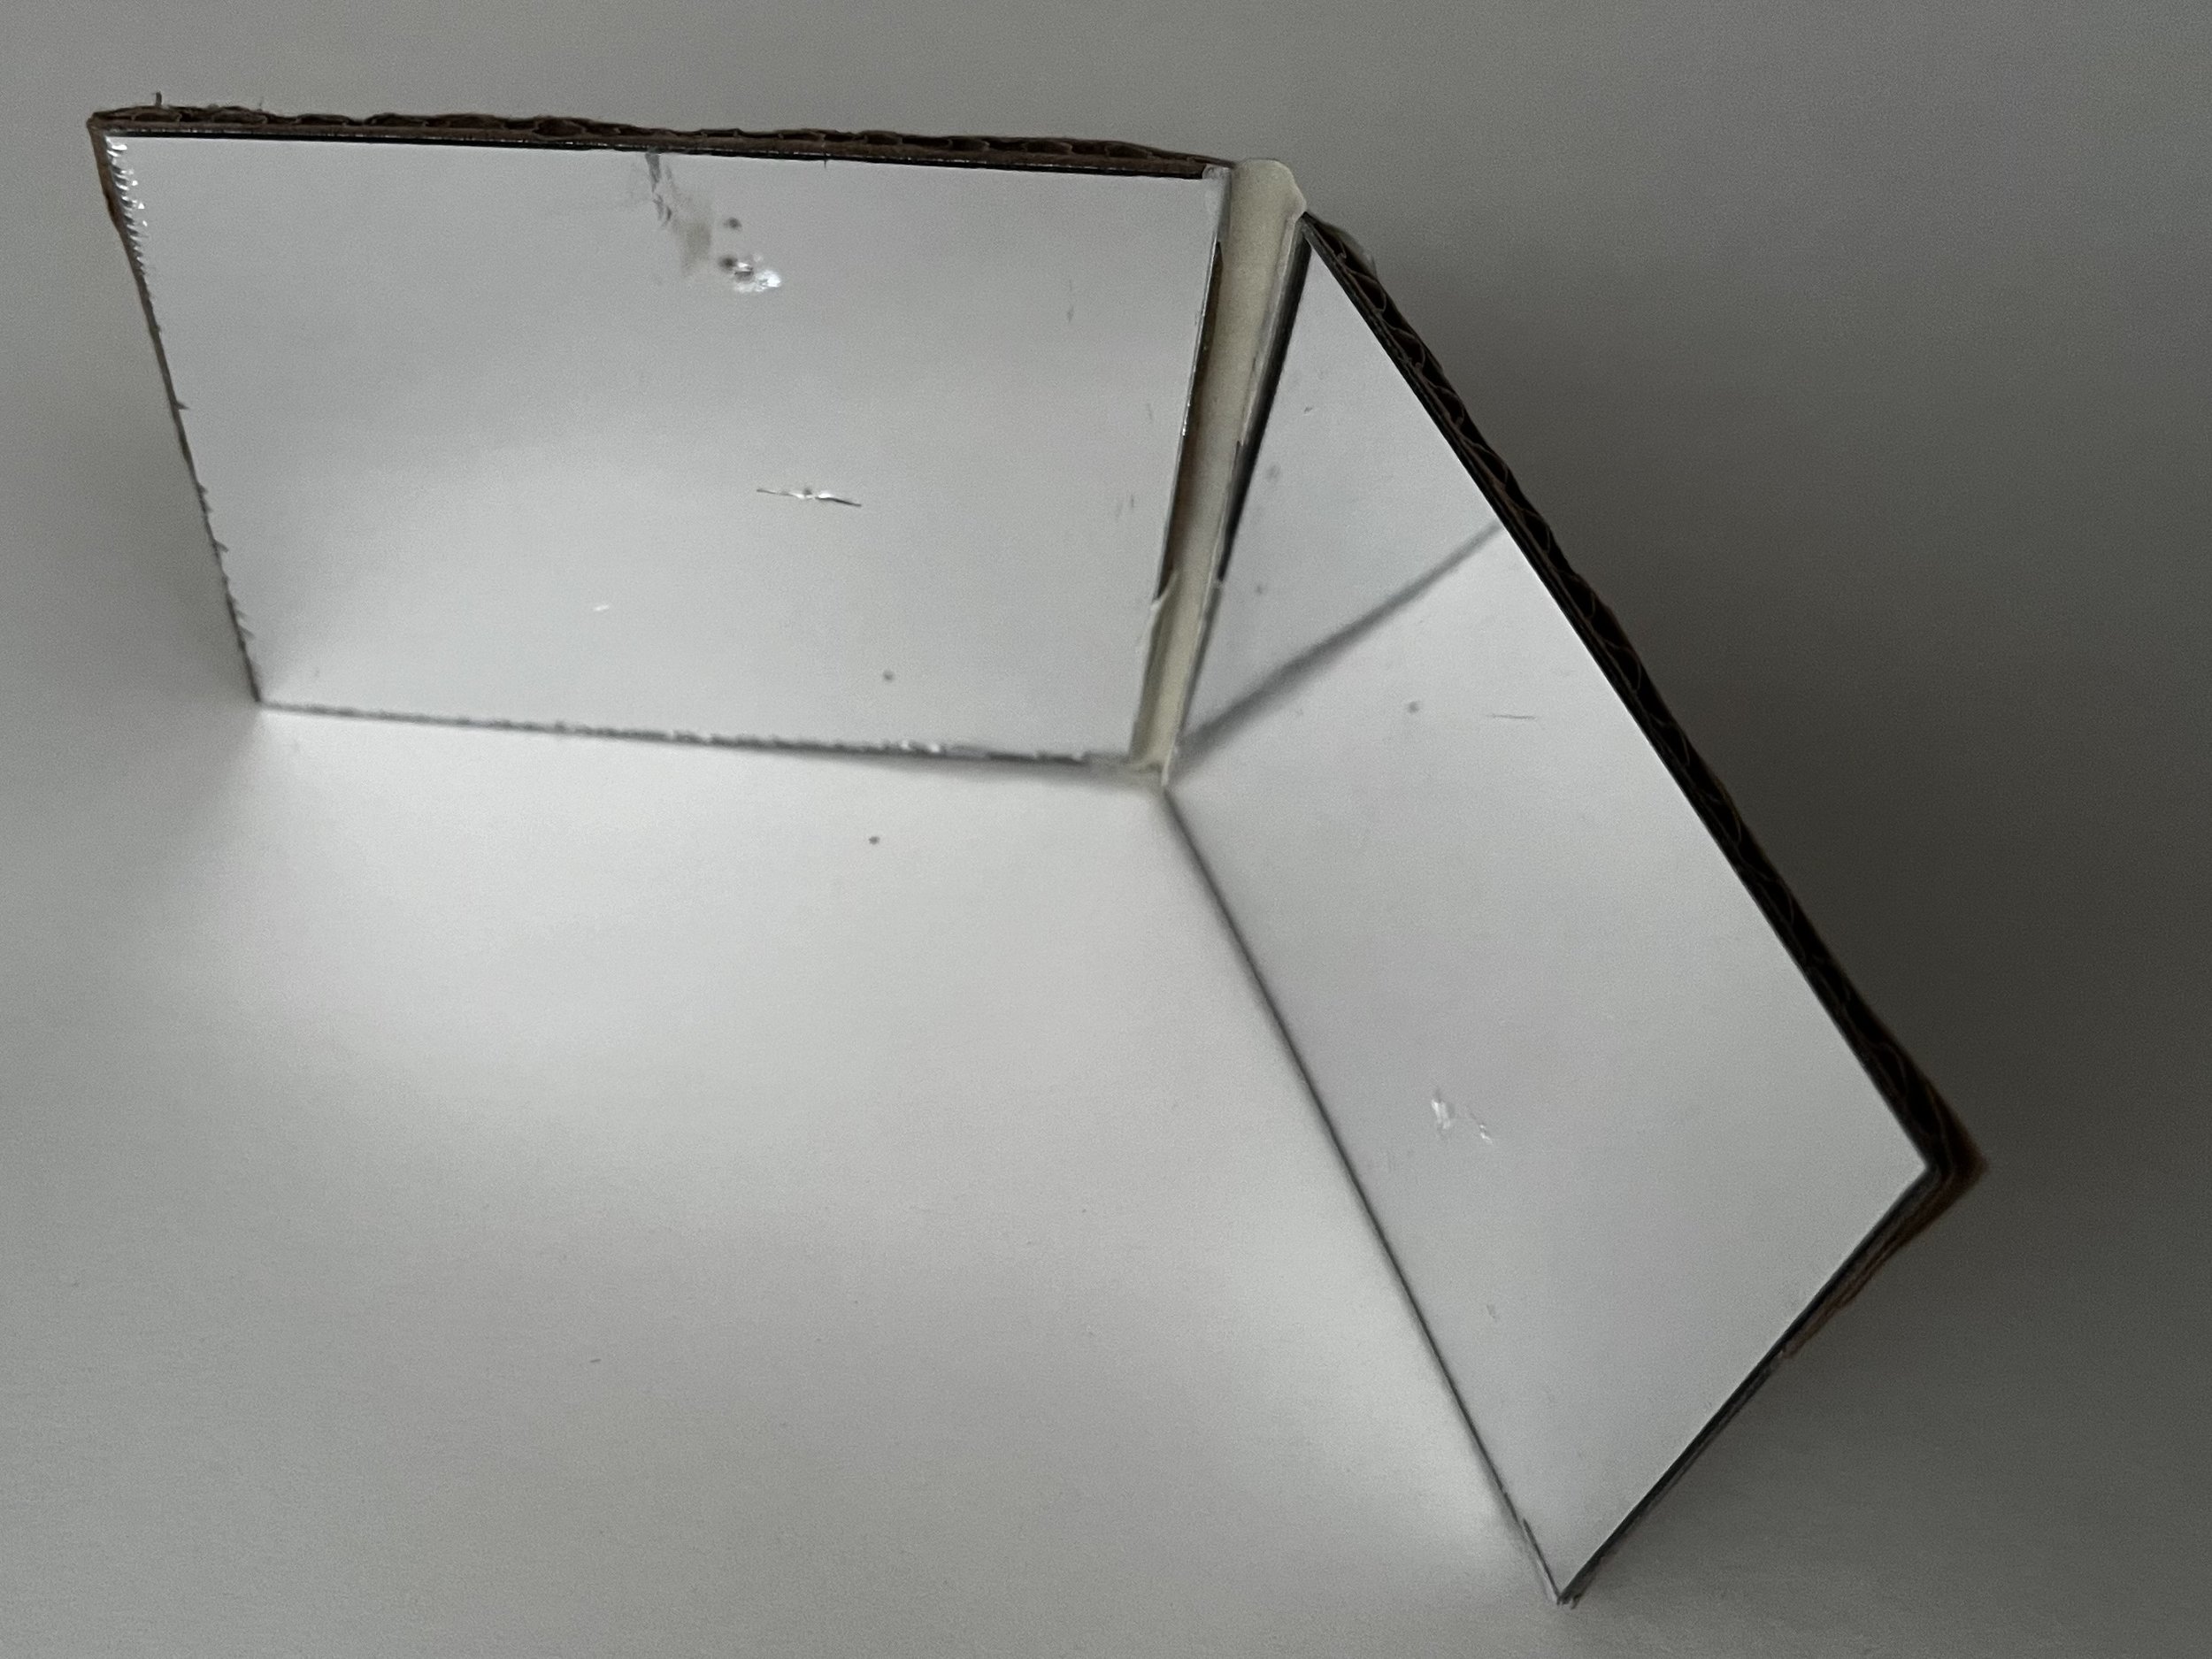
A good way to get started is by buidling a cardboard prototype of a hinged mirrored system. You’ll need mirrored sheets, cardboard, poster or TP tube and masking tape and scissors to build your own version. You could start by building a hinged mirror by sticking two mirror pieces to rectangles of cardstock and using masking tape as a hinge.


This hinged mirror is a brilliant way to start playing with reflection effects. If you want to get a bit more complex, you can make this three mirrored kaleidoscope design that we posted on instructables a couple of years ago. And of course it's always encouraged to try out alternative shapes, test out tapered walls and cutouts, and experiment with size and scale. Once you have your hinged cardboard mirror assembled, here are a couple things that you can try:
Exhibit walk:


Grab a couple of colleagues and a camera and go on a scavenger hunt for interesting kaleidoscopic patterns in your science center. There are so many interesting things that you can observe when you bring the device around the museum floor. Look for exhibits with interesting colors and patterns. Place the kaleidoscope is on exhibits that you can change like the spinning sand table. Are there any mundane details in your science center that look more interesting through the kaleidoscope?
This little stroll will help you develop an understanding of how the mirror reflector works and what kinds of patterns seem most interesting for you to investigate more.
Drawing patterns:


You can use white paper and colored markers to make your own patterns to look at under the kaleidoscope. Draw abstract shapes or narrative stories and move your cardboard kaleidoscopes around the page to find the most interesting parts.
One way that you can go a little bit deeper is with a turntable or lazy susan and dry erase board. This simple prototype starts to go a little more towards a museum exhibit or tinkering activity and allows you to explore many unexpected patterns.
Create with light and shadow:


A third way to get started with testing out new ideas with the kaleidoscopes is by arranging the two mirrored kaleidoscope under a light source and then casting shadows in the white space. You can just everyday objects or just experiment by moving your hands around. This is the basis of a classic exhibit developed by Exploratorium founder Frank Oppenheimer.


One way to go a bit deeper is by adding a clear sheet of acrylic above your hinged mirror. This way you can arrange objects in a more complex pattern.

Additionally you can experiment with different number and types of light. If you can set up a little RGB LED light source the results can be a really amazing.


These three low threshold experiments might inspire new ideas like adding motors, light tables or programmed elements. There are so many more experiments with size and scale, new materials like lenses and a wide variety of interesting materials to look at under our scopes.

We invite you to playfully iterate with us on this idea. The process we go through to develop a new tinkering playset looks like having fun through iterating on the ideas. The first (or the twentieth) idea won’t be the final version of the activity as we engage in a ongoing process of testing, remixing, and experimenting. Part of the research and development process is to test out the ideas with others. We encourage all of our collaborators to try out ideas with colleagues or on the museum floor in a mini public prototyping session. In this way we’ll learn so much about what’s interesting, challenging and relevant to our audiences. Please let us know what ideas these initial ideas spark for new tinkering inventive playsets. We are happy to explore this and other topics together through this lens in the coming months.

The LEGO Playful Learning Museum Network initiative is made possible through generous support from the LEGO Group.