A Playful Residency at Connecticut Science Center
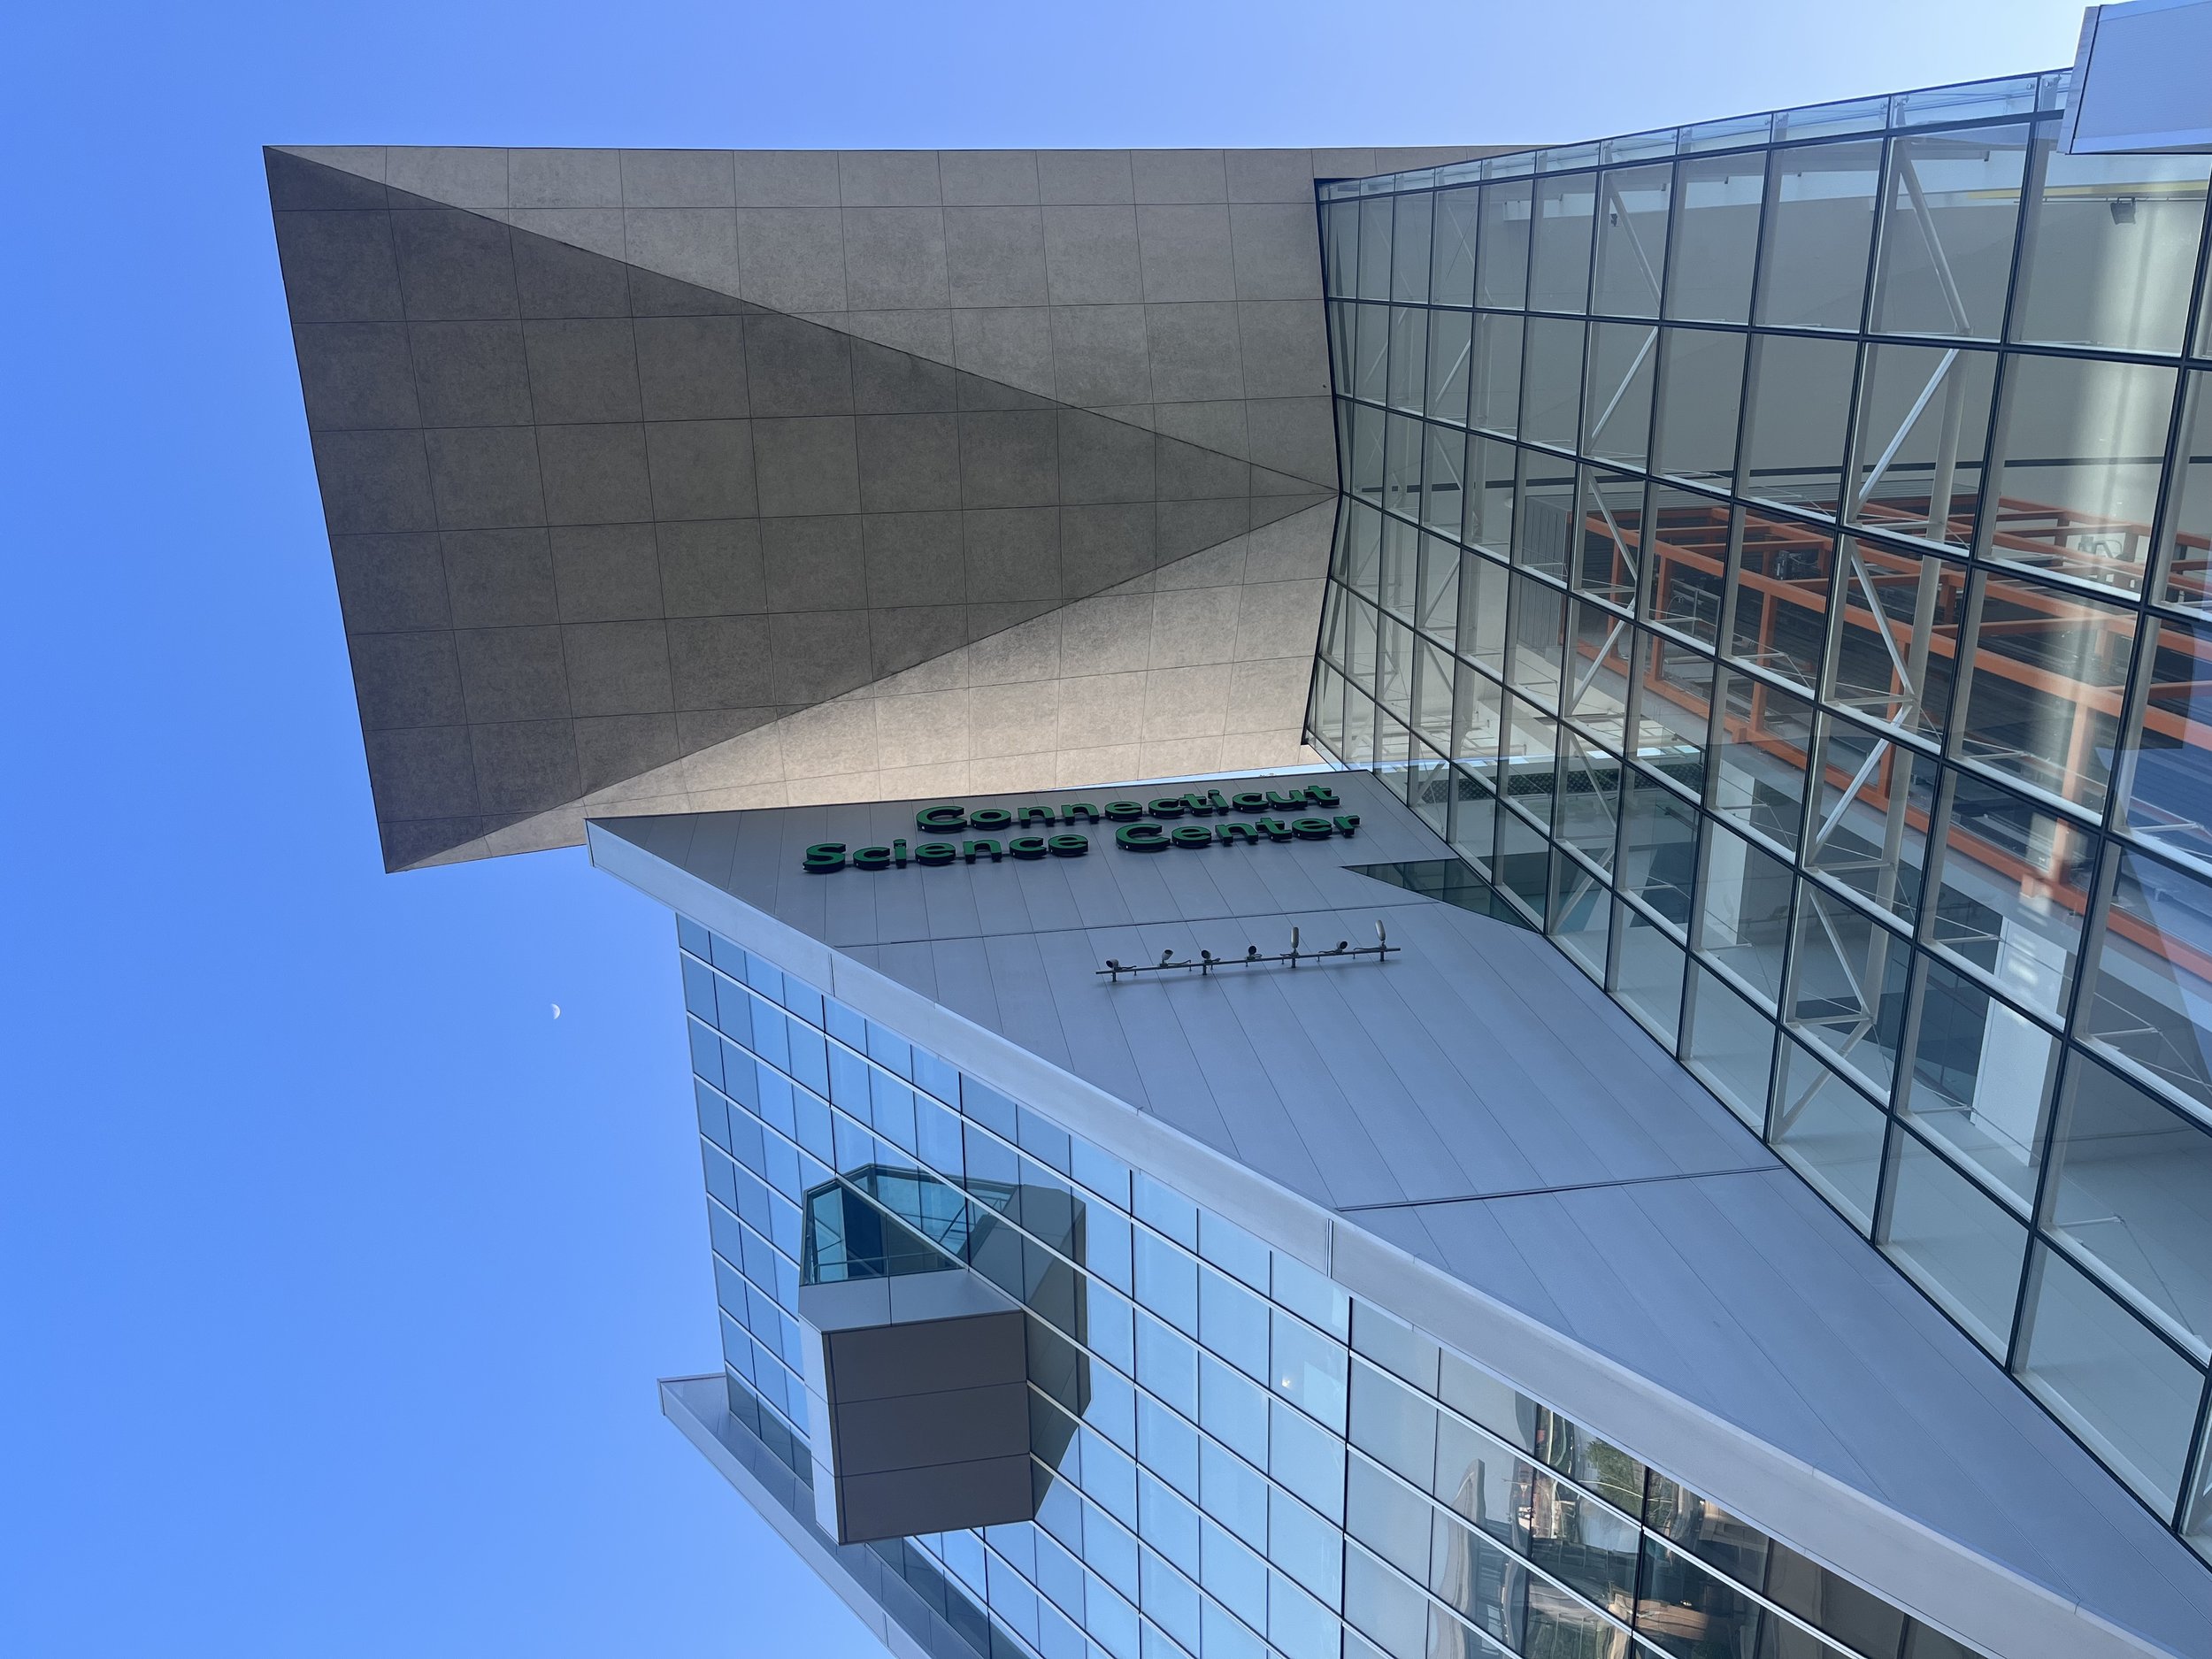
Last week, I spent a few days working with the team at Connecticut Science Center in Hartford to prototype and develop ideas related to new Tinkering Inventive Playsets (TIPS). As part of the LEGO playful museum network, we’ve been working with educators and designers all around the country. It’s been great to share ideas remotely around the themes of “rollers” and “circuit city” over the past months, but it feels like a different type of tinkering can happen when we’re together in-person, sitting around the same table.

When identifying Connecticut Science Center as the residency destination, I considered that their core team has been very involved in our online slack community posting ideas and giving feedback so I thought that the collaborative spirit would continue.
They also have continued testing some of the projects that we developed during the first phase of the project like balancing sculptures. So I got to see those TIPs in action in a new setting and learn how the project has been remixed over the last year.

I arrived at science center early in the morning last Wednesday. After a meet and greet with the team and tour of the space, we started unpacking stuff and setting up tools in a downstairs lab. I knew that a big part of the residency would be prototyping together and pretty soon the tables were full of interesting experiments.
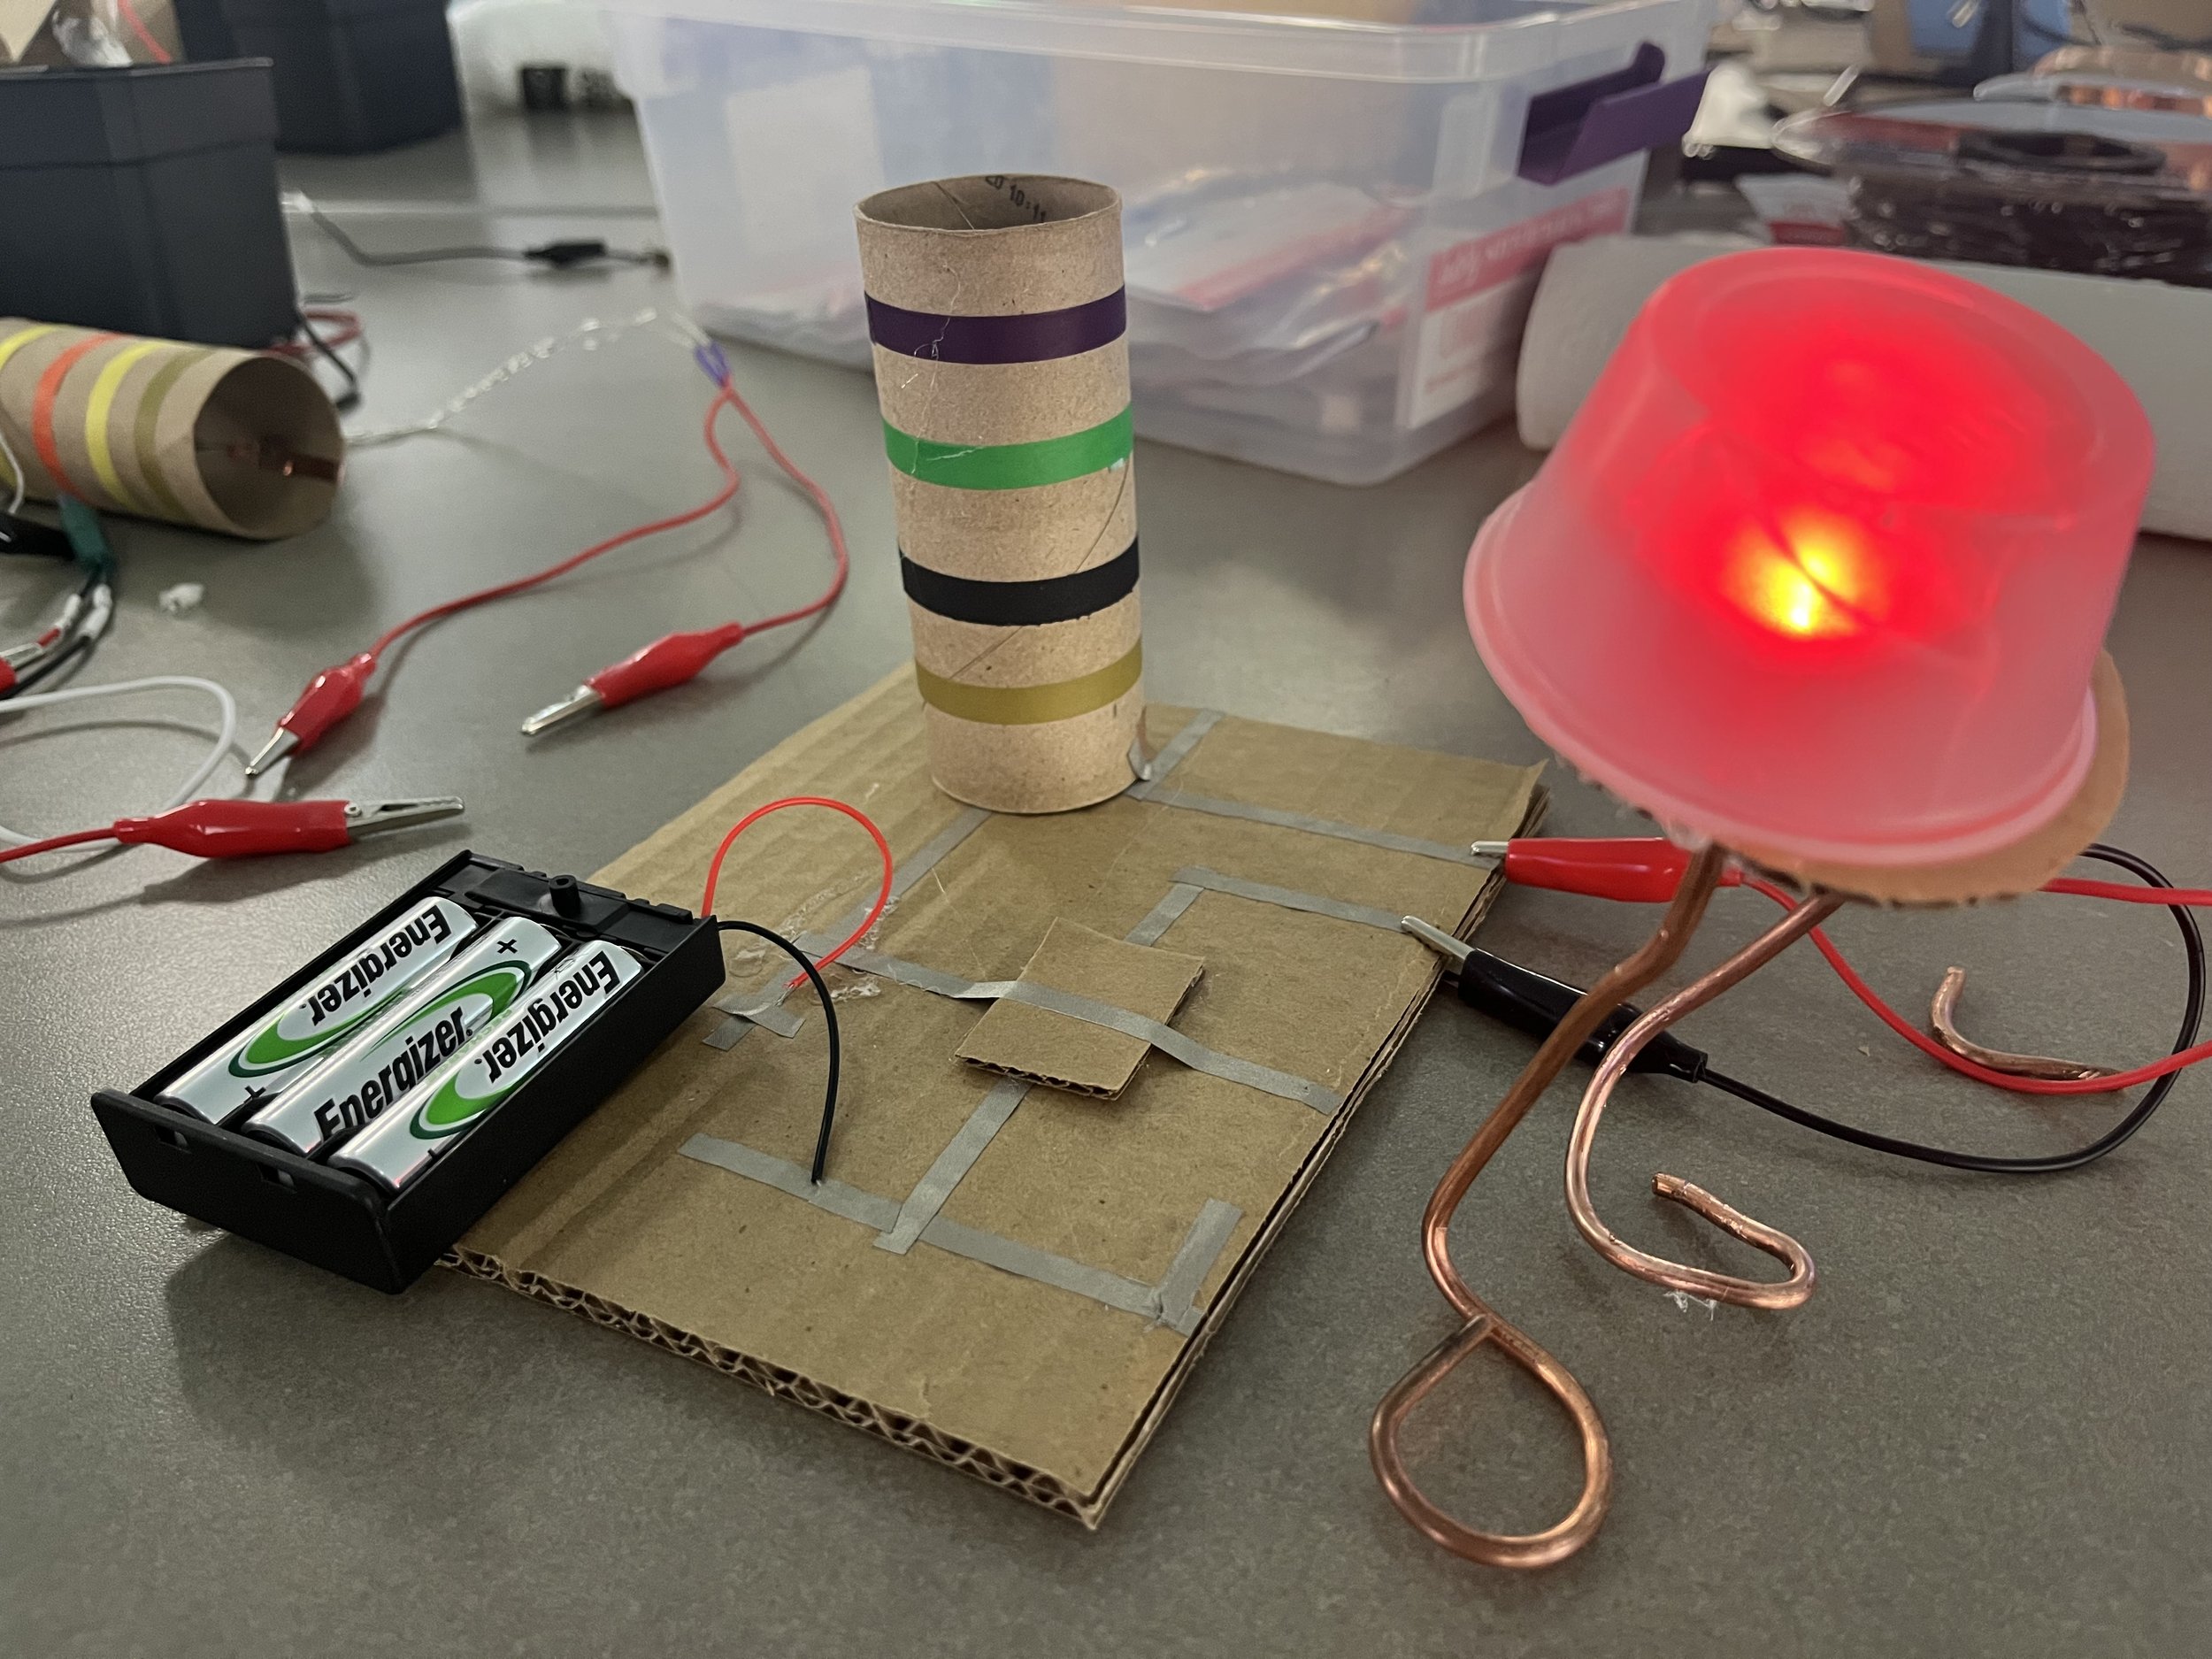
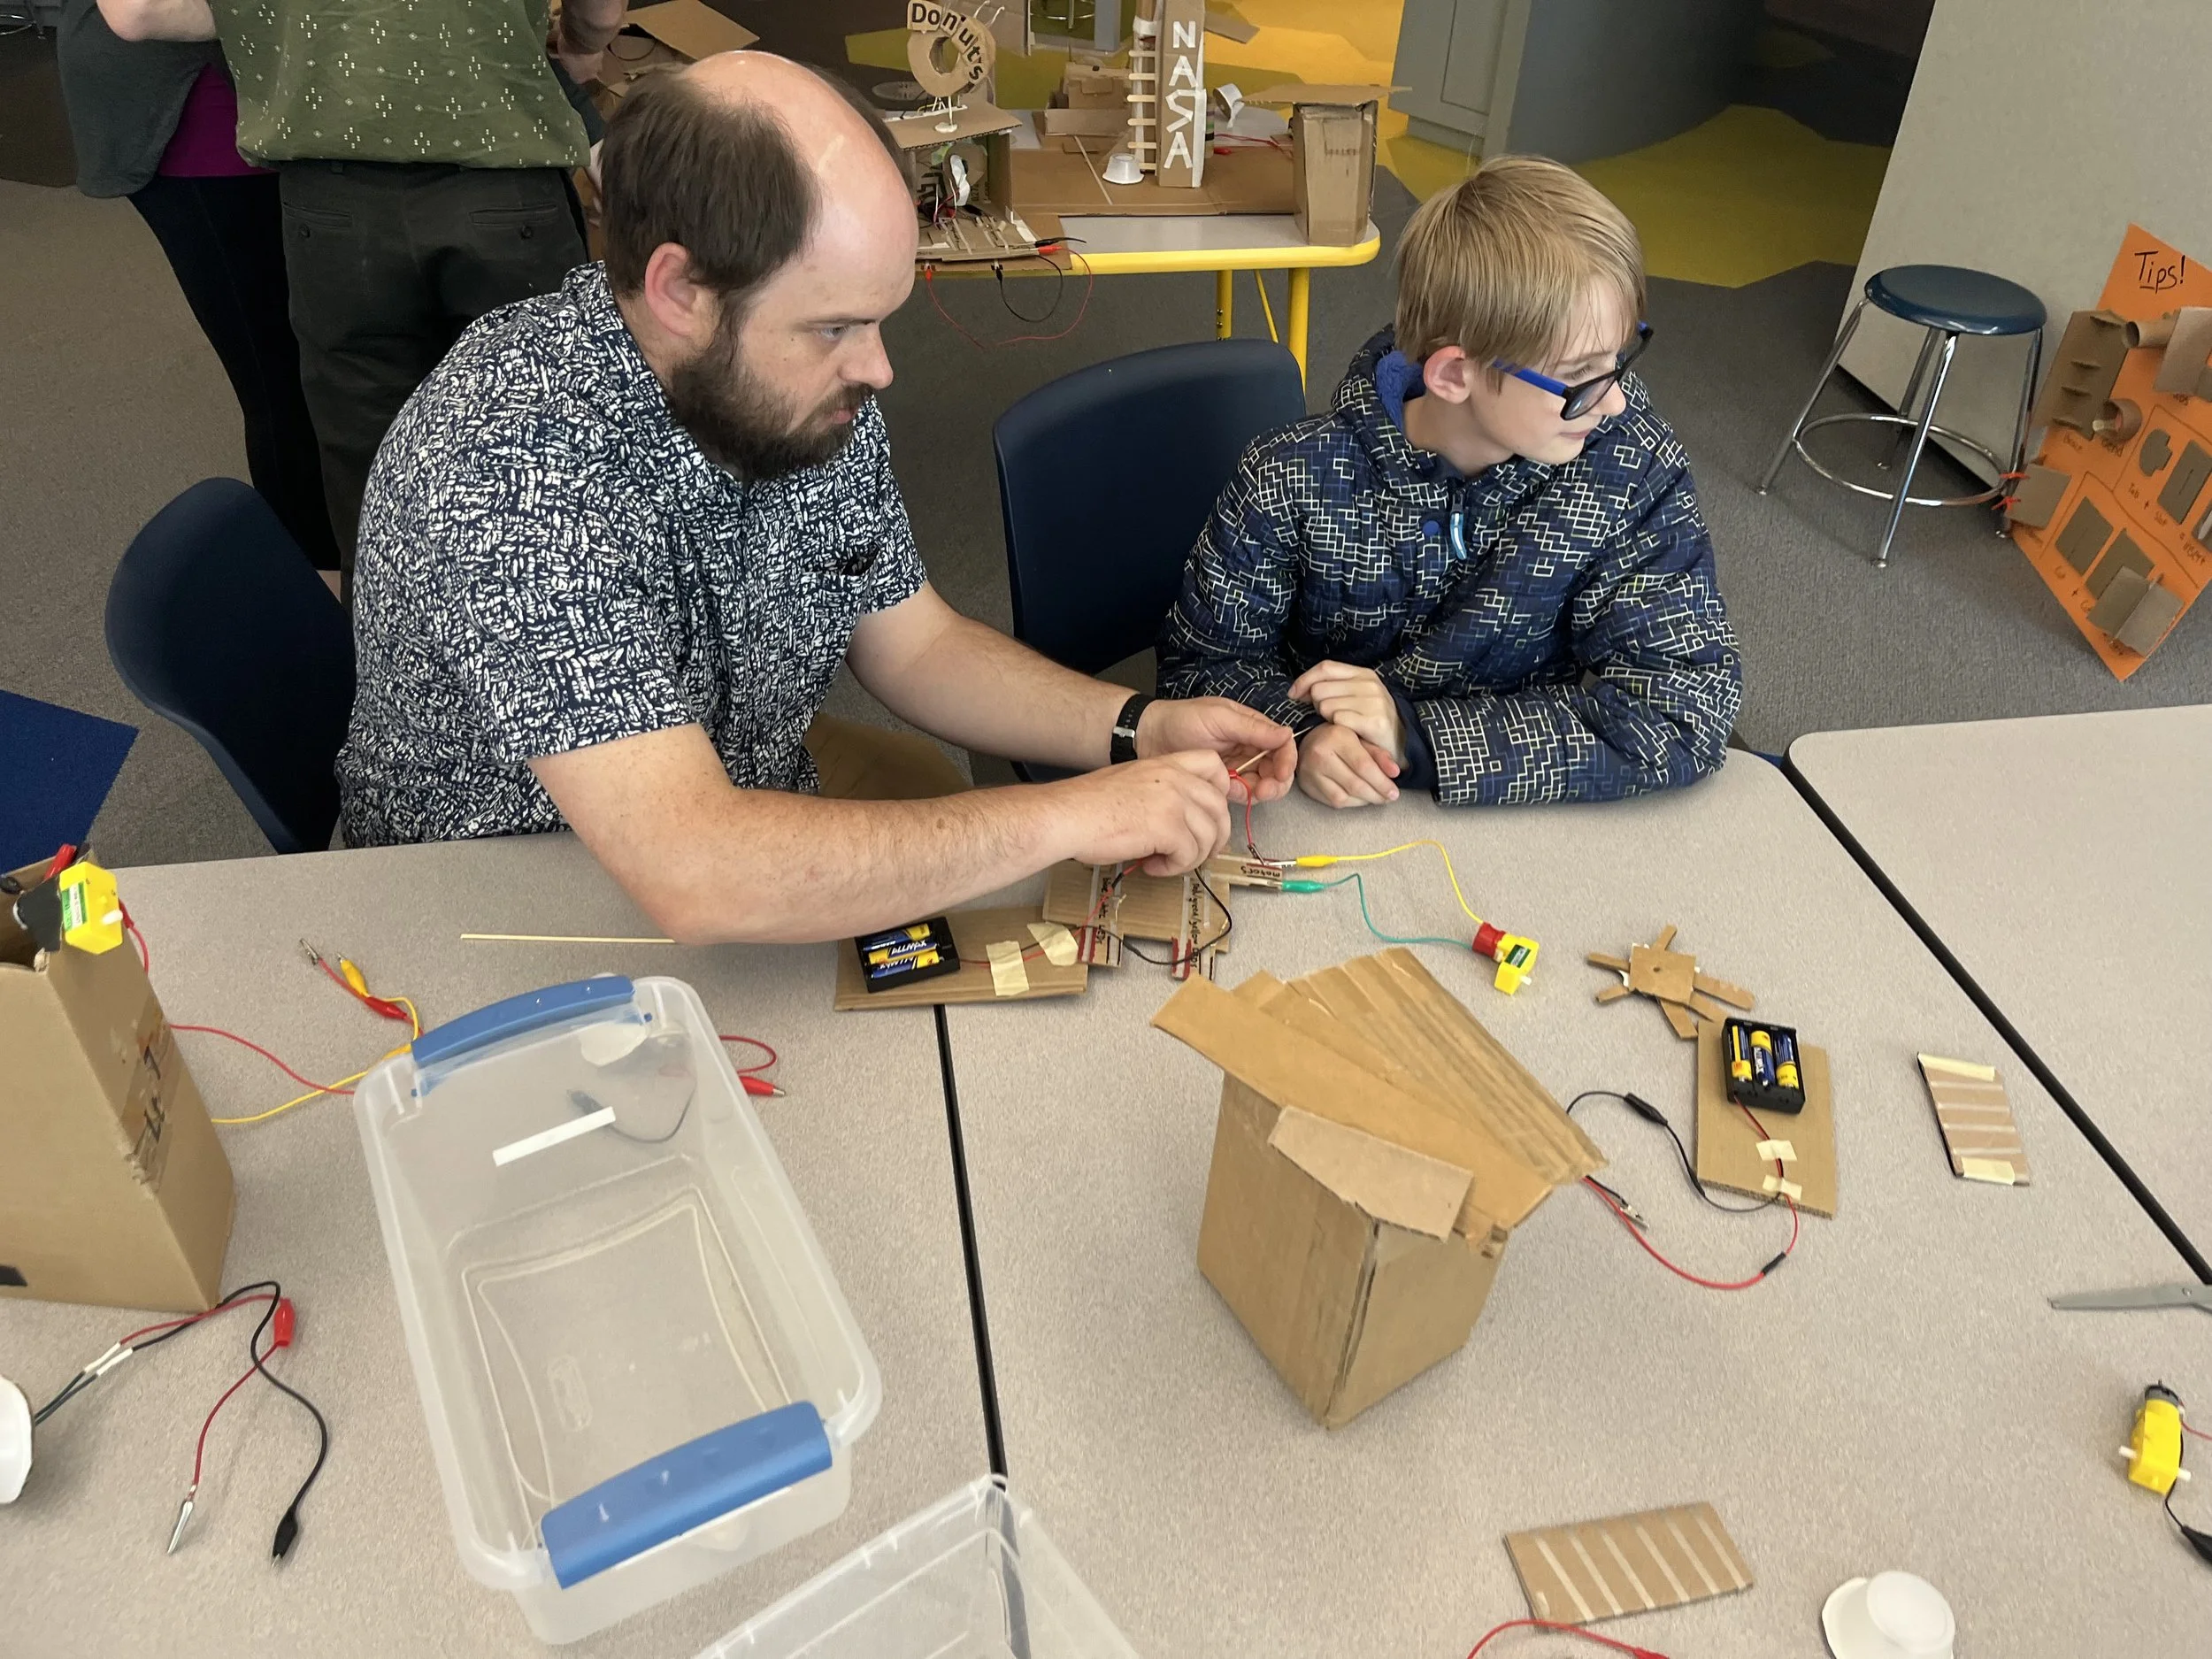
Circuit cities is the least developed TIP project so far and over the course of all three days we spent time as learners testing out new ideas and designs. Some experiments that came up included giant toilet paper tube resistors, a crocodile with a motorized mouth and a blinking billboard. Not all of these directions will be visible in the final version of the activity, but our prototyping process casts a wide net and we want to make time to explore many possibilities.

We scheduled several meetings and kept the door open for informal check-ins throughout the days to discuss the in-progress prototypes. On Thursday we zoomed with the Tinkering Studio team so they could get a window into our experiments.
Rollers on Floor

For the rollers activity, I had a bit of a breakthrough early on in the residency in a similar vein to what Ryoko described in her recent blog post about jumps. I looked at the little plastic cup that I originally bought as a light diffuser for the LEDs and thought that it would be perfect as a base material for a treadmill rollers set.
We started playing in the lab and my suspicions were immediately confirmed. I found out later that this sample cup shape is called a frustum, which is an amazing sounding word that means the base of a cone that’s chopped in half horizontally.
The sample cups work well as a base material because they don’t roll on their own but can be easily modified to work in several quick ways. They suggest a wheel but then don’t work like wheels which steers people away from building cars. The sample cups are light and can be easily manipulated with small tools. I rounded out the materials set with washers, toothpicks, pushpins, masking tape and scissors.

Up on the floor of the museum, we set up a testing station so that we could try out the treadmill rollers in this form with museum vistors. We took over a V-shaped demonstration/exhibit table and put one of the mini treadmills on each table. During the set-up process we scattered the materials around the space so they would be in easy arms reach for learners.

At first, many staff came to see what was going on and after a few seconds they transitioned from observer to builder.
The education team got really into testing out their ideas and they made some amazing discoveries. It’s a great sign when we as the designers and educators are authentically interesting in trying out the project and there were so many variations in the roller designs.
After a while, we started to get some kids and adults to join (it was a relatively quiet weekday afternoon in the museum after the school groups had cleared out). The family groups also were engaged with the building and started coming up with new ideas showing the wide walls of this materials set.
One interaction that I really liked was with a adult and kid working together who tried out lots of high ceiling possibilities. The boy started out wanting to make a car. He quickly found out that its a bit challenging with these materials, but together we worked out a solution using the washers as the guides for the axles. His car worked but wobbled and he moved on to the next idea while his mom continued to try to stabilize the car.

He saw that a facilitator had made a large ring roller and he wanted to do the same. So he worked on copying the design while adding his own techniques and troubleshooting methods when it didn’t work as planned. There was a moment of success when his version worked on the treadmill but he again quickly shifted into planning next steps.
This time he continued on the same project, eventually adding another wheel, connecting them with tape and toothpicks to make a massive two wheel roller. It was more stable and rolled consistently on the treadmill. Plus it looked really awesome!
Meanwhile his mom came up with her own solutions for the car, adding more toothpicks to the center so that it was stronger while still being able to roll. They left the station only because we had to clean up for the end of the day and left talking about what they would try next time.

This hour-long interaction really confirmed a tinkering quality of the activity, in that ideas were able to be expressed in physical objects and then could be shared, remixed and changed. Both the car and the double ring roller idea were developed in tandem byfacilitators and learners. Instead of an individual learning space it felt truly collaborative.

After the floor test, I feel pretty confident about this being a core materials set for the treadmill rollers activity. I’m excited to get everything together to share this starting point with other museum network partners so that they can try at their institutions.

The last part of the residency was an exploration of a new topic for this phase of the TIPs project, combining cardboard construction and circuity to make a moving, light-up city. Both cardboard and circuits are complex topics so part of development process is trying to focus the exploration space and adjust the variables so that the project feels intuitive and managable.


One idea that I’ve been playing with is having base stations with the power and conductive tape lines for the learners to start with at the table along with a larger power grid where they could eventually plug in their projects. I made a new version of both of these elements to try with visitors.

We also looked at the mini-metropolis activity that the CT science center runs with school groups which is the cardboard part of the project. We used some of the materials and examples from this other version along with some new sample projects that specifically integrate circuity.

For our space set up we made a front table with the “city” and then had a large shared working space with the electronics and building supplies. Around the space we had extra cardboard and a hot glue gun station.


Again, some staff and visitors came by to check out the experience but I think that the interaction felt very different. We haven’t yet figured out the right prompt or low-stakes starting point that draws people into the experience. Where as in the treadmill rollers, learners quickly tried an example and started to design there own, in the city station there was more hesitation.

I think there’s a few reasons for that and things we could look at to change. One is that it might feel too complicated at first glance and the models are hard to understand. Figuring out how to simplify things down while still retaining a compelling core is really important.
Something else that I felt when observing was that the finished buildings seemed to create a lot of pressure for people to come up with a “good idea” or original concept. Learners (rightly) intuited that it would be a big commitment to design and build a structure so they felt they had to plan things out. The element of adding to the city feels different than chain reaction or light play where a simple set-up can be just as compelling as a more detailed one in the larger installation. In this activity it feels very direct that the projects people spent more time and energy on are “better”. We need to make a way for complexity to emerge gradually and not just be on the surface of the activity.


We did had several staff and adults work on the circuit city and make some really cool elements. One successful project by the educators was an ice cream truck and I noticed that it worked well because they divided the tasks and then put the elements together at the end. This could be something to try to build into the experience.

I think it was really valuable that we tested out one “more developed” activity as well as one TIPs idea that needs a little more work. I think it gave us (and the extended STEM educator team) the chance to see what we are working towards with the circuit city prompt. We hope to try many more versions and encourage other museums to test this idea out in floor programs or classes as well.

At the end of the three days together we were happy, exhausted and excited to continue exploring ideas and sharing them with each other and the larger playful museum learning network. We are looking for ways to communicate thoughts, questions and suggestions for making in-person residencies and visits a core part of this informal learning network.

The LEGO Playful Learning Museum Network initiative is made possible through generous support from the LEGO Group.