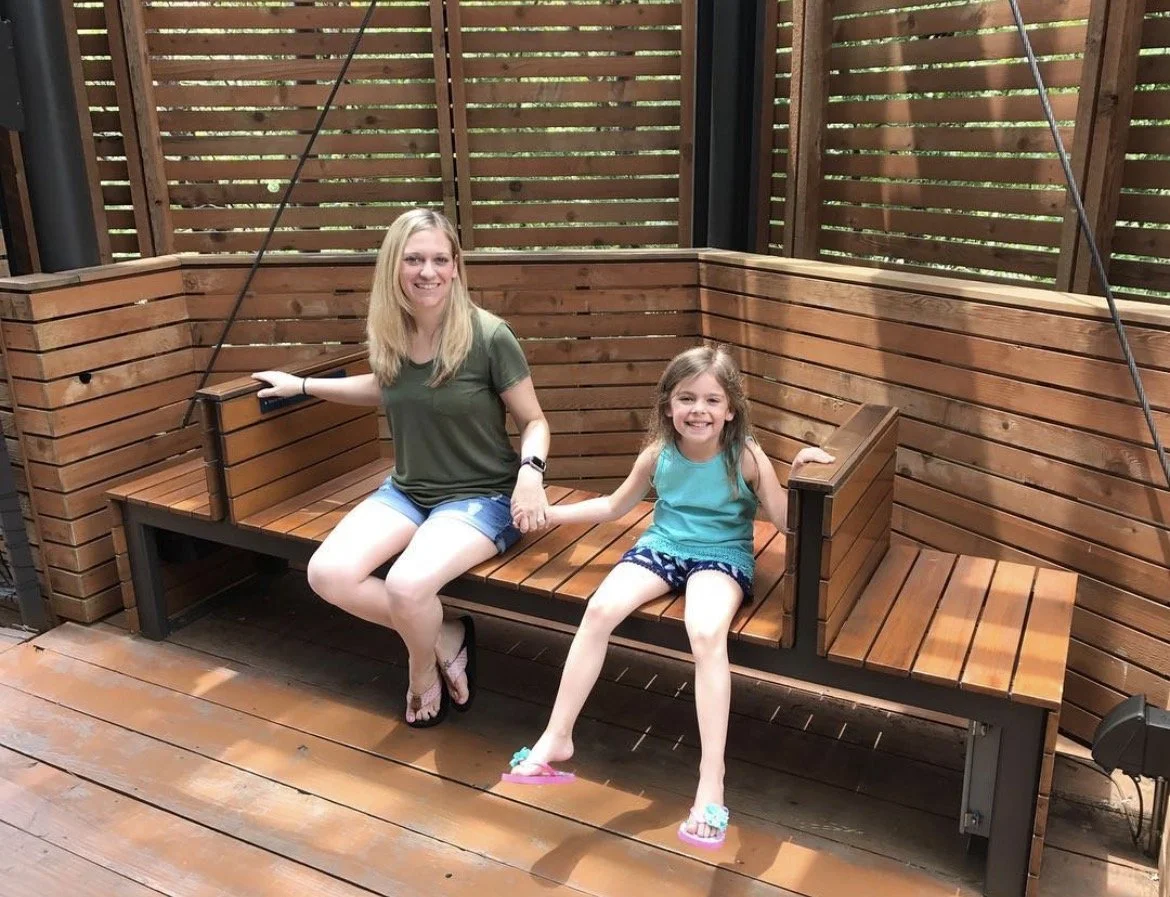
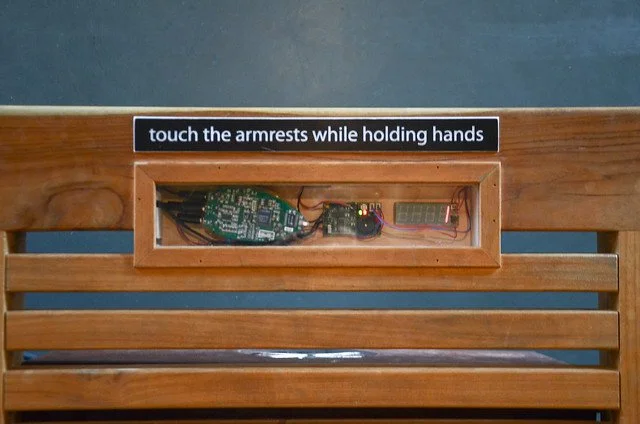
Musical Bench Iterations and Updates
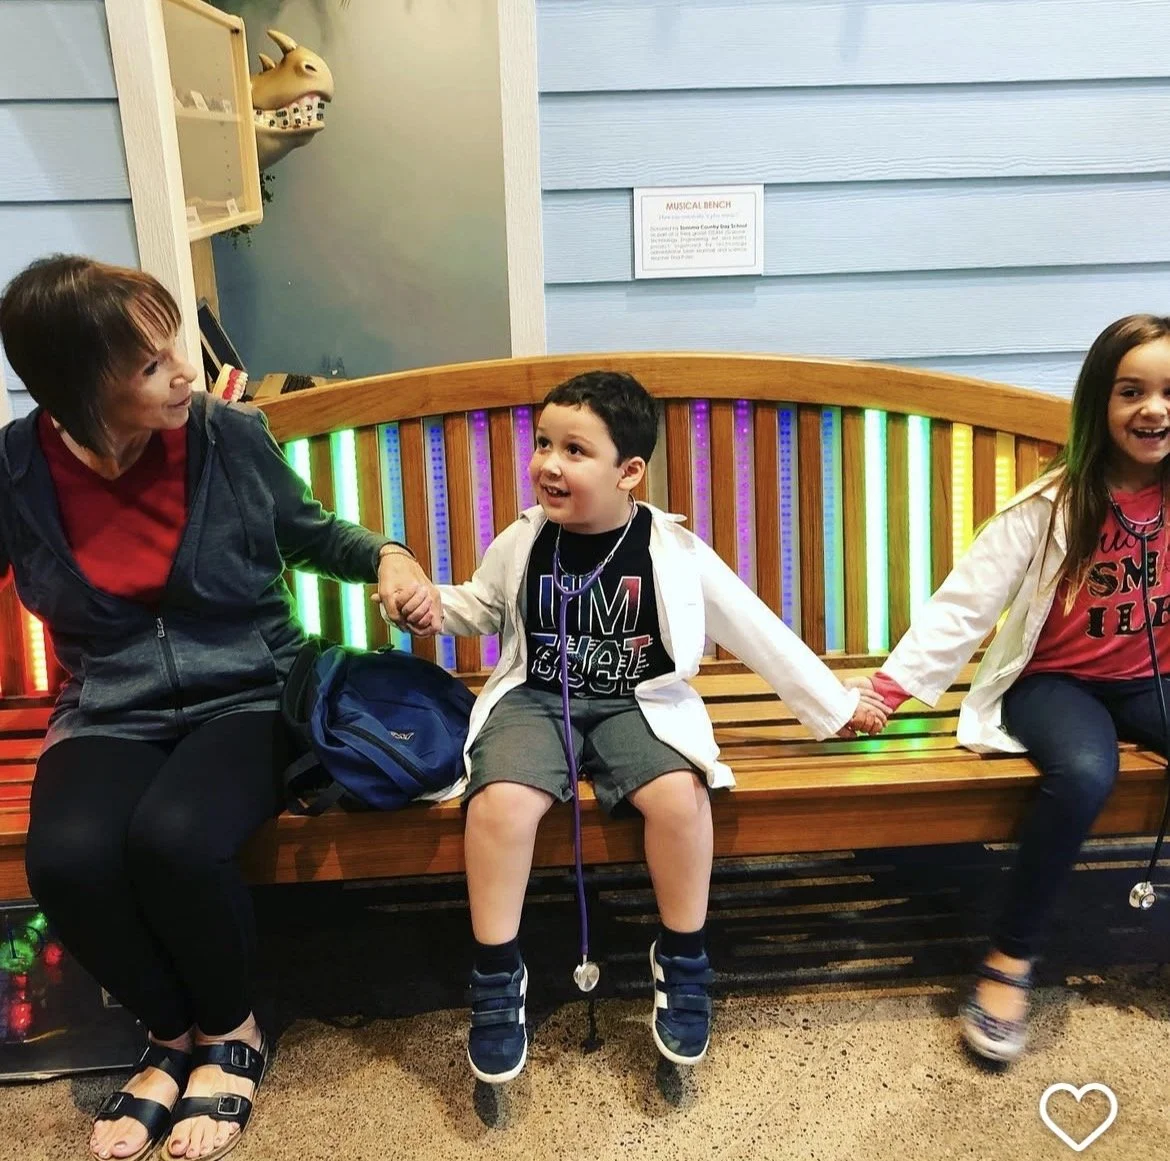
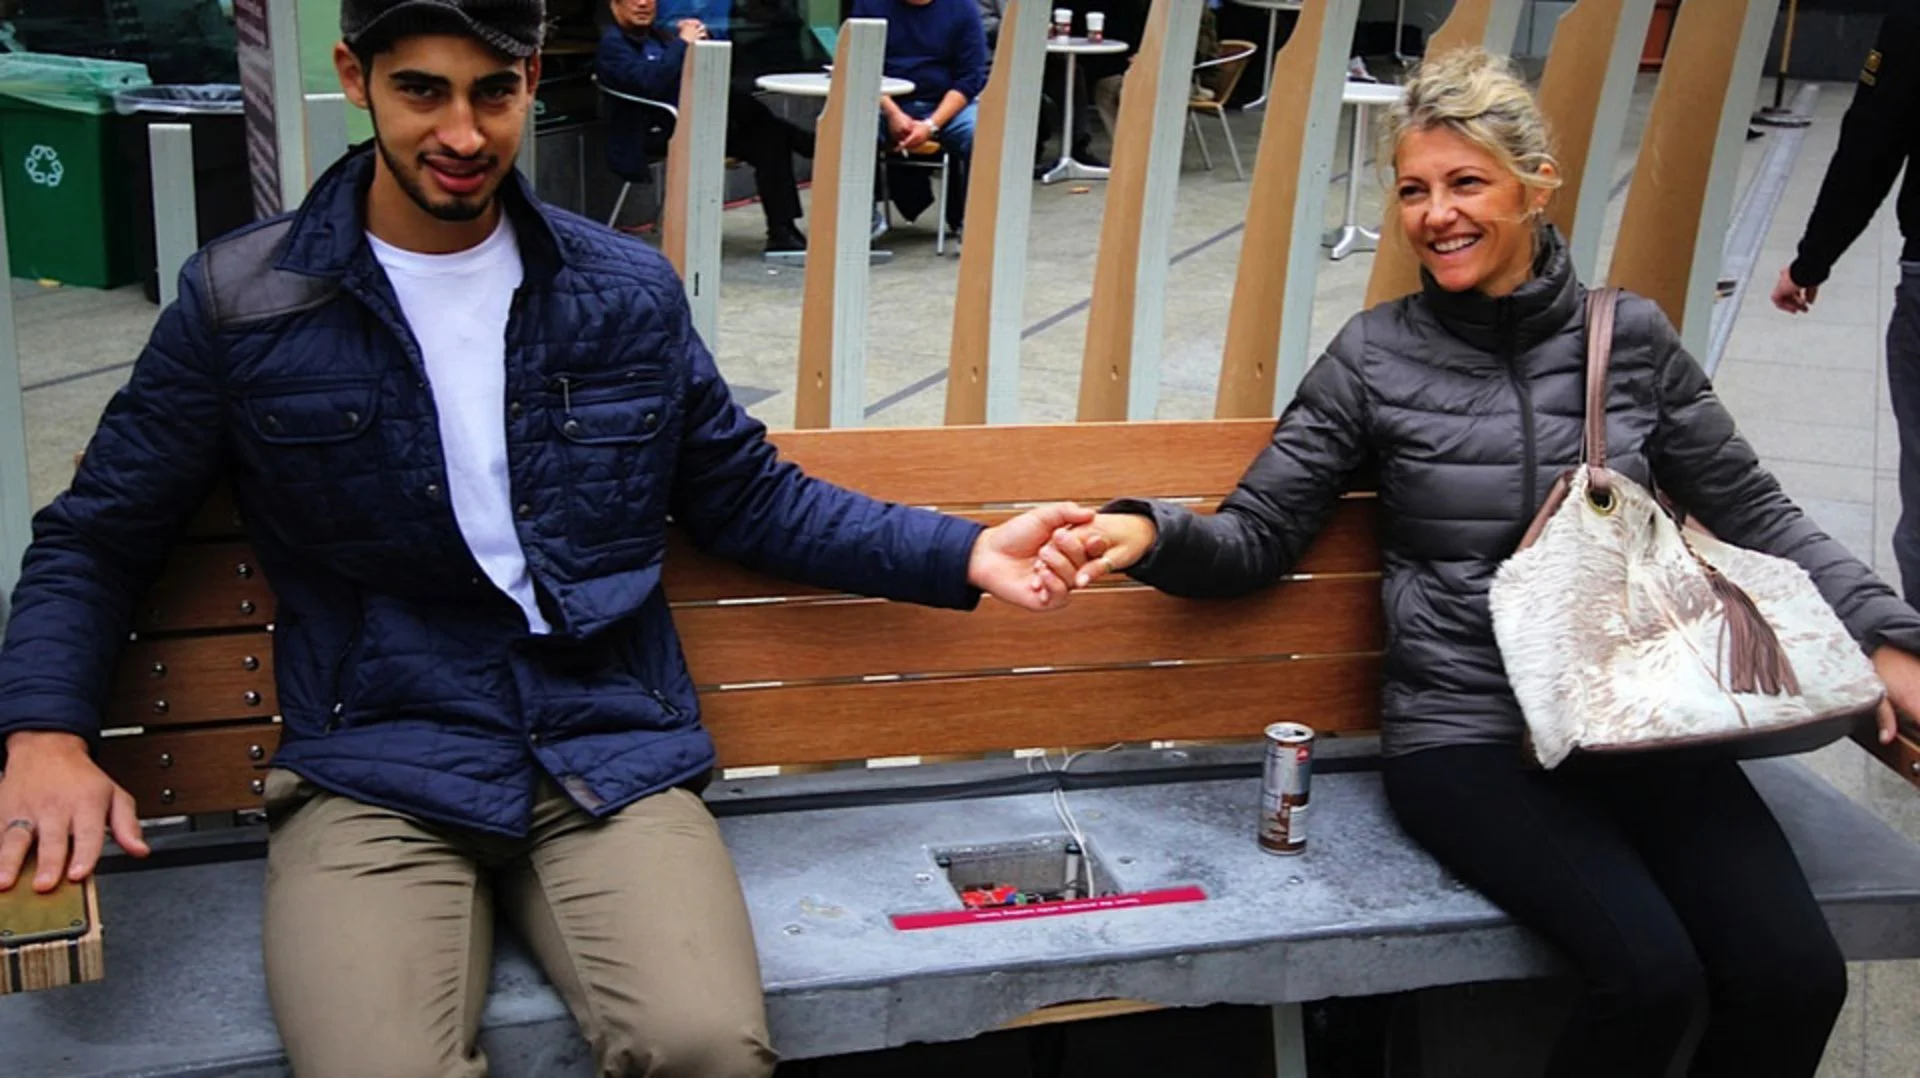
In the early days of the Tinkering Studio at the Exploratorium, artist and exhibit developer Nicole Catrett and I built on the playful idea of making musical based on touch and electrical resistance. We ‘hacked’ a standard museum bench by adding a PICO cricket microcontroller, sound processor and two metal arm rests made of copper. When people touch the armrests and then touch each other to complete the circuit, the bench creates musical notes that change as people high five, hold hands or kiss. The exhibit creates a surprising jumping off point for people to interact with each other and investigate electricity, digital music and their own bodies.
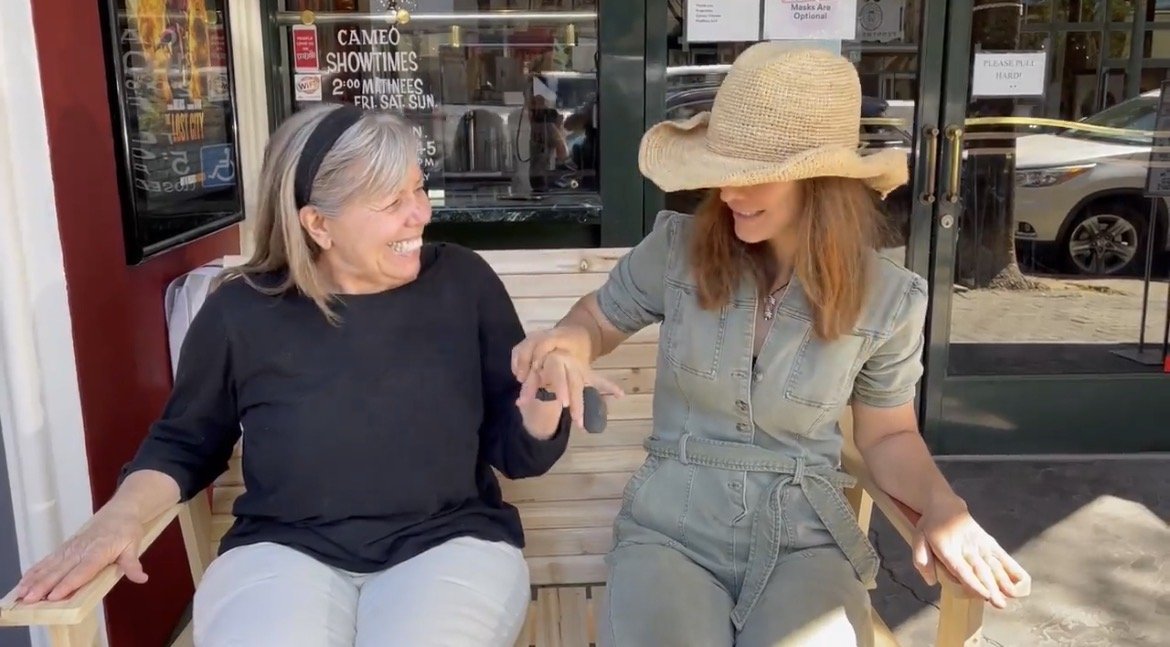
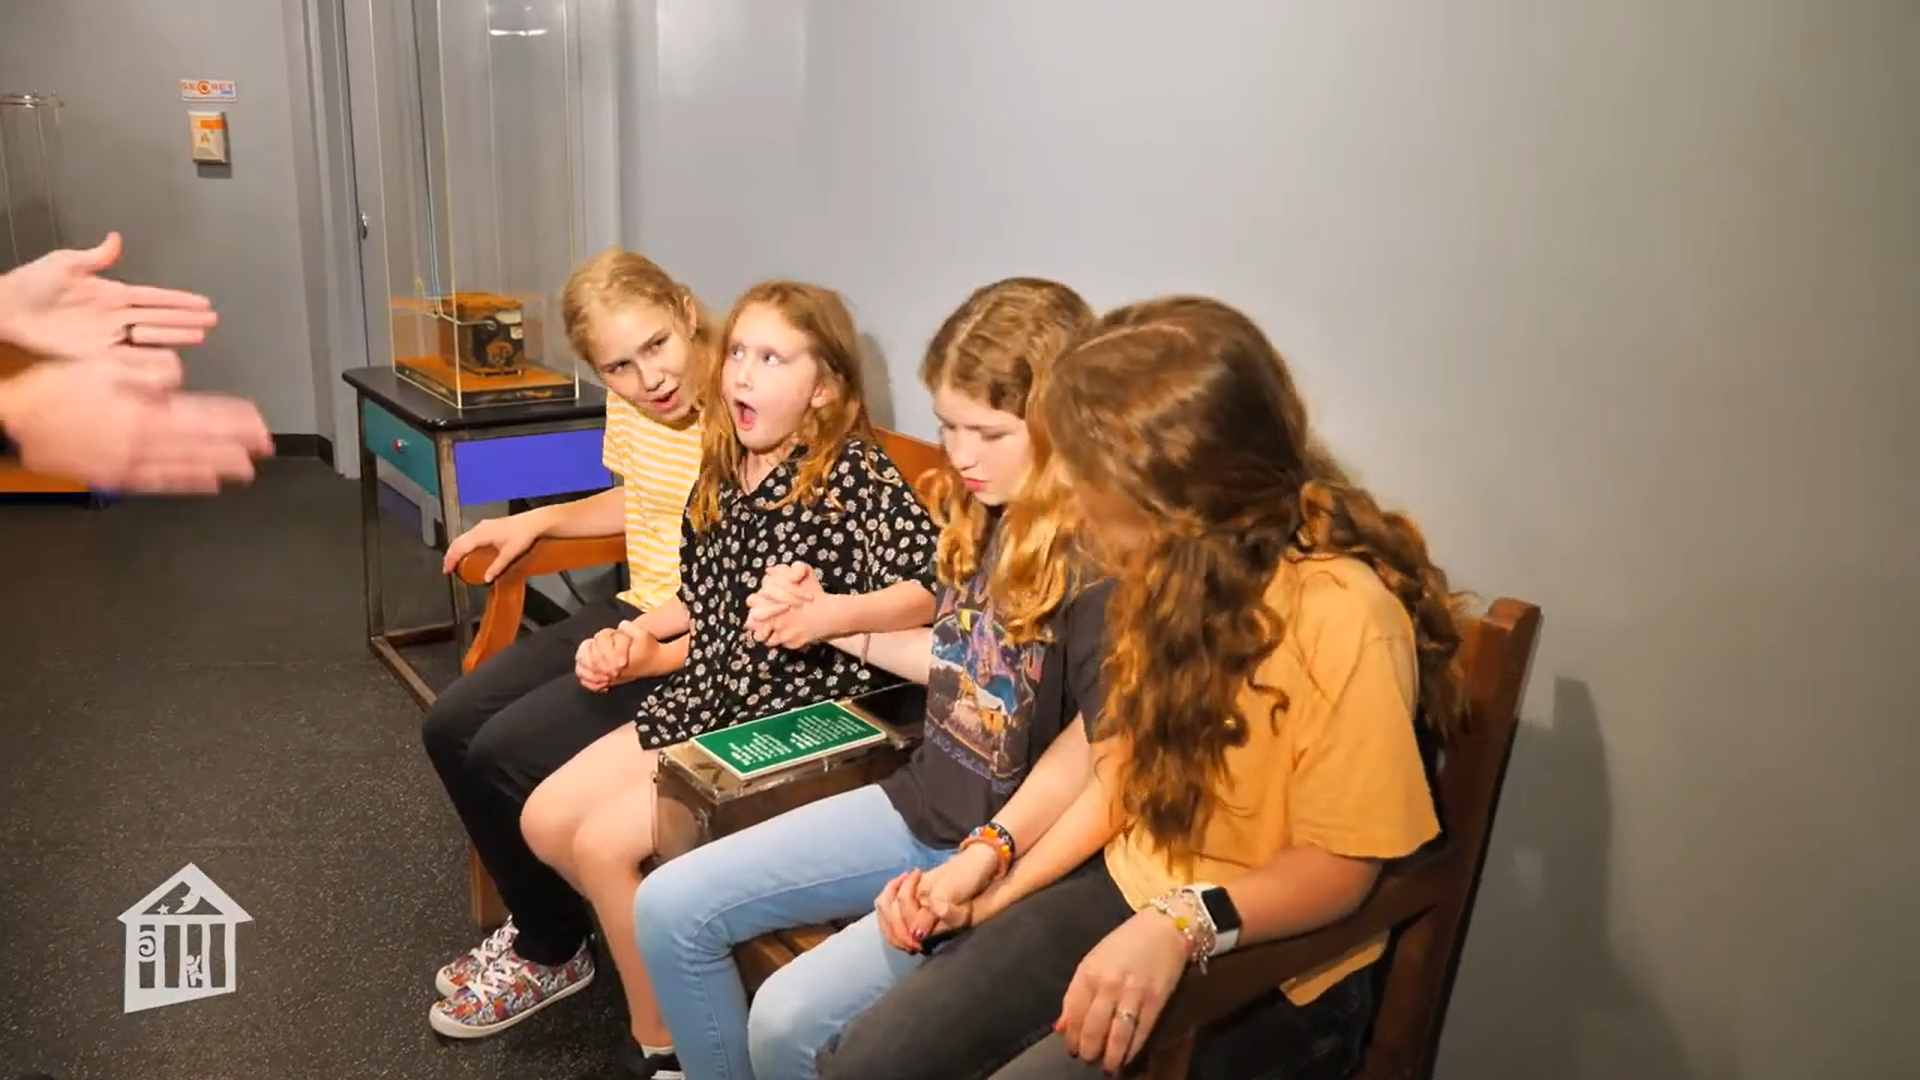
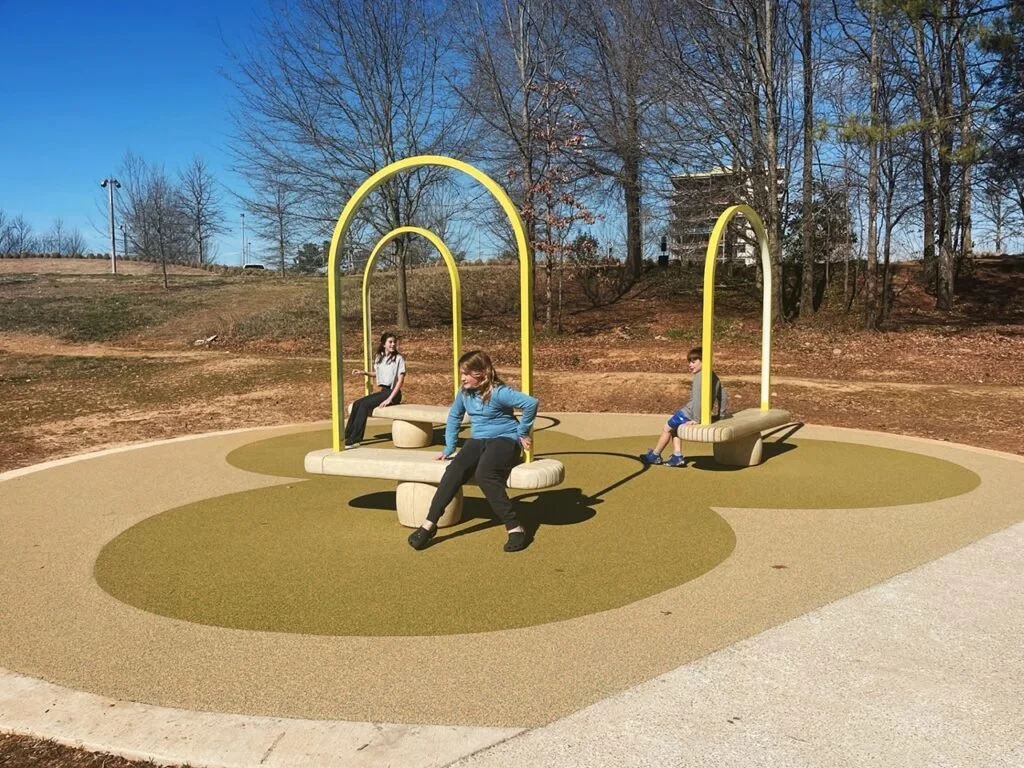
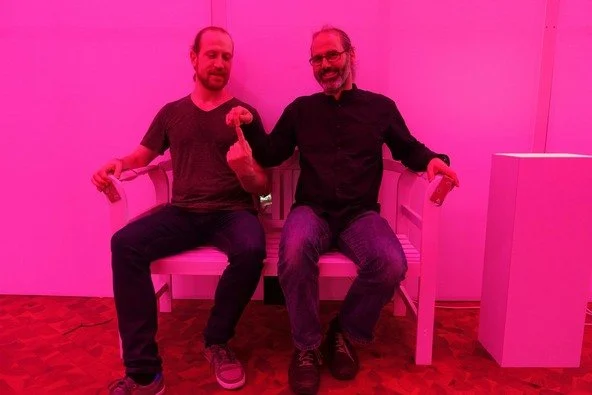
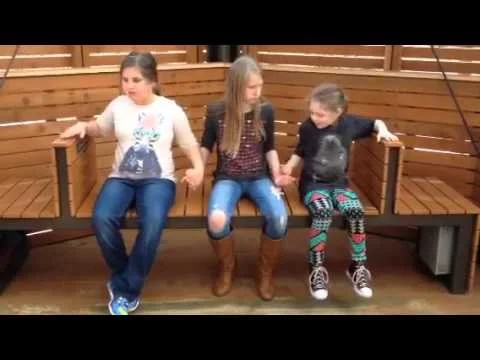

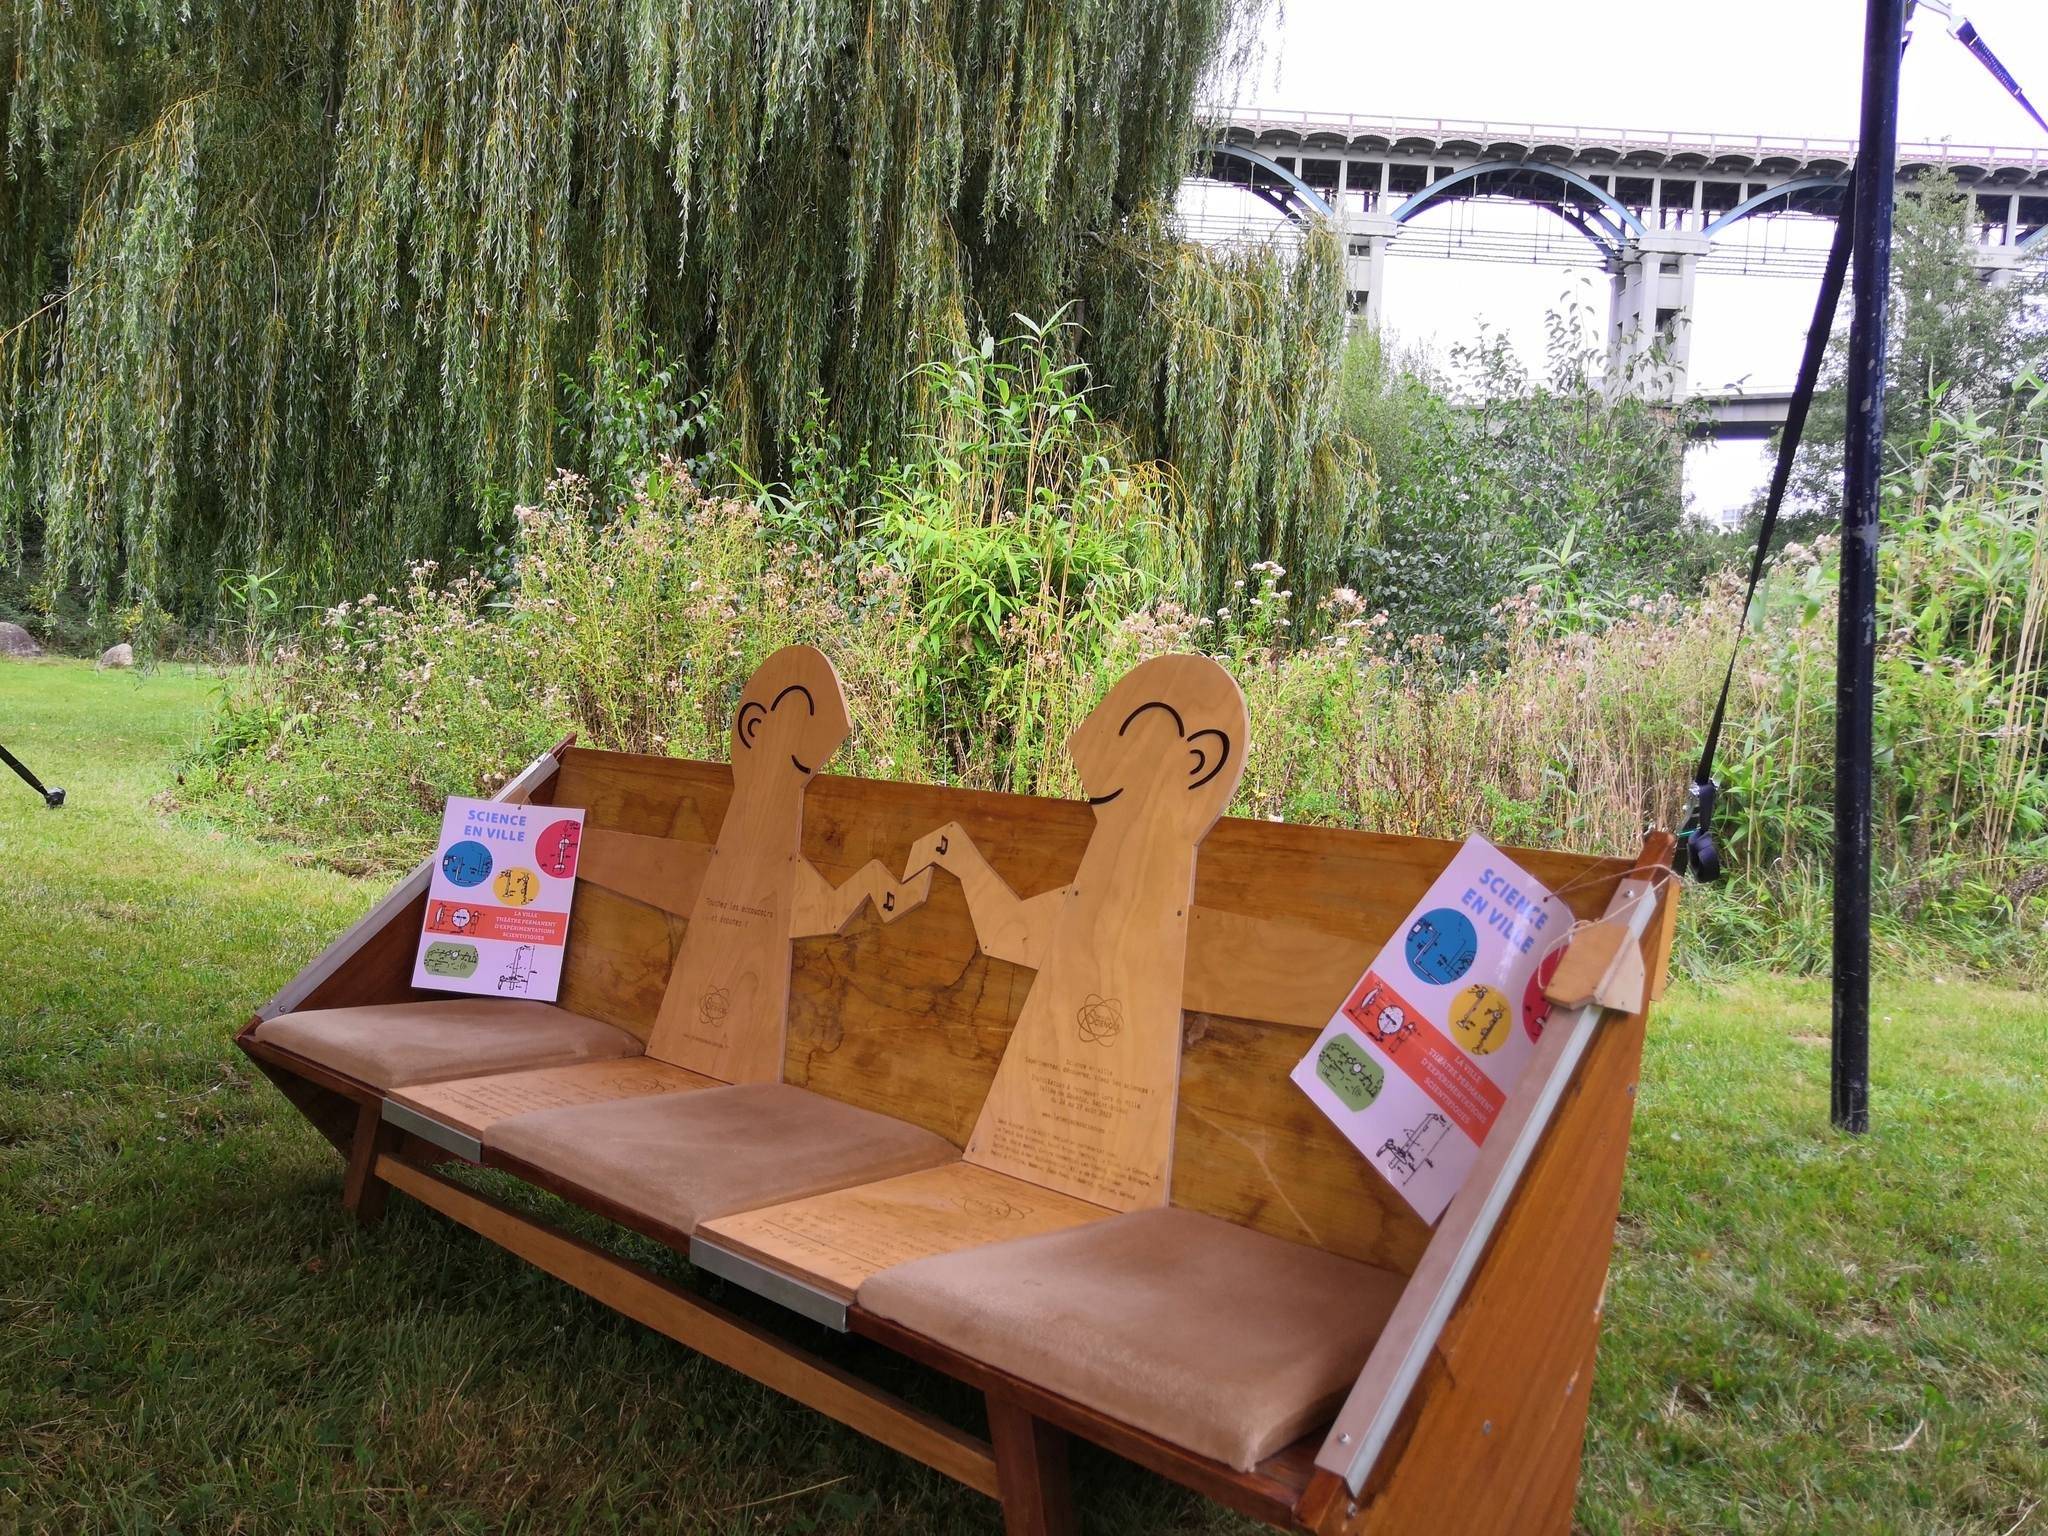
Not long after creating the exhibit, we put together an instructable guide so that others could make their own version and take the idea in new directions. Since the original hardware is no longer available we converted the ‘guts’ of the exhibit to an arduino microcontroller and midi shield. Over the years we’ve seen versions of the musical bench in different sizes and styles pop up in science centers, public spaces and art exhibitions all over the world. It’s been so fun to see all of these remixes and I’m always proud when I unexpectedly encounter a musical bench when visiting a science center or children’s museum.
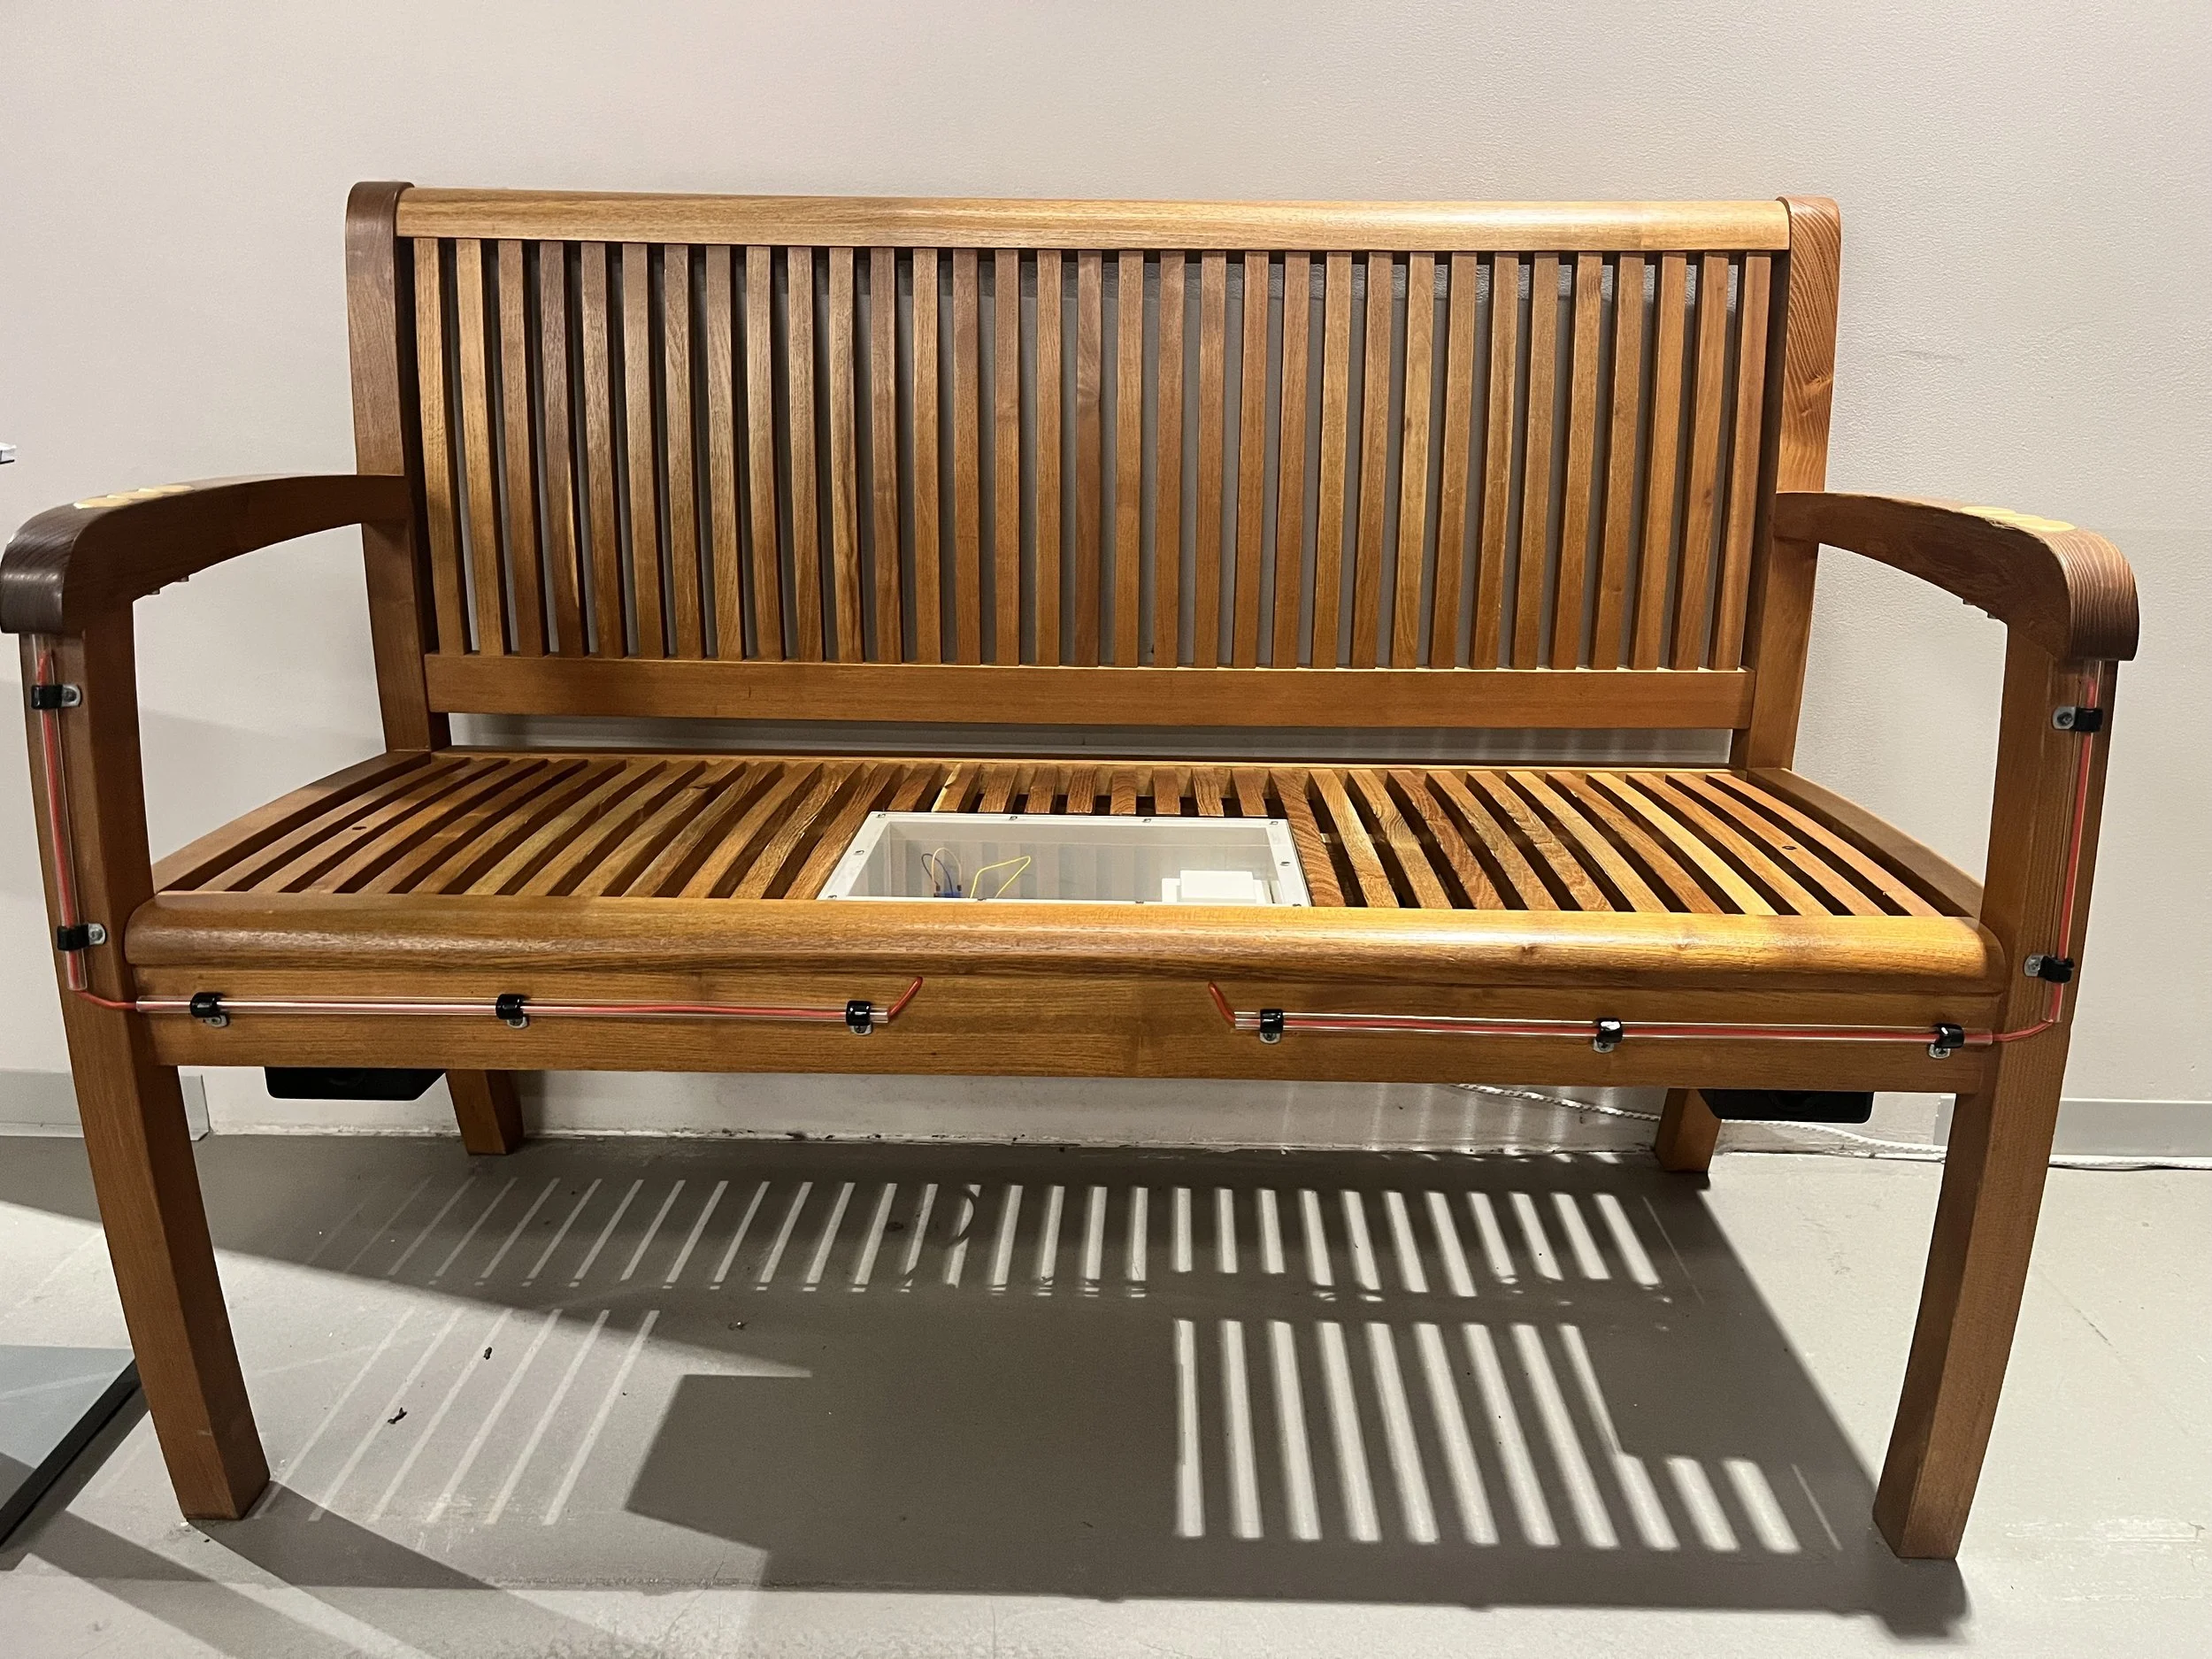
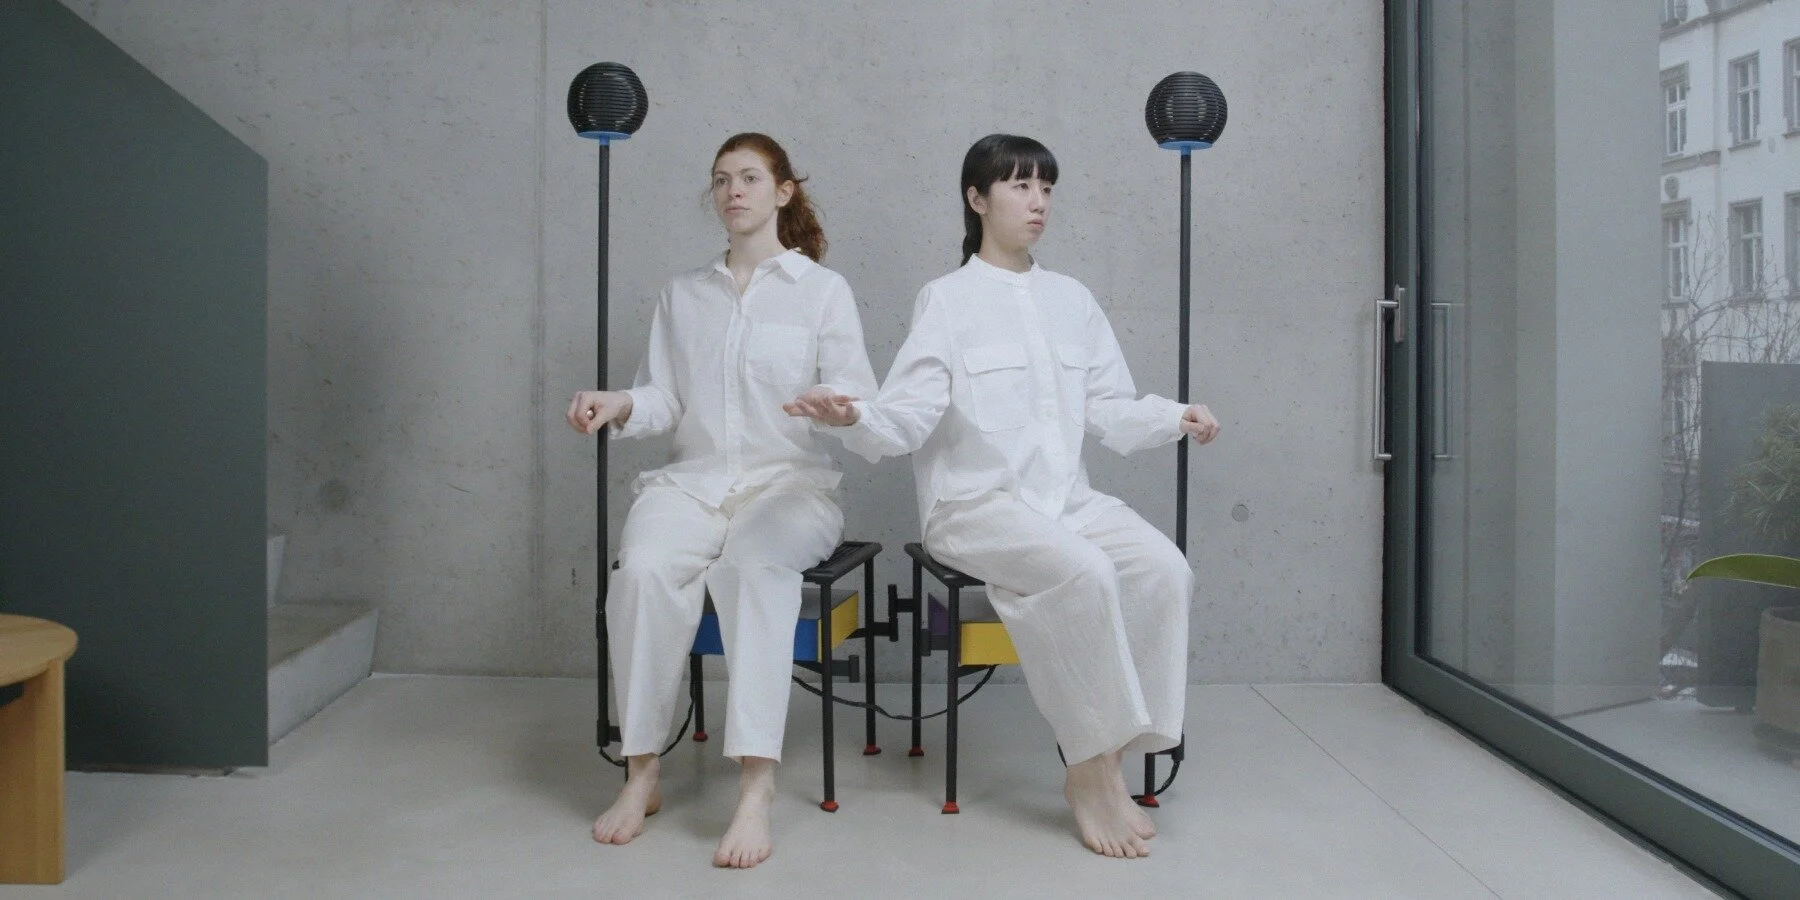
In 2019 I had the chance to create a new version of the bench for OliOli children’s museum in Dubai. The sound from the arduino board never felt completely satisfying for my so I took the opportunity to try out using a Bela Board for the sound processing and the Playtronica TOUCHME board (inspired by the original exhibit) for converting the electrical connection to midi notes. This combination of digital devices allows for more full and beautiful musical outputs closer to the original sound. Shortly after the visit to OliOli, the pandemic hit and somehow it’s been six years since that installation and I never got around to making a guide for this new iteration of the bench. Last week I was in Dubai and coincidentally the exhibit needed repairs so I thought that it could be a good moment to revisit and revamp the design. Here’s a quick start guide if you want to explore creating a similar version of the musical bench exhibit.
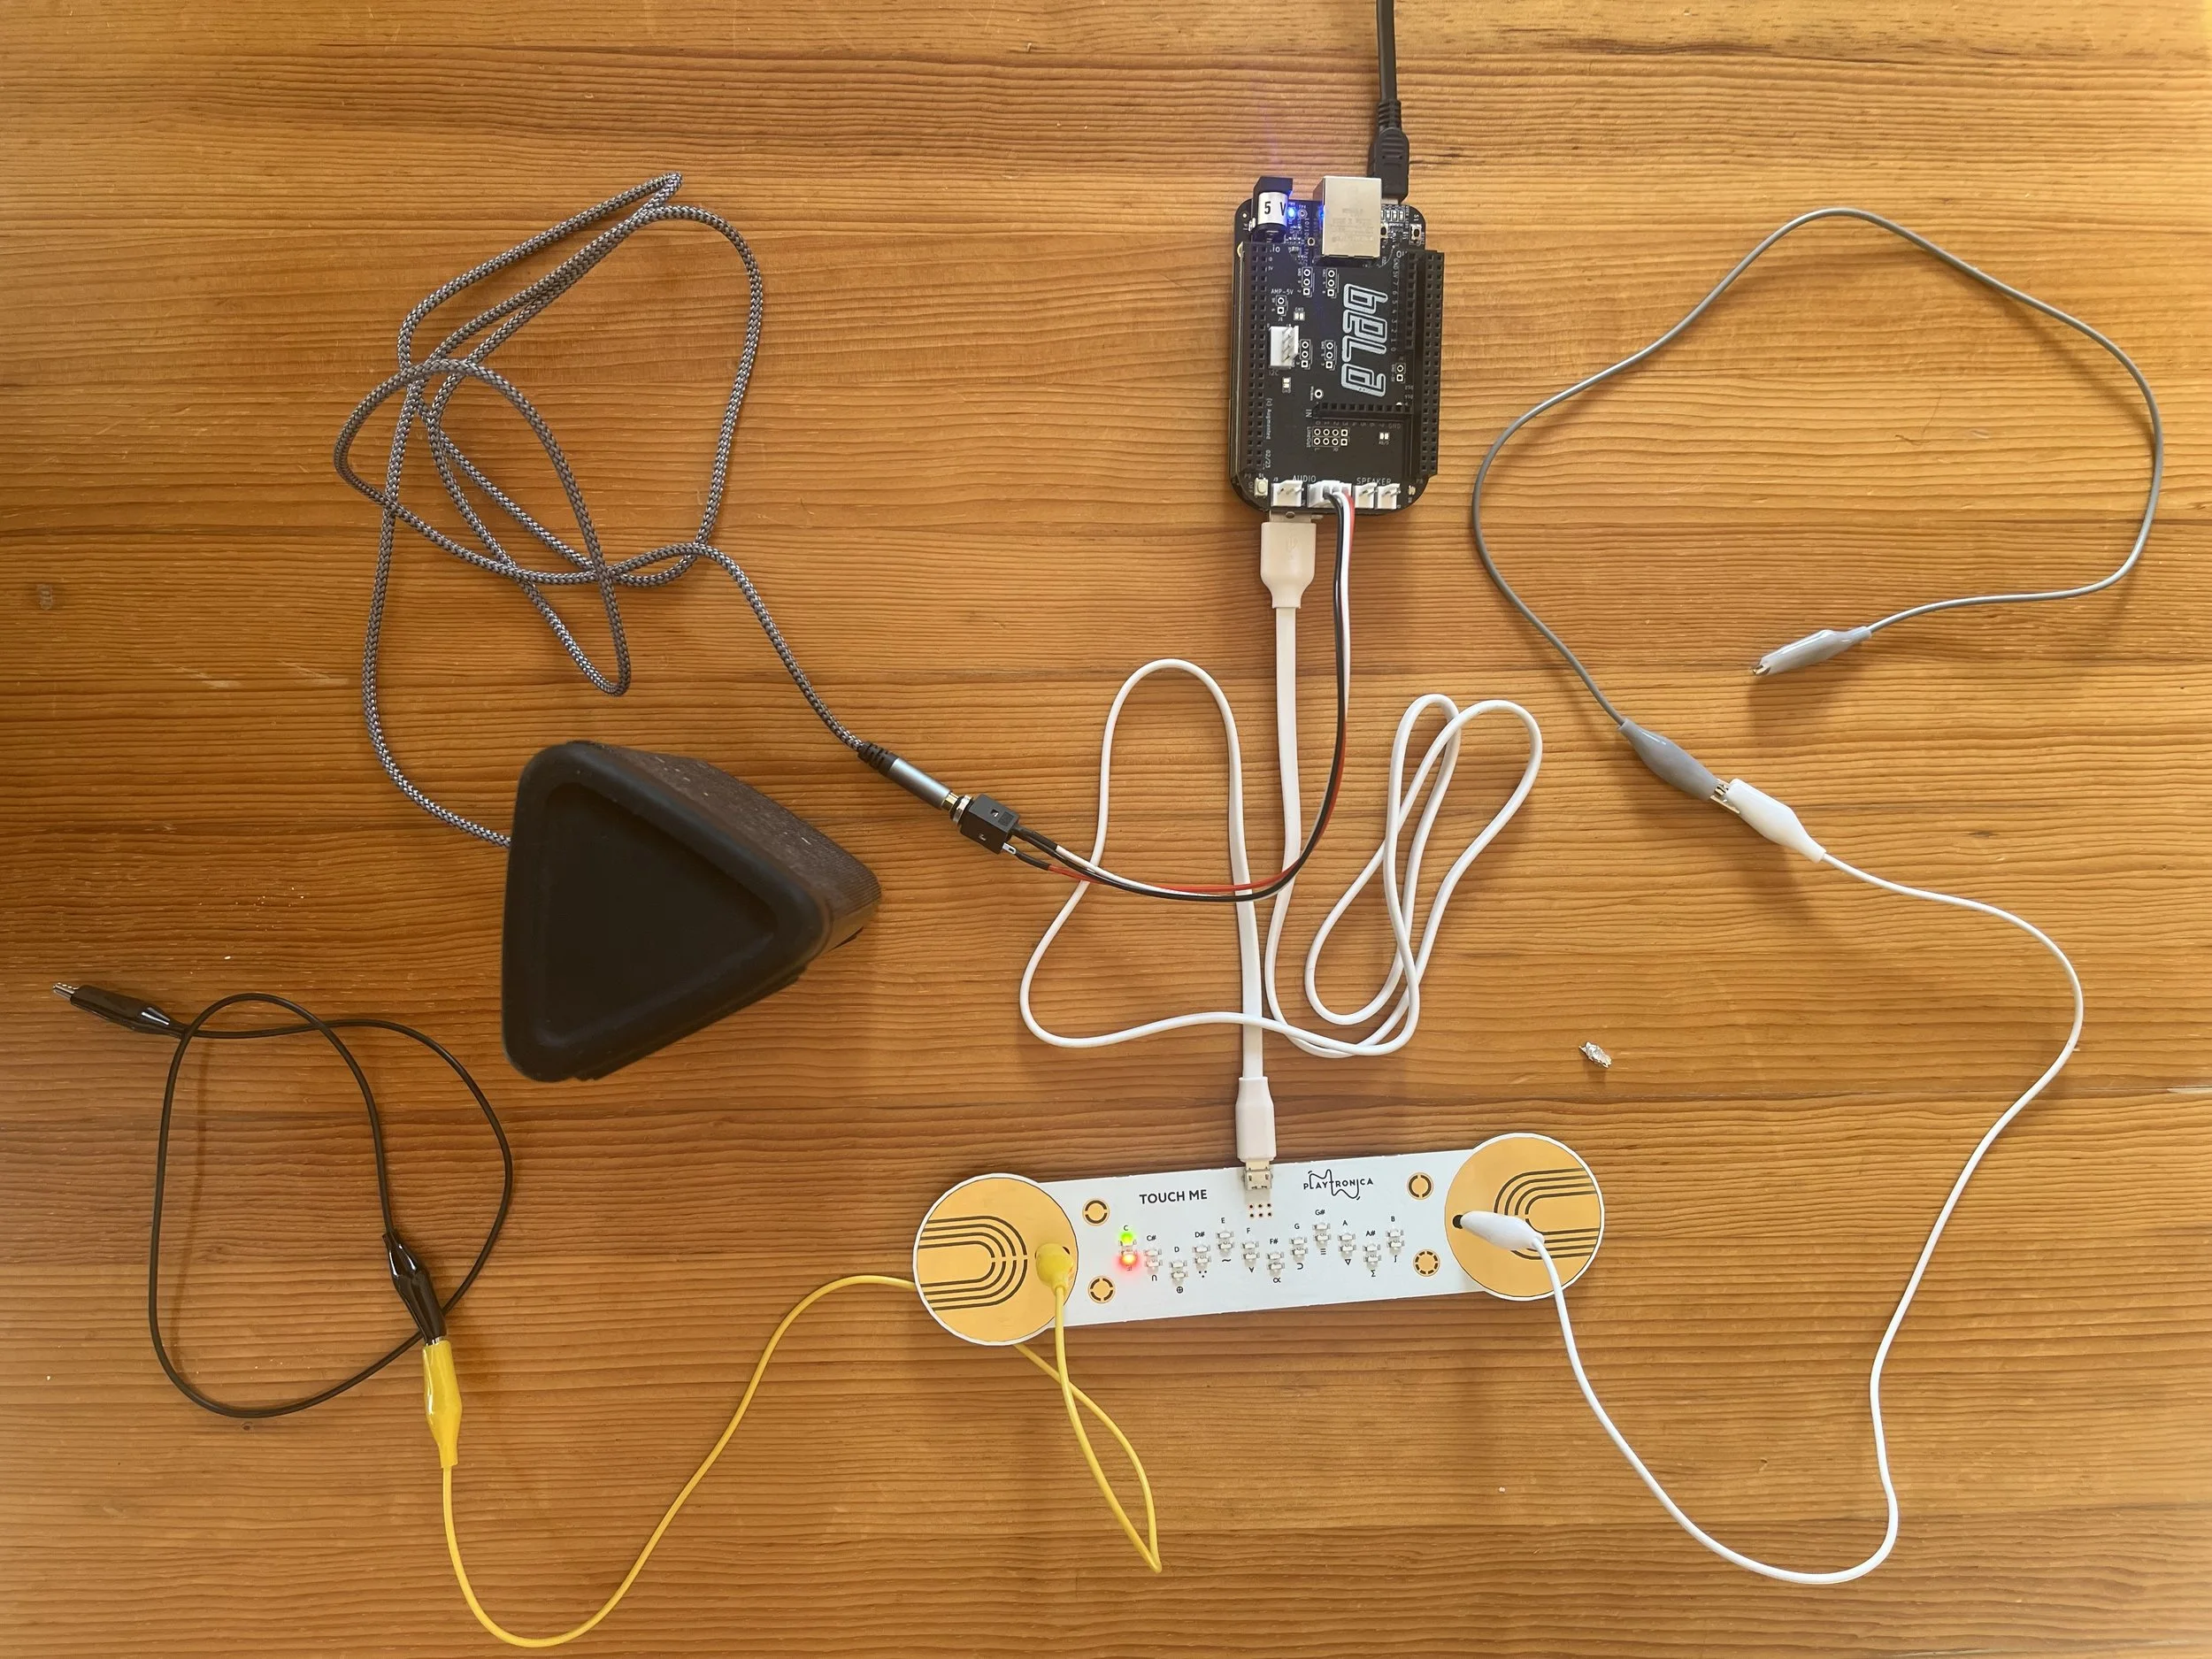
You’ll need to get a BELA board and a Playtronica TOUCHME board along with a powered speaker to fit under the bench, a 3.5mm audio cable, hookup wire and pieces of copper to use for the armrests. As well, you’ll need a wooden bench and the tools and materials to create a box for the electronics (see step 15 of the original instructable). I’m going to focus on the electronics here and leave the design and construction of the bench more open ended to fit with your preferred style. The new hardware pieces and other technological advances that we’ll get into shortly, have made it much easier to get started with the project. All you need to do is connect the Playtronica TOUCHME to the BELA board with the USB cord, add cables from the TOUCHME board to the armrests, connect the speaker (or headphones for testing) to the audio out jack. This more simple setup removes the need for soldering on headers or adding other components to the board.
The next step is to load up the code to make the musical notes that respond to the electrical resistance input from people touching on the bench. Creating the program back in 2019 was really complicated and required a lot of copy/paste from other projects, diving into new programming languages and getting help from experts. In a couple recent projects I’ve been experimenting with collaborating with AI tools for more complicated programming tasks and that worked really well for this project. Over several versions of going back and forth with the Claude AI tool, we processed the midi signal, added more rich tones and experimented with arpeggiated sounds. At the end of the process I asked the chatbot to created a final simplified version with clear points to play and remix with the software. The bot identified these key remix points and added comments in each section explaining what the values do and suggested alternatives to try. to make it as easy as possible for anyone to experiment and create their own unique sound! Here are the places to play with the code:
TIMBRE (lines 115-125): Change waveforms and harmonic ratiosDETUNE (lines 119-123): Adjust chorus widthARP SPEED (line 167): Control how often extra notes triggerARP VARIATIONS (lines 174-185): Change harmony intervalsARP VOLUME (line 193): How loud the extra notes areENVELOPE (lines 195-201): Attack and release speedsLFO (lines 217-221): Shimmer speed and depthMIX (lines 224-229): Balance between oscillatorsMASTER VOLUME (line 232): Overall output level
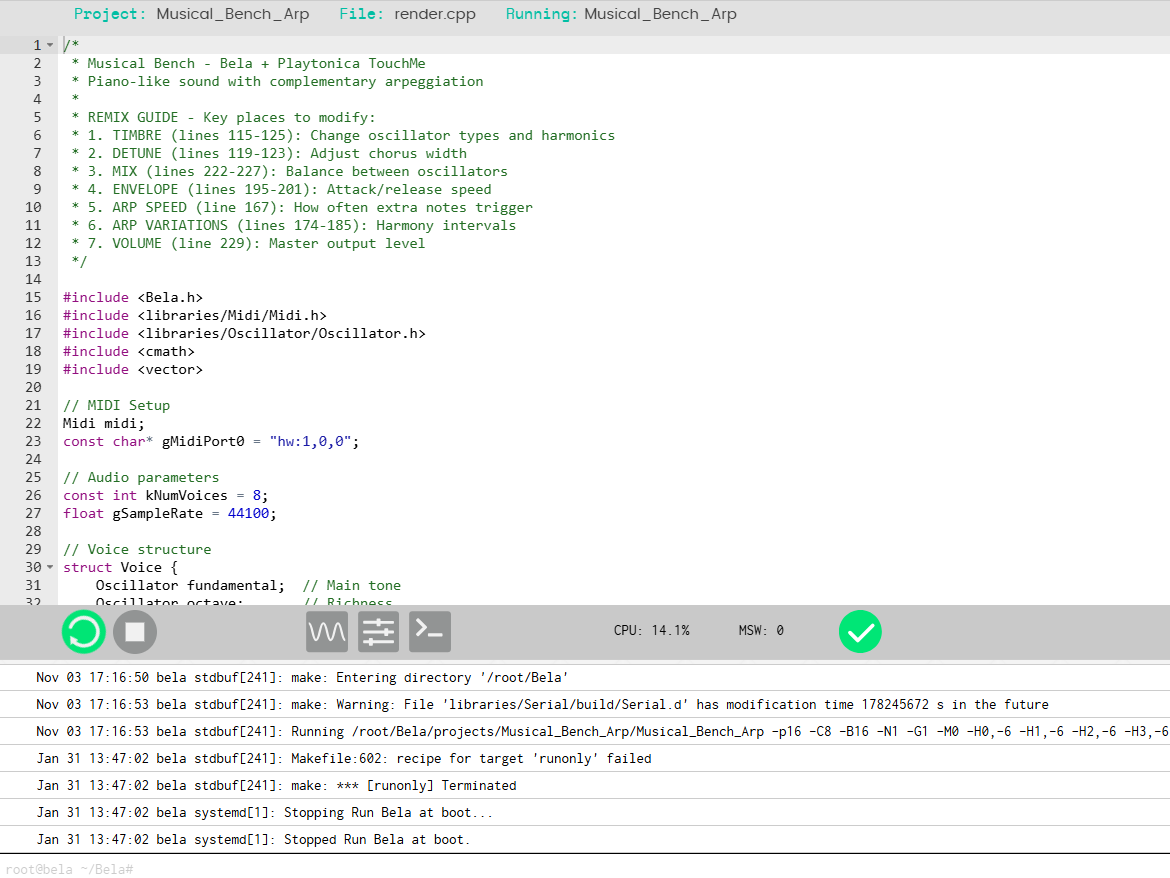
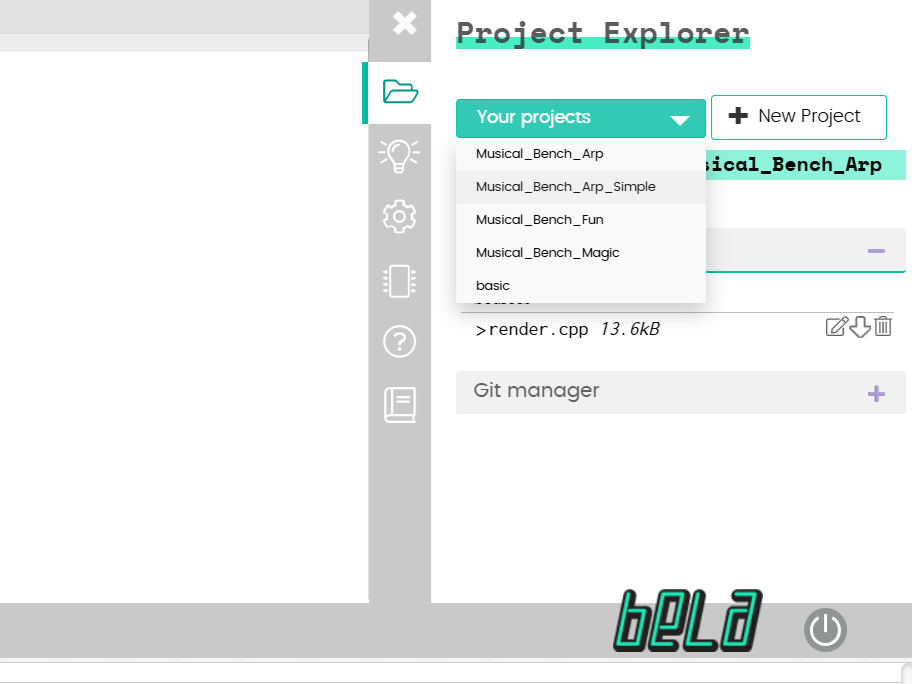
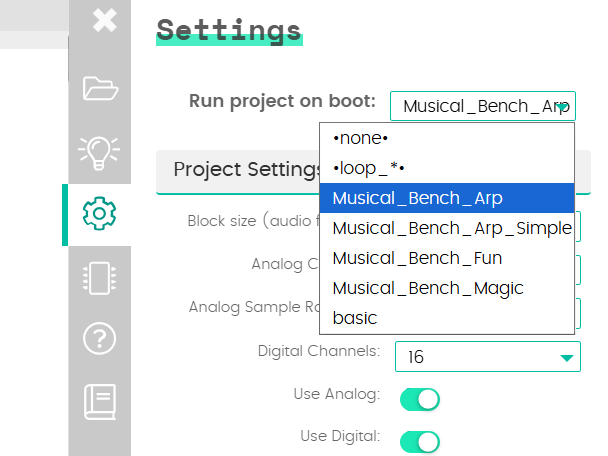
To upload the code, you can connect the Bela board to your computer and upload the code to the board using the local I/O. Start a new project, opy and paste the code into the space and press the green run button. You can also go to the settings tab and have the program ‘run on start’ so that when the board is powered up the code will run automatically.
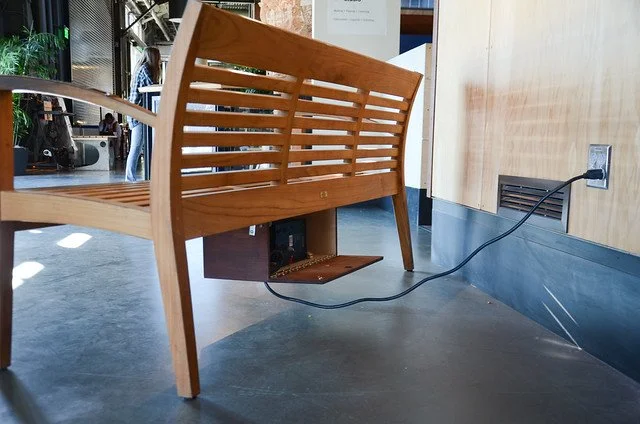

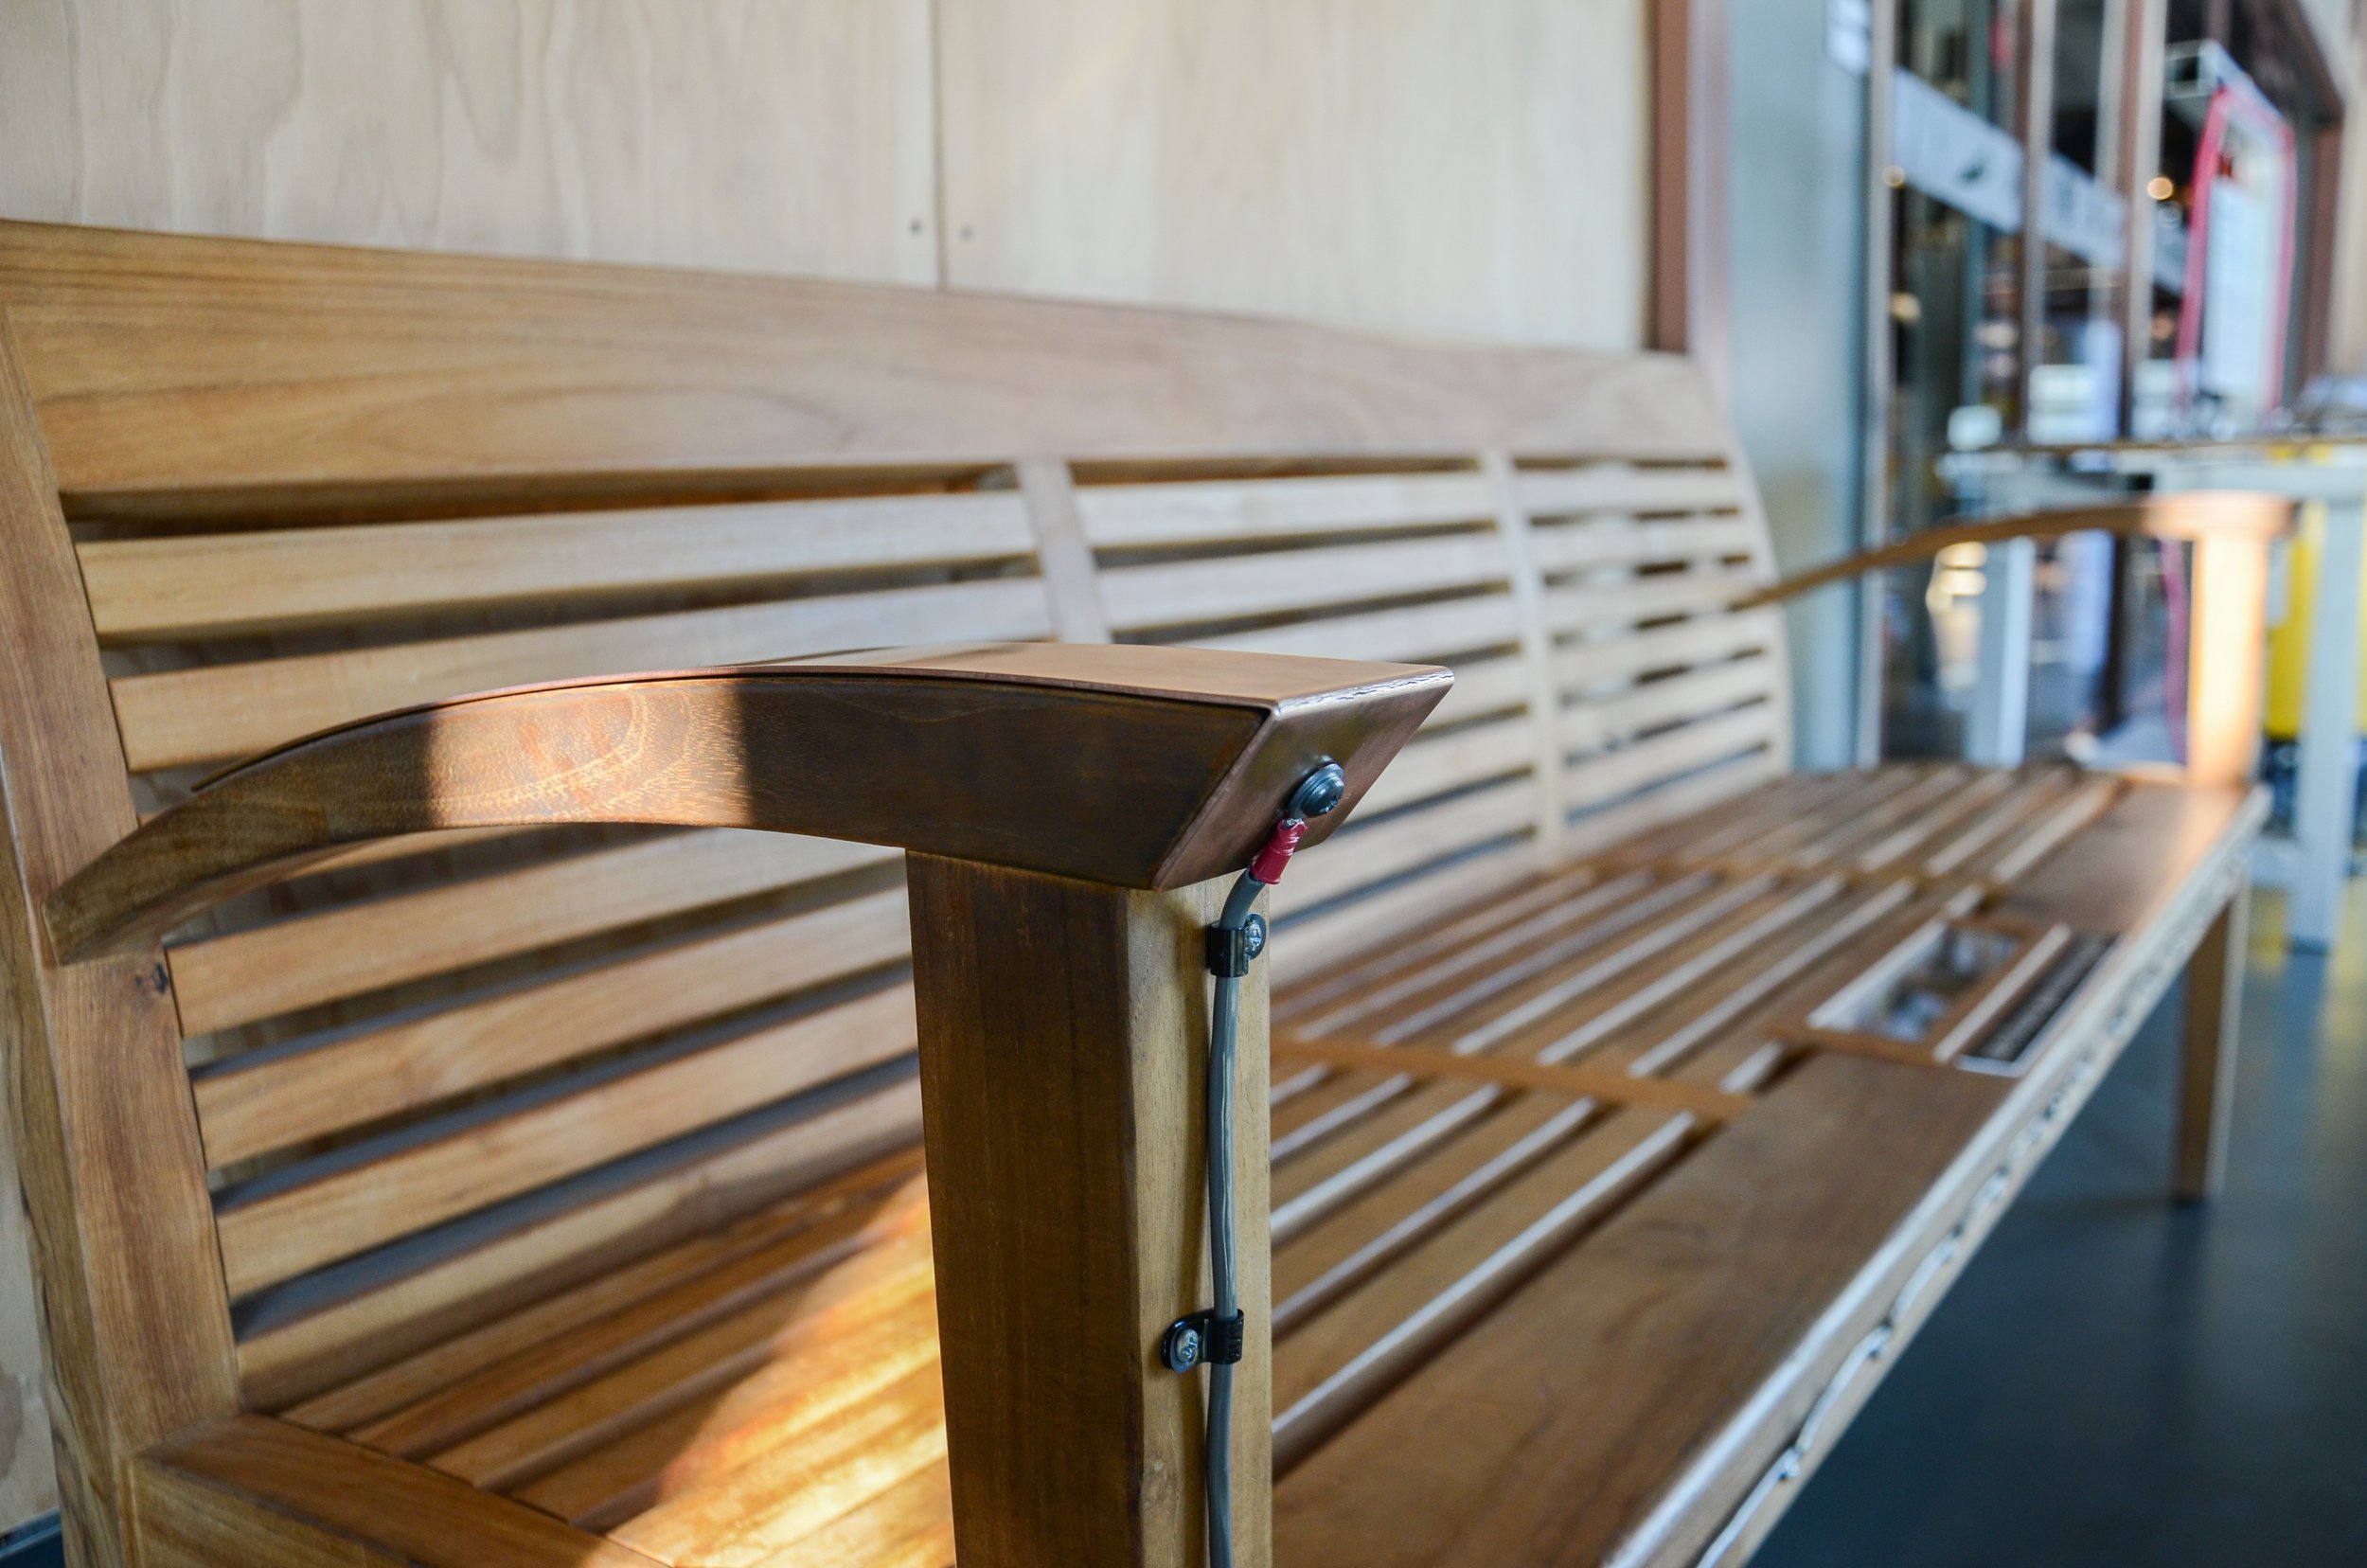
Once everything is up and running you’ll just need to prepare the bench (or other set-up on floor pads or a drinking fountain) by mounting the hardware (preferably in a way that is protected but transparent. Then wire the leads from either side of the TOUCHME board to the two metal armrest pieces. Secure the wires, mount the speaker and tidy everything up and you should be good to go! I’m hoping that there will be lots more versions of this exhibit popping up all over the world and that new remixes will take the tinkerable idea in unexpected and wonderful directions.